
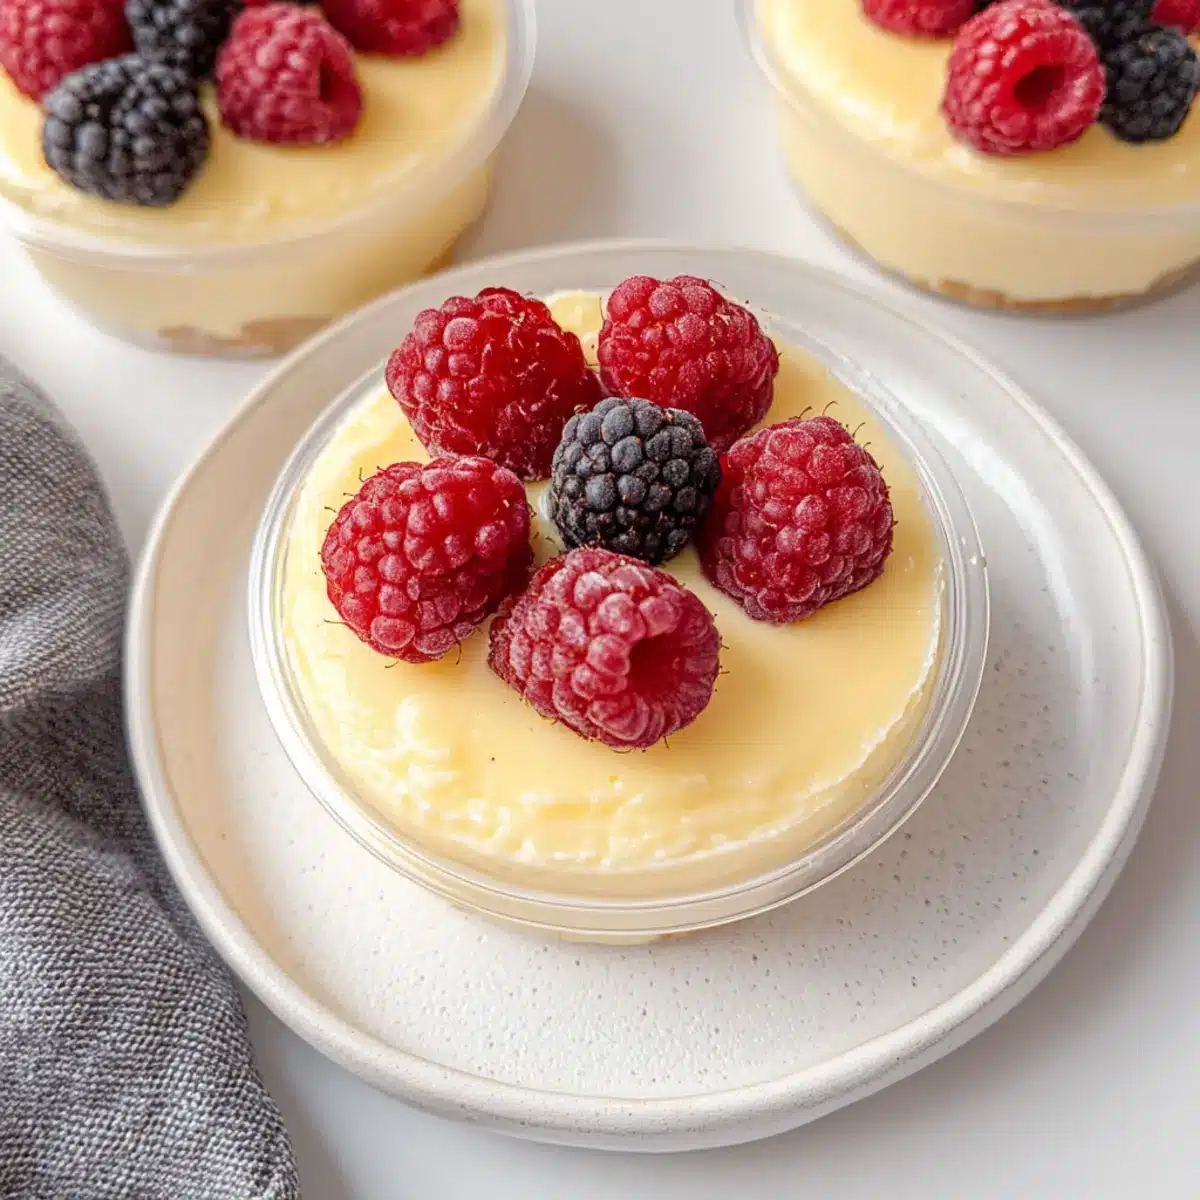
As I rummaged through my pantry one evening, I stumbled upon some Greek yogurt and a box of cheesecake pudding mix, each whispering promises of sweet delight. That’s when I decided to whip up a No-Bake Greek Yogurt Jello Cheesecake, a velvety dessert that perfectly marries the creamy richness of yogurt with an effortless, no-bake approach. This quick recipe not only saves time but is also a dream for customizing—add your favorite fruits or a splash of color to make it uniquely yours! It’s perfect for gatherings or a cozy night in, and trust me, your taste buds will thank you. Ready to dive into an indulgent, guilt-free treat? Let’s get started!
Why Choose This No-Bake Cheesecake?
Simplicity, anyone can master this no-bake recipe with minimal fuss—just mix, chill, and serve! Creamy Delightfulness comes from using Greek yogurt, making each bite rich yet light. Customizable Options abound; toss in your favorite fruits or flavor up with different yogurts! Perfect for any occasion, this dessert can even be prepared ahead of time, saving precious moments. And if you’re a fan of easy desserts, be sure to check out my Peanut Butter Bake or get inspired by these Mini Oreo Cheesecake bites!
No-Bake Greek Yogurt Jello Cheesecake Ingredients
For the Cheesecake Mixture
- Greek Yogurt – Provides a creamy base; use regular for a richer texture or fat-free for lighter indulgence.
- Cheesecake Pudding Mix – Thickens the mixture and adds sweetness; use the entire box for a firmer cheesecake.
- Milk – Optional for thinning out yogurt if it’s too thick; ensures a smooth consistency.
For the Color
- Food Coloring – Optional for colorful variations; use gel instead of liquid to maintain the texture.
For Toppings
- Fresh Fruits (e.g., berries, bananas, mangoes) – Optional toppings that add flavor and freshness to your No-Bake Greek Yogurt Jello Cheesecake.
- Nuts (e.g., almonds, walnuts, pecans) – Optional for a delightful crunchy texture on top.
Enjoy mixing and matching to create your perfect cheesecake masterpiece!
Step‑by‑Step Instructions for No-Bake Greek Yogurt Jello Cheesecake
Step 1: Mix the Base
In a large mixing bowl, combine the Greek yogurt and cheesecake pudding mix. Using a whisk, blend them together until the mixture is smooth and creamy, which should take about 2–3 minutes. The goal is to eliminate any lumps, so it should have a thick, even consistency.
Step 2: Check for Lumps
If you notice some lumps in the mixture, whisk vigorously for an additional minute. Then, let it sit for 5 minutes to hydrate, which helps in achieving an ultra-smooth texture. After resting, give it one more good whisk until fully incorporated and creamy to ensure your No-Bake Greek Yogurt Jello Cheesecake turns out perfectly.
Step 3: Add Color (Optional)
For a playful twist, consider adding a few drops of gel food coloring to the mixture. Stir gently until the color is evenly distributed, creating a visually appealing dessert. This step is optional but can make your cheesecake even more delightful for festive occasions or family gatherings.
Step 4: Pour into Dish
Carefully pour the cheesecake mixture into a prepared dish, such as a springform pan or a square baking dish, and spread it evenly with a spatula. Make sure the surface is smooth to give your No-Bake Greek Yogurt Jello Cheesecake a professional look.
Step 5: Chill to Set
Cover the dish with plastic wrap and place it in the refrigerator. Allow it to chill for at least 4 hours, or until the cheesecake is firm to the touch. The cooling time is crucial for achieving that luscious, mousse-like texture you crave in this easy dessert.
Step 6: Serve and Enjoy
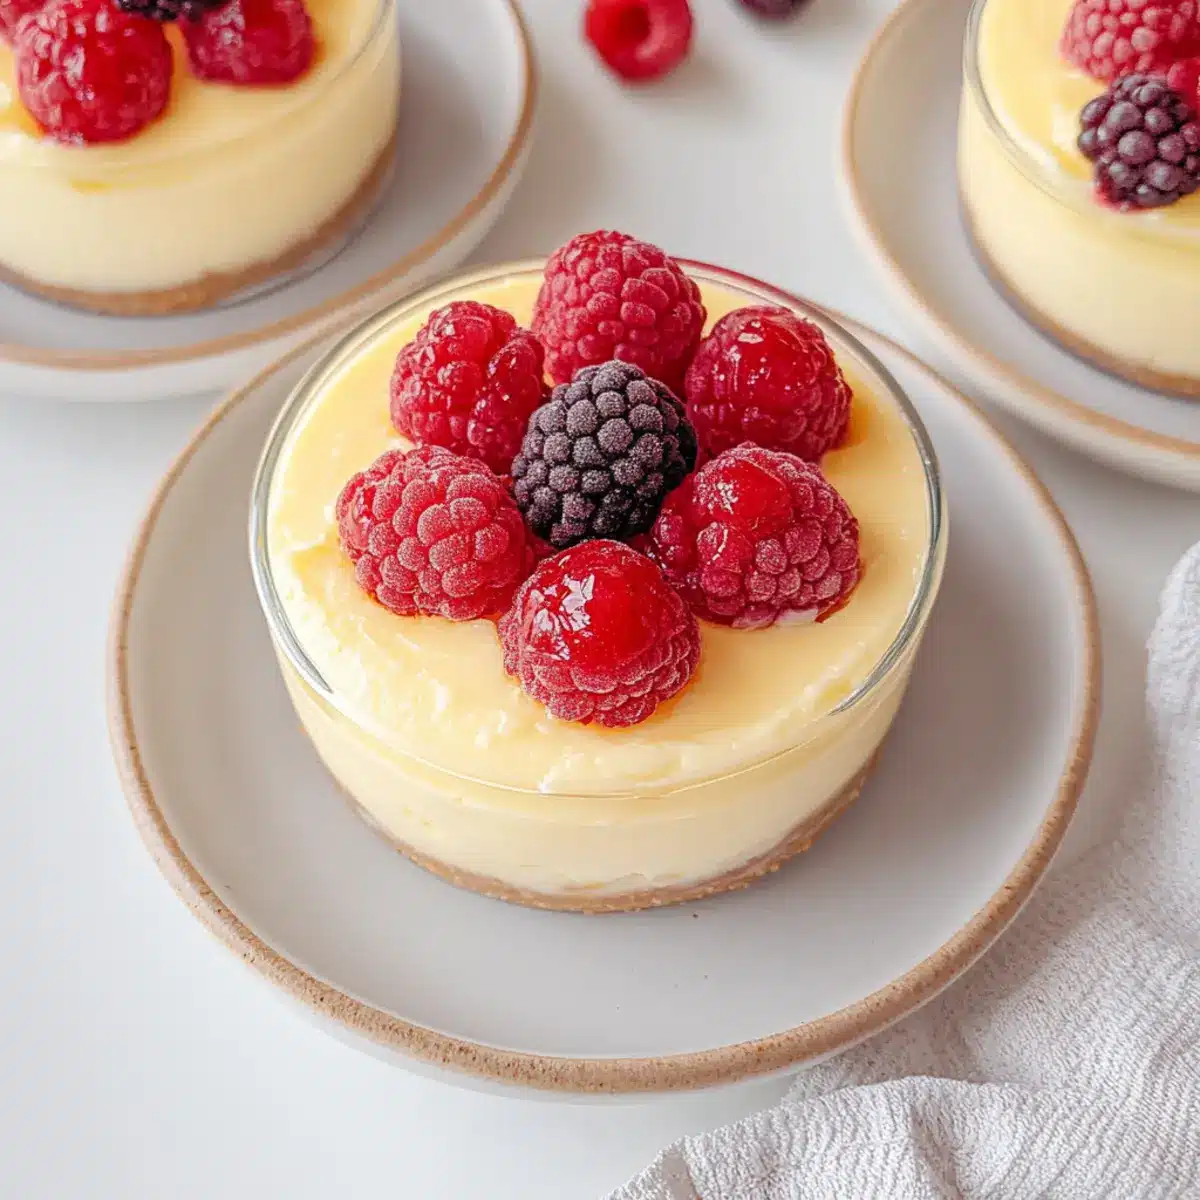
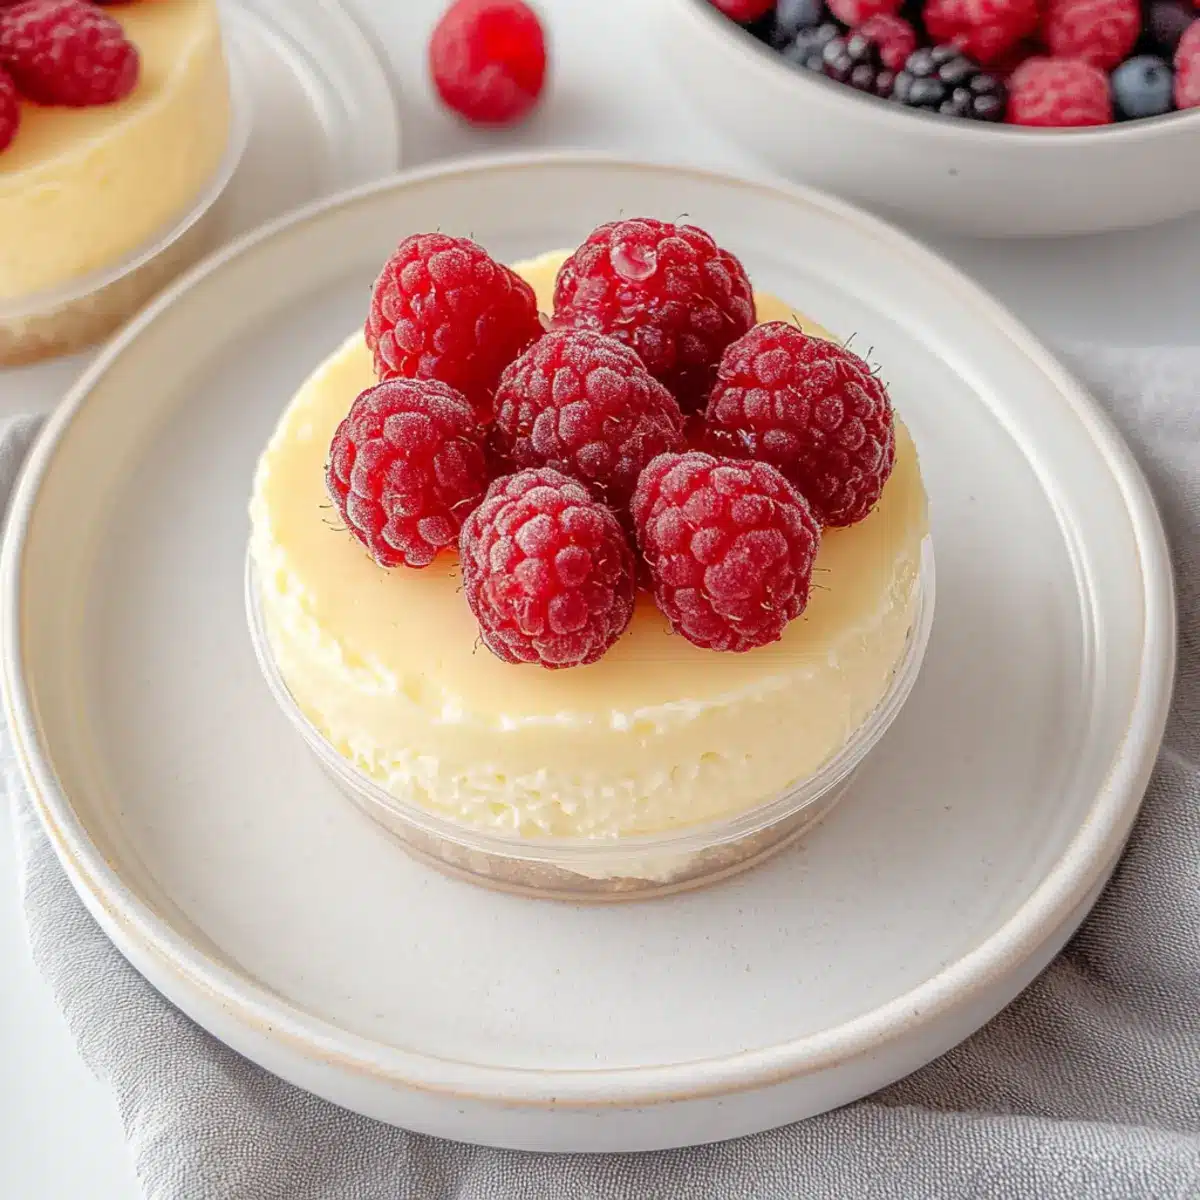
Once chilled and set, take the cheesecake out of the fridge. Slice it into generous pieces and serve it topped with optional fresh fruits or nuts for added flavor and crunch. The creamy No-Bake Greek Yogurt Jello Cheesecake is now ready to be enjoyed straight from the fridge!
How to Store and Freeze No-Bake Greek Yogurt Jello Cheesecake
Fridge: Store your No-Bake Greek Yogurt Jello Cheesecake in an airtight container for up to 3 days. This keeps it fresh and creamy while maintaining its delightful texture.
Freezer: Freezing is not recommended, as it can make the cheesecake grainy upon thawing, disrupting its smooth and fluffy mouthfeel.
Serving Tips: If you prepare it ahead, ensure to garnish with fresh fruits or nuts just before serving for maximum freshness and flavor. Enjoy straight from the fridge for the best experience!
Expert Tips for No-Bake Greek Yogurt Jello Cheesecake
- Whisk Thoroughly: To achieve a smooth texture, whisk the mixture well and allow it to rest. This helps eliminate lumps from the pudding mix.
- Texture Matters: For a firmer cheesecake, try adding an extra 1/2 tablespoon of pudding mix—this adjustment can make all the difference!
- Avoid Freezing: Don’t freeze your No-Bake Greek Yogurt Jello Cheesecake; freezing can turn it grainy when thawed, compromising its creamy texture.
- Mix & Match Yogurts: Experiment with flavored Greek yogurt, like vanilla or lemon, to add a delightful twist to your cheesecake.
- Presentation Tip: For a stunning appearance, use gel food coloring rather than liquid—it maintains the cheesecake’s delightful texture while adding a pop of color.
- Chill Time is Key: Allow at least 4 hours in the fridge for optimal setting. Patience is essential for that mousse-like perfection!
What to Serve with No-Bake Greek Yogurt Jello Cheesecake
Picture a delightful gathering where every bite harmonizes, creating a symphony of tastes and textures around your creamy dessert.
-
Fresh Berries: Their bright, tangy flavor pairs beautifully with the cheesecake’s sweetness, adding a pop of color and freshness. Consider a vibrant mix of strawberries, blueberries, and raspberries for an eye-catching presentation.
-
Crunchy Nuts: Almonds, walnuts, or pecans sprinkled on top enhance the dessert’s texture while adding a satisfying crunch to every creamy bite. Their earthy flavor complements the luscious cheesecake perfectly.
-
Lemon Sorbet: The cool, zesty sorbet adds a refreshing contrast to the rich cheesecake, cleansing the palate and leaving you rejuvenated. It’s a delightful way to finish a meal while keeping things light.
-
Graham Cracker Crust: Serve your cheesecake on a bed of crushed graham crackers for a classic touch that adds a sweet and slightly gritty texture. It’s a nod to traditional cheesecake while adding your unique flair.
-
Whipped Cream: A dollop of lightly sweetened whipped cream on top creates a luxurious finish and enhances the dessert’s creaminess, bringing an additional layer of indulgence to this guilt-free treat.
-
Iced Tea: A glass of refreshing iced tea—sweetened or unsweetened—pairs well with the flavors in the cheesecake, offering a cozy, homey feel to your dining experience.
-
Chocolate Drizzle: A drizzle of warm chocolate sauce over your cheesecake adds a rich, decadent flavor that harmonizes beautifully with the Greek yogurt’s creaminess, making every slice irresistible.
-
Vanilla Bean Ice Cream: The creaminess of vanilla ice cream contrasts delightfully with the cheesecake’s texture, creating a comforting dessert duo that is sure to please any sweet tooth.
Elevate your No-Bake Greek Yogurt Jello Cheesecake experience by thoughtfully pairing these options for a memorable meal!
No-Bake Greek Yogurt Jello Cheesecake Variations
Feel free to get creative and give your cheesecake a personal twist that makes it uniquely yours!
-
Flavored Yogurt: Use flavored Greek yogurt, such as vanilla or strawberry, to infuse a new dimension of taste. Each bite will burst with a hint of your chosen flavor!
-
Seasonal Fruits: Swap in seasonal fruits to enhance freshness. Berries in summer or apples in fall will elevate your cheesecake, providing vibrant flavors and colors.
-
Nutty Crunch: Add crushed nuts like almonds or pecans to the mix for a crunchy texture. This contrast will elevate the creaminess of the cheesecake while adding delightful bites of nuttiness.
-
Graham Cracker Base: For a crust-like element, layer crushed graham crackers or cookies at the bottom before pouring in the cheesecake mixture. It creates a delightful surprise with added flavor!
-
Chocolate Drizzle: Drizzle melted dark or white chocolate over the top for an indulgent touch. The added chocolate will complement the creamy cheesecake beautifully, making it even more irresistible.
-
Lower Sugar Option: Substitute the cheesecake pudding mix with a sugar-free alternative to lighten it up while keeping that scrumptious cheesecake flavor. Enjoy guilt-free indulgence!
-
Zesty Citrus: Add some lemon or lime juice to intensify the flavor notes. The citrusy zing adds freshness and an unexpected twist that will keep everyone guessing.
-
Spicy Kick: For those who like an adventurous flavor, add a pinch of cayenne or cinnamon. This subtle heat adds complexity and elevates the overall dessert experience.
Experimenting with these variations can lead to new family favorites! If you’re looking for a different cheesecake inspiration, try these Mini Oreo Cheesecake bites for a fun twist or explore the light and airy Japanese Cotton Cheesecake that will have everyone coming back for more!
Make Ahead Options
This No-Bake Greek Yogurt Jello Cheesecake is an excellent choice for meal prep, saving you precious time on busy days! You can prepare the cheesecake mixture up to 24 hours in advance. Simply combine the Greek yogurt and cheesecake pudding mix, whisk until smooth, and store it in an airtight container in the refrigerator. To maintain that creamy texture, avoid adding toppings until just before serving; this way, they stay fresh and vibrant. When you’re ready to serve, pour the mixture into your dish, refrigerate for at least 4 hours to set, and enjoy this delightful dessert that’s just as delicious as when freshly made!

No-Bake Greek Yogurt Jello Cheesecake Recipe FAQs
How do I choose the best Greek yogurt for this cheesecake?
Absolutely! For the creamiest texture, I recommend using full-fat Greek yogurt, which offers a rich and indulgent base. If you’re looking for a lighter option, fat-free Greek yogurt works great too but may result in a slightly denser cheesecake. Always check for freshness, and aim for yogurt with a smooth consistency and no dark spots.
How long can I store the No-Bake Greek Yogurt Jello Cheesecake?
You can store your cheesecake in an airtight container in the fridge for up to 3 days. I often make it a day ahead for gatherings, as it allows the flavors to meld beautifully while keeping it fresh. However, I suggest enjoying it within the first couple of days for the best texture and taste!
Can I freeze the No-Bake Greek Yogurt Jello Cheesecake?
Freezing is not recommended for this cheesecake, as it can lead to a grainy texture once thawed, which defeats its creamy charm. If you wish to make it in advance, simply store it in the fridge, and it will be perfect and ready to impress your guests!
What can I do if my cheesecake mixture is lumpy?
Not to worry! If you notice lumps in your mixture, whisk vigorously for an additional minute to combine everything. It’s also helpful to let the mixture rest for 5 minutes to hydrate fully. If lumps remain, try using a hand mixer for 30 seconds. This should give you that silky-smooth consistency you desire!
Are there any dietary considerations for pets or allergies?
Definitely! This cheesecake contains dairy ingredients like Greek yogurt and pudding mix, which can be harmful to pets if consumed. Always keep this dessert out of reach from curious paws. Additionally, if you’re serving it to guests, be mindful of allergies, especially with nuts and specific pudding ingredients. Adjust the toppings and ingredients accordingly for a safe treat for everyone!
Creamy No-Bake Greek Yogurt Jello Cheesecake Bliss
Ingredients
Equipment
Method
- In a large mixing bowl, combine the Greek yogurt and cheesecake pudding mix. Whisk until smooth and creamy, about 2–3 minutes.
- If lumps remain, whisk vigorously for an additional minute and let it sit for 5 minutes to hydrate.
- Consider adding a few drops of gel food coloring and stir gently until evenly distributed.
- Pour the cheesecake mixture into a prepared dish, spreading it evenly with a spatula.
- Cover the dish with plastic wrap and refrigerate for at least 4 hours until firm.
- Slice into pieces and serve topped with optional fresh fruits or nuts.
Leave a Reply