
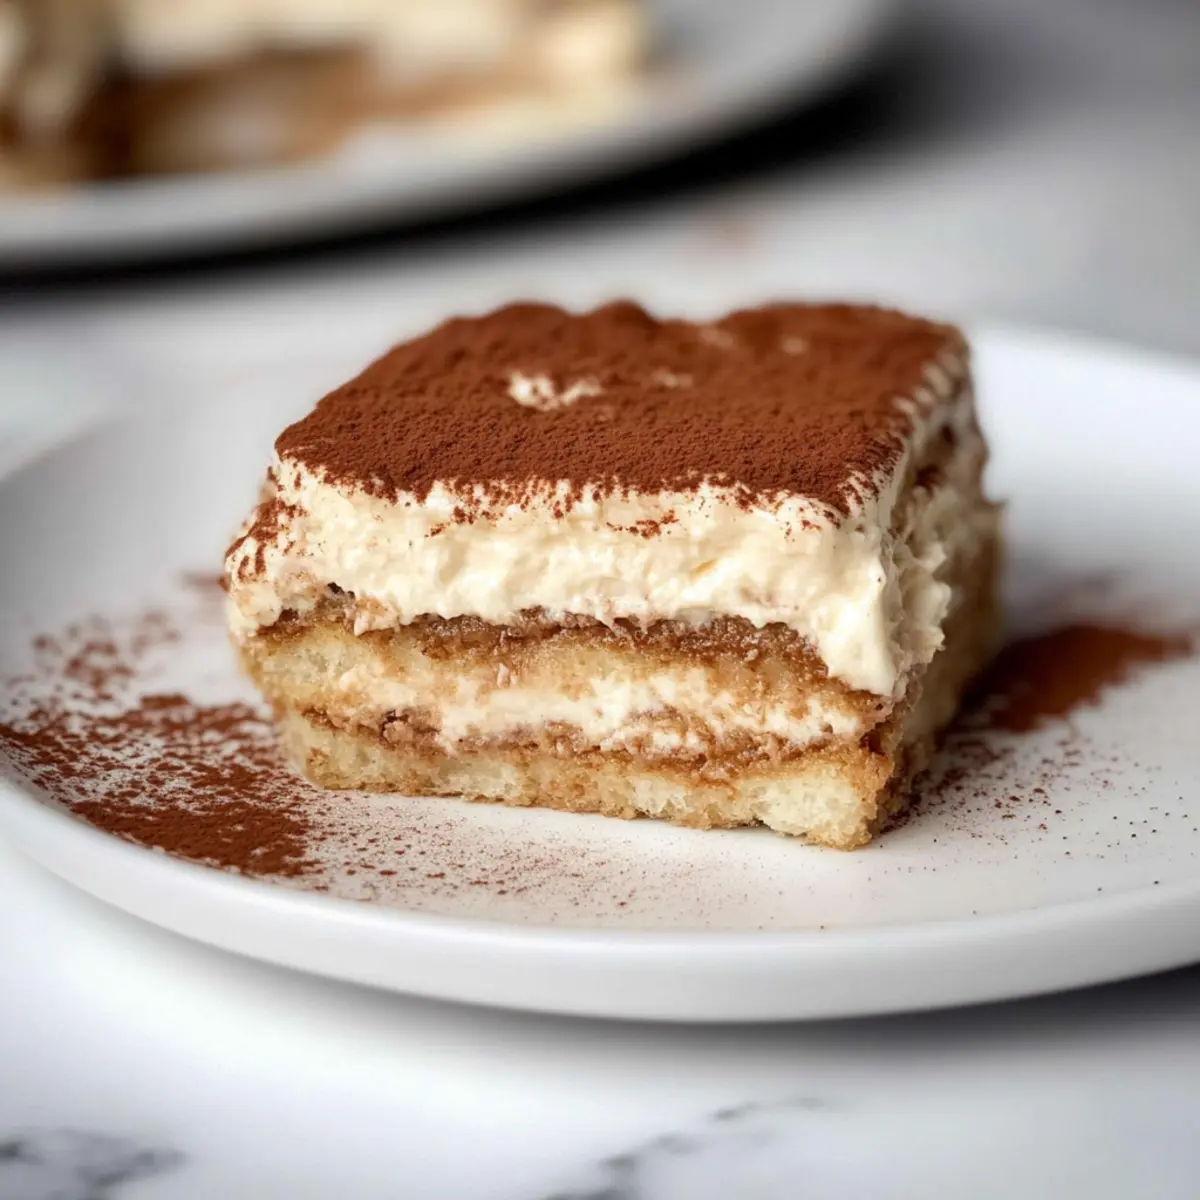
The aroma of freshly brewed espresso wafting through my kitchen always sparks a little excitement, reminding me of cozy evenings spent indulging in a rich, creamy dessert. Today, I’m excited to share my recipe for Healthy No-Bake Tiramisu: a gluten-free delight that transforms a classic Italian favorite into a guilt-free treat. This scrumptious dessert features layers of coffee-dipped lady fingers combined with a smooth mascarpone Greek yogurt custard, making it a fantastic option for anyone looking to satisfy their sweet tooth without the heaviness typically associated with traditional tiramisu. Plus, it’s a no-bake recipe that comes together quickly, perfect for last-minute gatherings or a refreshing end to your dinner. Curious how to elevate your dessert game with this light and delightful twist? Let’s dive in!
Why is this Healthy Tiramisu special?
Gluten-Free Delight: This recipe beautifully captures the essence of classic tiramisu while being gluten-free, so everyone can enjoy!
Easy No-Bake Process: With minimal effort, you’ll whip up a decadent dessert that doesn’t require any baking!
Protein-Packed Twist: Incorporating Greek yogurt into the custard adds protein, making this dessert a bit healthier.
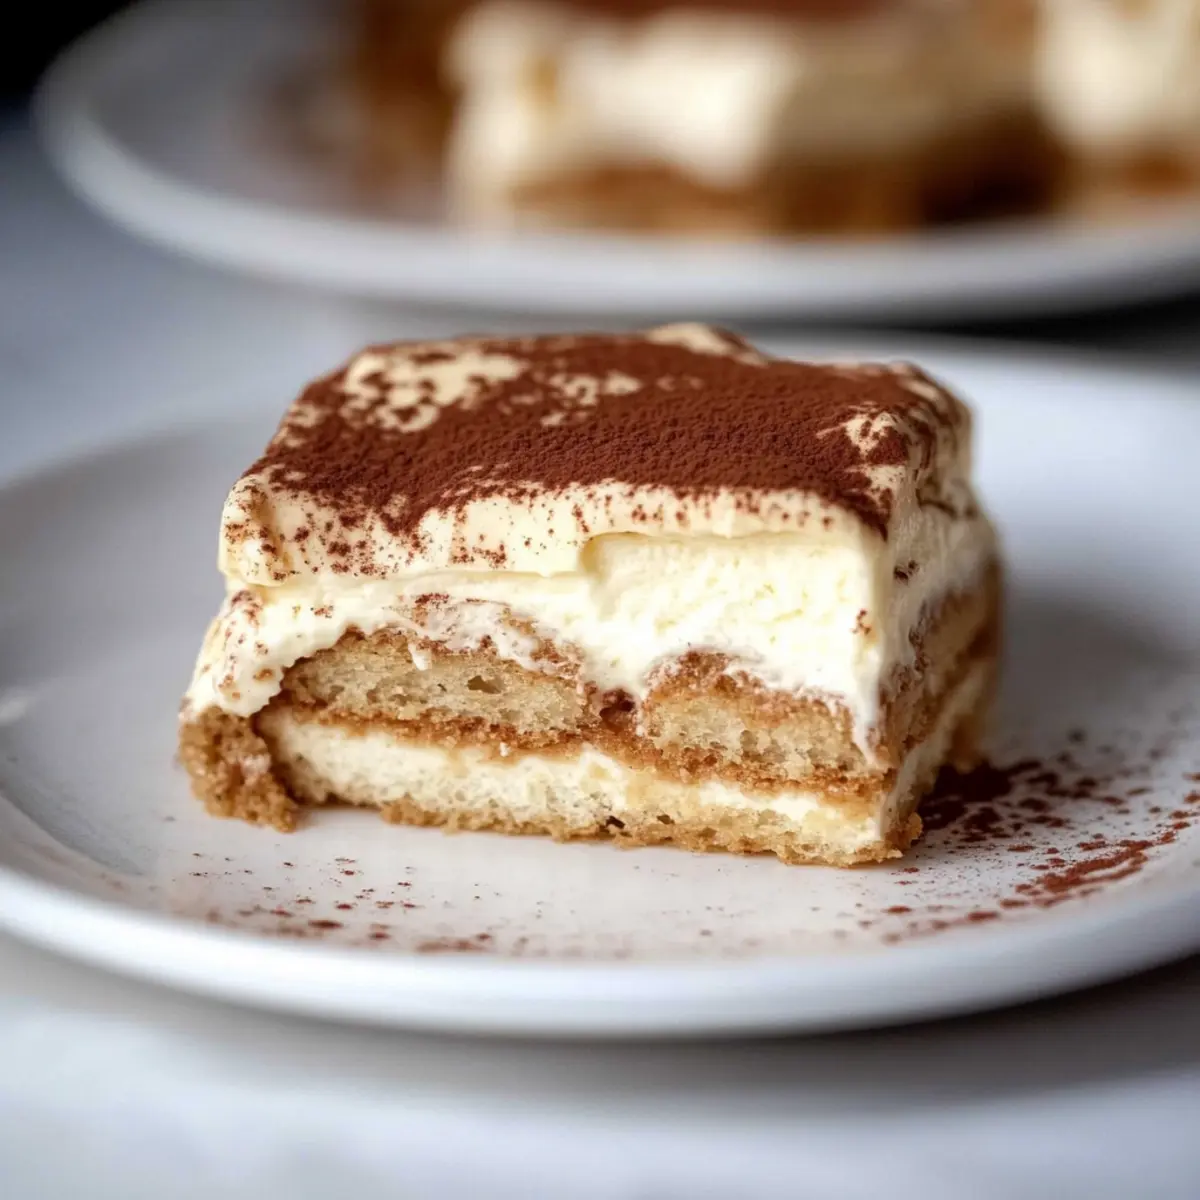
Layered Perfection: The combination of coffee-soaked lady fingers and creamy mascarpone creates a deliciously balanced texture.
Customizable Options: From flavored liqueurs to various sweeteners, this tiramisu can easily be tailored to your taste—try the Hot Chocolate Tiramisu for a cozy twist!
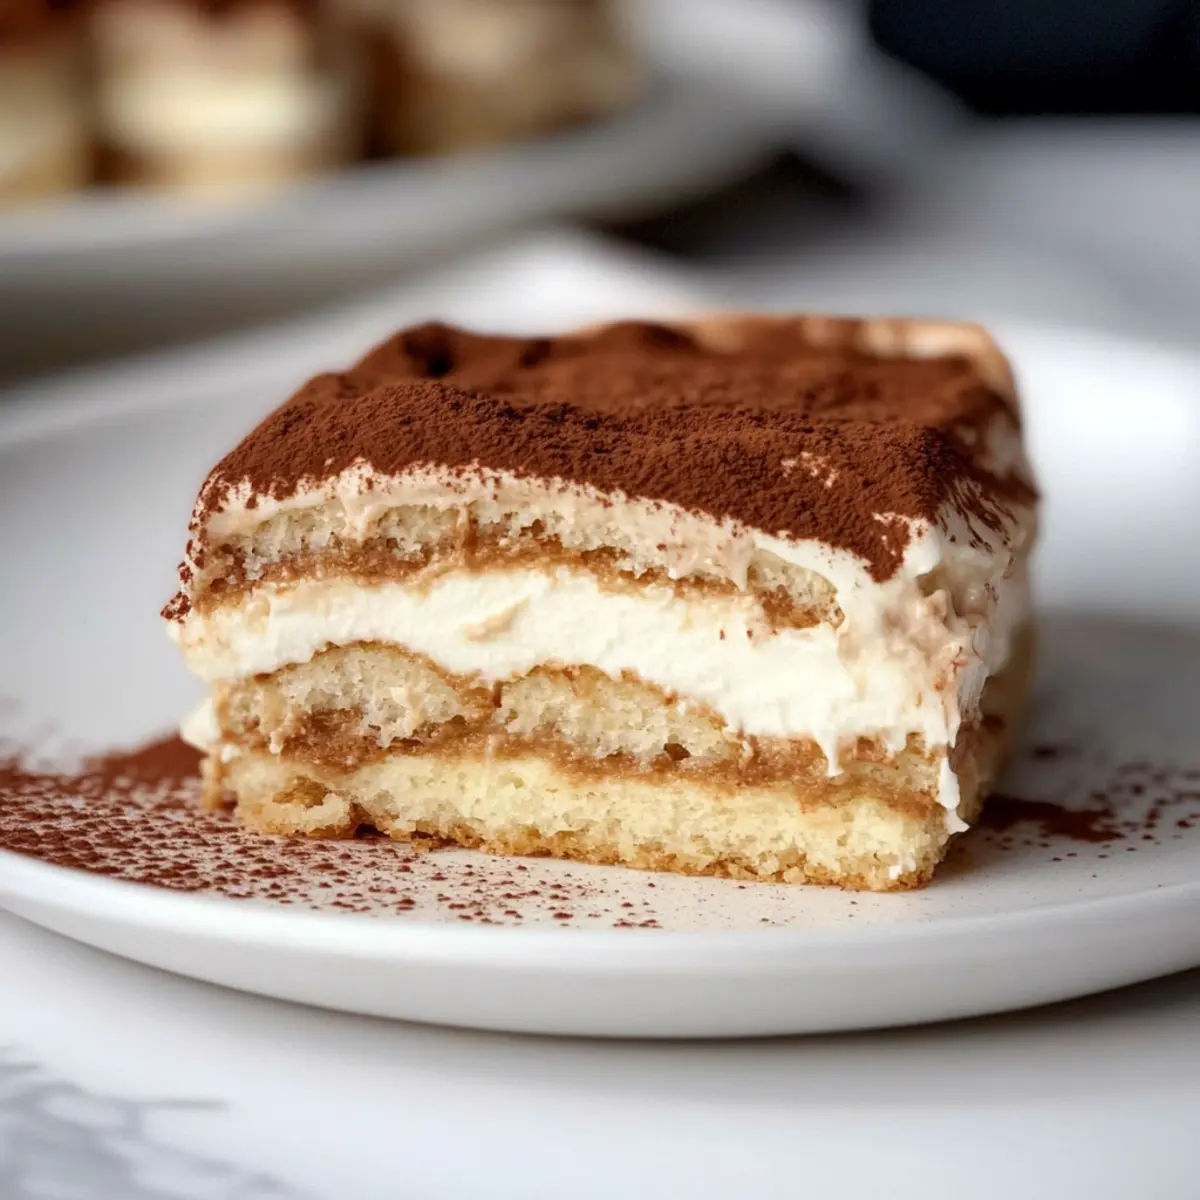
Impressive Presentation: Perfect for dinner parties, this dessert will wow your guests with its elegant layers and rich flavors.
Healthy Tiramisu Ingredients
-
For the Custard
-
Milk – Adds moisture and creaminess; use skim or almond milk for versatility.
-
Cornstarch – Acts as a thickening agent; arrowroot starch is a great gluten-free substitute.
-
Vanilla Extract – Enhances flavor; opt for pure extract for the best results.
-
Mascarpone Cheese – Provides creamy richness; swap entirely with Greek yogurt if desired.
-
Greek Yogurt – Lightens the custard while boosting protein; regular yogurt is also a good option.
-
Eggs – Contributes to structure and richness; use large eggs.
-
Honey – Adds sweetness; feel free to substitute with white sugar or maple syrup.
-
For Assembly
-
Cold Espresso – Delivers a robust coffee flavor; cold brew coffee can be an alternative.
-
Lady Fingers – The main component soaked in espresso; ensure they’re gluten-free for this recipe.
-
Rum or Kahlua (optional) – Adds traditional flavor depth; omit for an alcohol-free version.
-
For Garnishing
-
Cocoa Powder – Adds a chocolatey finish; make sure to use unsweetened cocoa for best results.
Don’t miss out on making this Healthy Tiramisu (Gluten-Free) to delight your loved ones with a lovely blend of flavor and texture!
Step‑by‑Step Instructions for Healthy Tiramisu (Gluten-Free)
Step 1: Prepare Espresso
Begin by brewing a rich shot of espresso using your favorite coffee maker. Allow the freshly brewed espresso to cool down slightly, transferring it to a shallow dish for quicker cooling. This will make dipping your lady fingers efficient and helps to retain their structure, ensuring they don’t get too soggy.
Step 2: Make Custard
In a medium saucepan, whisk together ½ cup of milk and cornstarch until the mixture is smooth and free of lumps. Place the saucepan over medium-high heat, stirring constantly until the mixture thickens and bubbles gently—this should take about 2-3 minutes. Once thickened, remove from heat and mix in the remaining milk along with the whisked egg yolks and honey.
Step 3: Combine Mixture
Return the saucepan to low-medium heat, whisking continuously to ensure everything blends well and thickens further for about 5 minutes. The custard should be creamy and silky. Once you achieve the desired consistency, whisk in the mascarpone cheese and Greek yogurt until smooth, creating a delightful blend for your Healthy Tiramisu.
Step 4: Assemble Tiramisu
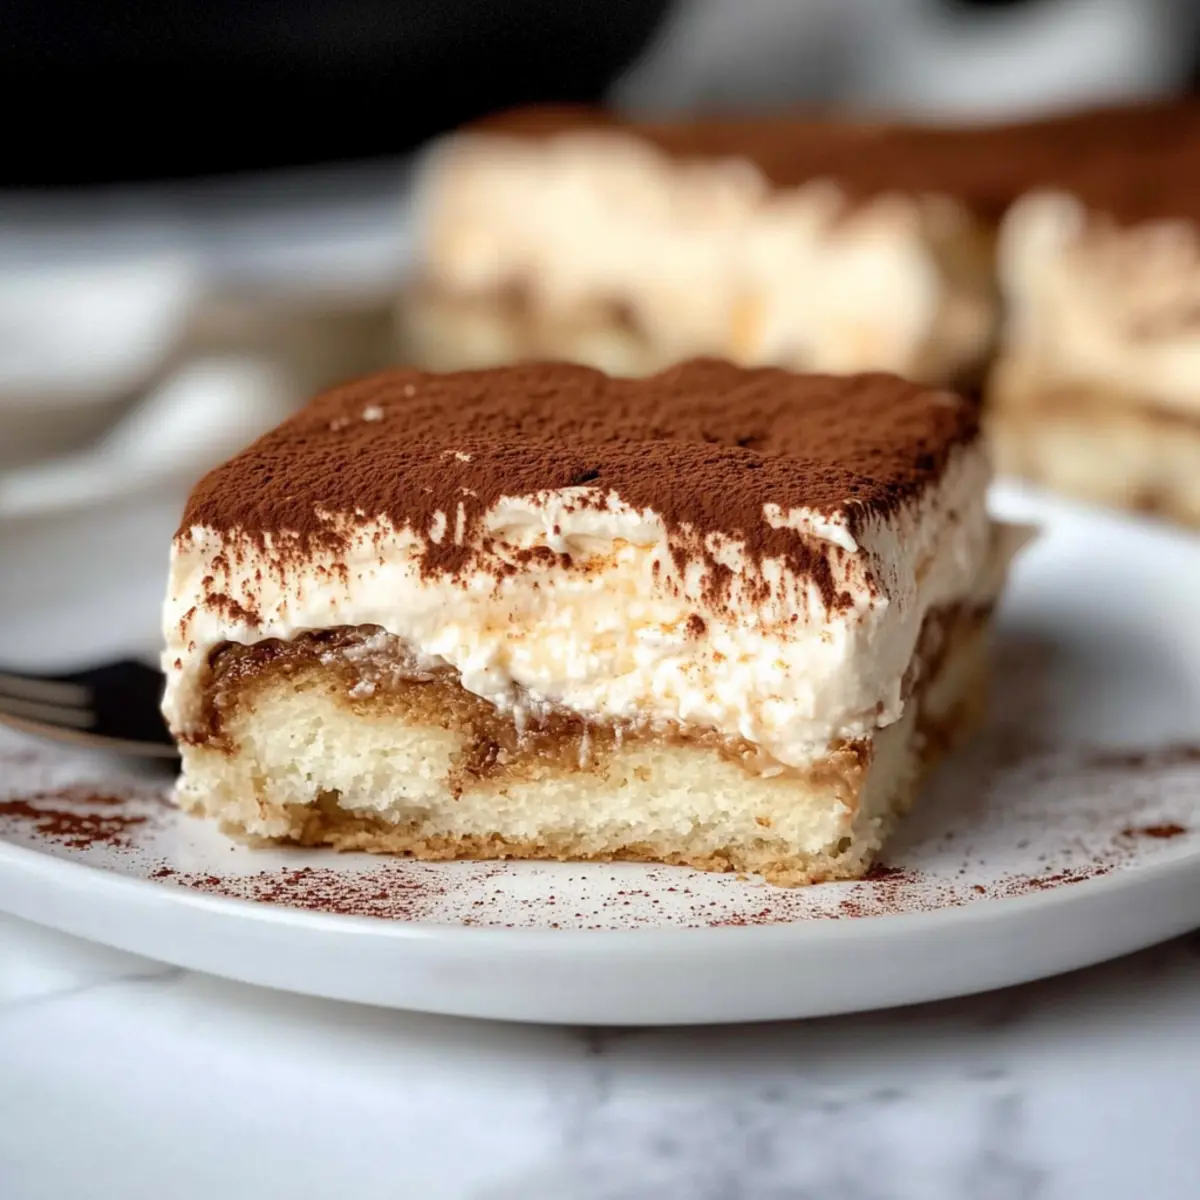
Take your cooled espresso and quickly dip each lady finger into the coffee, ensuring not to soak them for too long to avoid sogginess. Layer the dipped lady fingers at the bottom of your serving dish, creating a solid base. Spread half of the mascarpone mixture over these fingers, smoothing it evenly with a spatula for a beautiful finish.
Step 5: Layer Again
Repeat the dipping process with another round of lady fingers, placing them carefully over the custard layer. Once arranged, spread the remaining mascarpone mixture on top. This second layer enhances the lusciousness of your Healthy Tiramisu, making each bite a creamy delight.
Step 6: Dust & Chill
Finish by dusting the top layer with unsweetened cocoa powder for a rich chocolatey finish. Cover the dish with plastic wrap and refrigerate for at least 5 hours, though chilling overnight allows the flavors to meld beautifully, giving you that luxurious texture and taste you crave in a Healthy Tiramisu (Gluten-Free).
Expert Tips for Healthy Tiramisu
- Quick Dipping: Make sure to dip the lady fingers swiftly in the espresso; if soaked too long, they’ll turn mushy instead of maintaining a pleasant texture.
- Chill Time: Allow your Healthy Tiramisu to chill for at least 5 hours; overnight is even better for the best flavor infusion and texture.
- Egg White Fluffiness: For an airy custard, consider folding in whipped egg whites into the mascarpone mixture; this adds a lightness that enhances your dessert.
- Cocoa Powder Dusting: Don’t skip the cocoa powder on top! It not only adds a beautiful finish but also balances the sweetness of the Healthy Tiramisu.
- Experiment with Sweeteners: Feel free to adjust the sweetness; you can use maple syrup, agave, or your preferred sweetener to suit your taste.
What to Serve with Healthy No-Bake Tiramisu?
There’s something magical about savoring a delightful dessert like tiramisu; let’s create a memorable meal around it!
-
Fresh Berries: Juicy strawberries or raspberries bring a burst of freshness that cuts through the richness of the tiramisu, enhancing every bite. Their vibrant colors also add an elegant touch to your dessert presentation.
-
Italian Coffee: A robust cup of espresso or a smooth cappuccino pairs beautifully with the coffee flavors, creating a lovely warm contrast to the chilled tiramisu. The combination is reminiscent of an Italian café experience.
-
Whipped Cream: A dollop of lightly sweetened whipped cream on the side provides a fluffy texture that complements the creamy layers of the tiramisu. It’s the perfect contrast, lightening up the dessert further.
-
Dark Chocolate Shavings: A sprinkle of dark chocolate shavings not only adds a luxurious touch but also enhances the chocolatey flavors, making each bite even more decadent. They add a slight bitterness that balances the sweetness.
-
Pistachio Biscotti: These crunchy treats provide a lovely textural contrast to the soft tiramisu, while their nutty flavor pairs impeccably with the coffee notes. A perfect snack alongside your dessert, too!
-
Zesty Lemon Sorbet: A small scoop of lemon sorbet adds a refreshing, tangy element that cleanses the palate, preparing you for another round of that rich tiramisu. It’s a vibrant way to round off the meal!
How to Store and Freeze Healthy Tiramisu
Fridge: Store your Healthy Tiramisu in an airtight container for up to 3 days. This will keep it fresh while allowing for those delightful flavors to meld.
Freezer: For longer storage, you can freeze slices wrapped tightly in plastic wrap and then foil, lasting up to 2 months. Thaw overnight in the fridge before serving.
Reheating: This dessert is best enjoyed cold, so there’s no need for reheating. Simply let it thaw in the fridge before indulging!
Make-Ahead Tips: Prepare your Healthy Tiramisu up to 2 days in advance, covering it tightly with plastic wrap. Perfect for hosting without the last-minute fuss!
Healthy Tiramisu (Gluten-Free) Variations
Feel free to get creative with this recipe and make it your own with these delightful twists!
- Dairy-Free: Substitute mascarpone with coconut cream for a rich and creamy non-dairy custard.
- Lower Sugar: Replace honey with stevia or monk fruit sweetener for a low-calorie option without sacrificing sweetness.
- Texture Boost: Incorporate crushed nuts or granola between the layers for an added crunch. This little surprise can truly elevate the whole experience!
- Extra Flavor: Add a splash of vanilla or almond extract to the custard for a fragrant twist. This small addition makes a big impact on flavor!
- Choco-Mocha Delight: Mix in a tablespoon of cocoa powder into the espresso for a deeper chocolate flavor—perfect for chocolate lovers.
- Seasonal Twist: Use pumpkin puree and spices for a fall-inspired pumpkin tiramisu, or try fresh berries for a summer twist.
- Decadent Layer: Try adding a layer of dark chocolate ganache on top of the mascarpone mixture for an indulgent finish! Your family and friends won’t believe how delicious this is.
- Frozen Treat: Create a tiramisu parfait by freezing individual portions in cups for a refreshing, icy dessert.
If you’re curious about more variations of this classic dessert, check out my Protein Pudding for a nutritious spin or my Tiramisu Minutes Italian for a traditional take!
Make Ahead Options
Prepare your Healthy Tiramisu (Gluten-Free) in advance for an effortless dessert experience! You can make the custard and soak the lady fingers up to 24 hours ahead of time, allowing the flavors to meld beautifully. Simply whisk together the milk, cornstarch, egg yolks, honey, mascarpone, and Greek yogurt, then assemble the dessert, dust it with cocoa powder, and cover it tightly with plastic wrap. Refrigerate it overnight, ensuring it stays fresh and delicious. Just remember to keep it chilled until you’re ready to serve. This way, you can impress your guests with a perfectly set, rich tiramisu that saves you valuable time on busy weeknights!
Healthy Tiramisu (Gluten-Free) Recipe FAQs
What type of lady fingers should I use for this recipe?
Absolutely! Make sure to use gluten-free lady fingers for this Healthy Tiramisu (Gluten-Free) version. You can find them at most grocery stores or online, ensuring everyone can join in on the deliciousness without any gluten worries.
How long can I store my Healthy Tiramisu in the fridge?
Your Healthy Tiramisu can be stored in the fridge for up to 3 days when kept in an airtight container. This allows the flavors to meld beautifully while keeping the dessert nice and fresh for your enjoyment.
Can I freeze my Healthy Tiramisu?
Yes! To freeze, wrap individual slices tightly in plastic wrap and then in foil. This way, your Healthy Tiramisu can last up to 2 months in the freezer. Simply thaw in the fridge overnight before serving to enjoy it at its best!
What should I do if my custard didn’t thicken properly?
If your custard seems too runny, don’t fret! You can return it to low heat and whisk constantly to promote further thickening. If it still doesn’t reach the desired consistency, try adding a small amount of cornstarch mixed with cold milk (around a tablespoon) and heat until thickened. This should restore the right texture for your lovely dessert.
Can I make this Healthy Tiramisu dairy-free?
Certainly! To make this Healthy Tiramisu dairy-free, substitute the mascarpone cheese with an appropriate non-dairy alternative, like coconut cream or additional Greek yogurt made from almond or coconut milk. Just be sure to check that all your ingredients, including the lady fingers, are gluten-free and dairy-free as needed.
Delicious Healthy Tiramisu (Gluten-Free) to Satisfy Your Cravings
Ingredients
Equipment
Method
- Prepare espresso by brewing a rich shot and allowing it to cool in a shallow dish.
- In a saucepan, whisk milk and cornstarch together, then heat while stirring until thickened.
- Combine remaining milk, egg yolks, and honey into the thickened mixture, then whisk in mascarpone and yogurt until smooth.
- Dip lady fingers in cooled espresso swiftly and layer at the bottom of a serving dish.
- Spread half of the mascarpone mixture over the lady fingers, then layer another round of dipped lady fingers followed by the remaining mixture.
- Dust the top with cocoa powder, cover with plastic wrap, and refrigerate for at least 5 hours.
Leave a Reply