
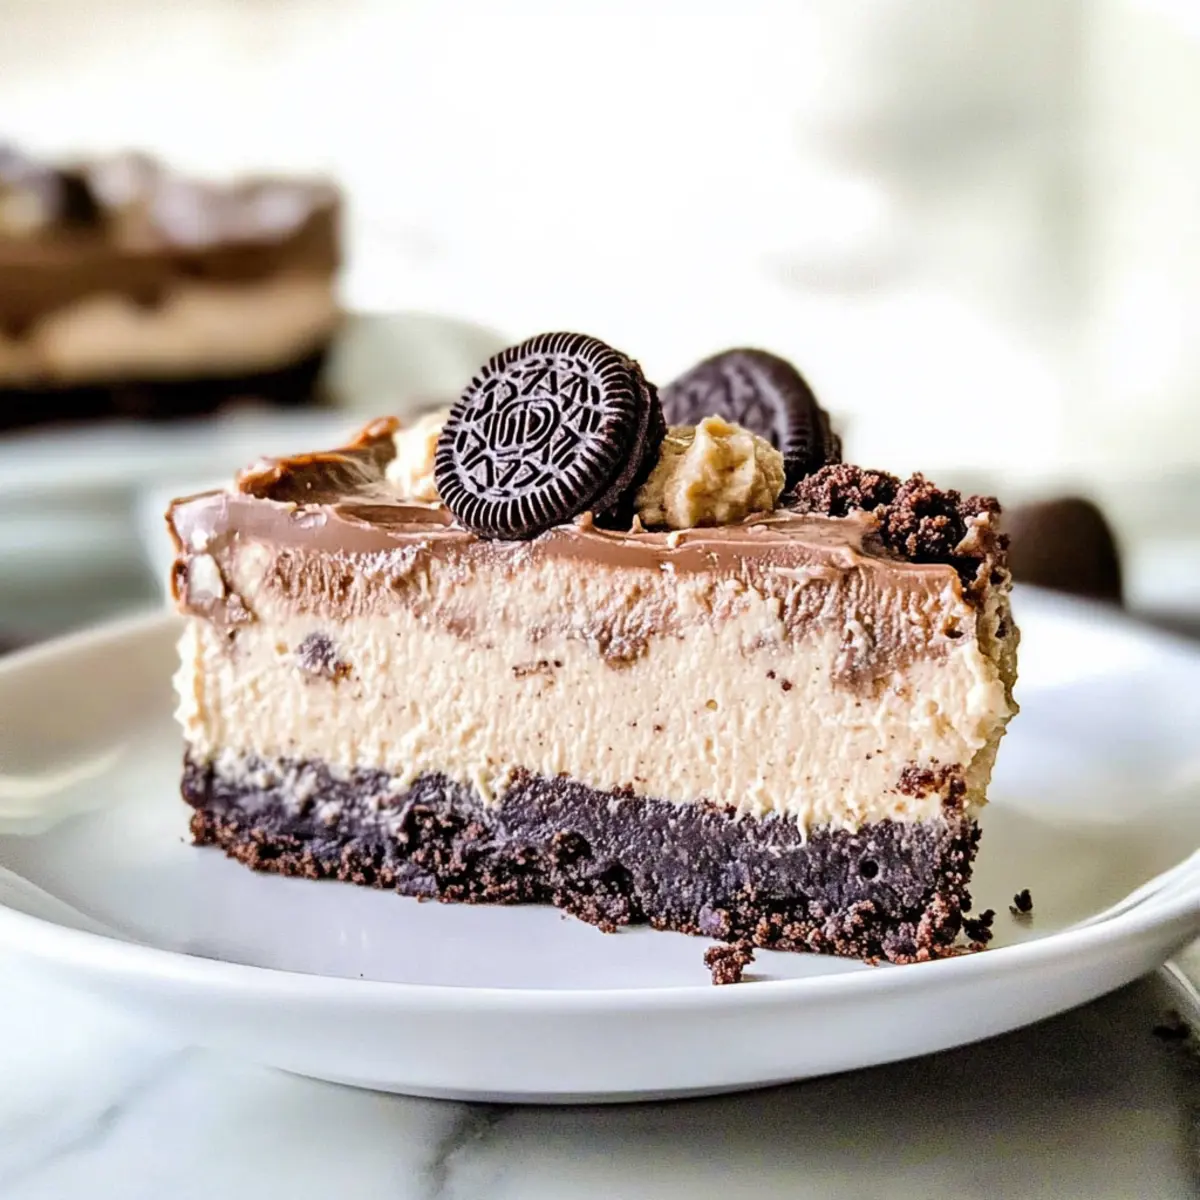
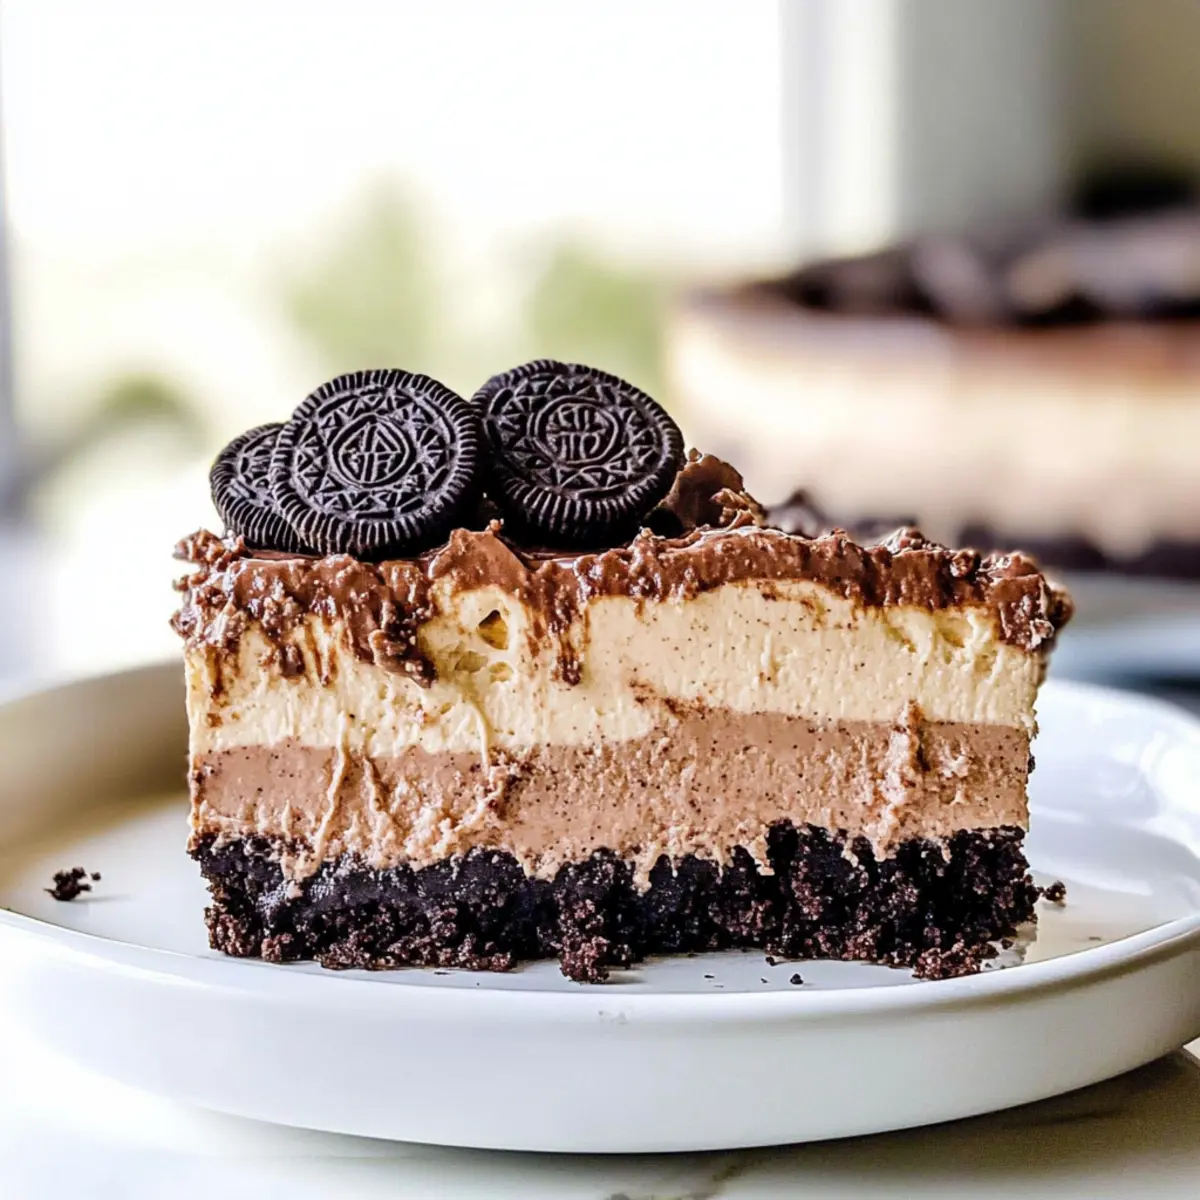
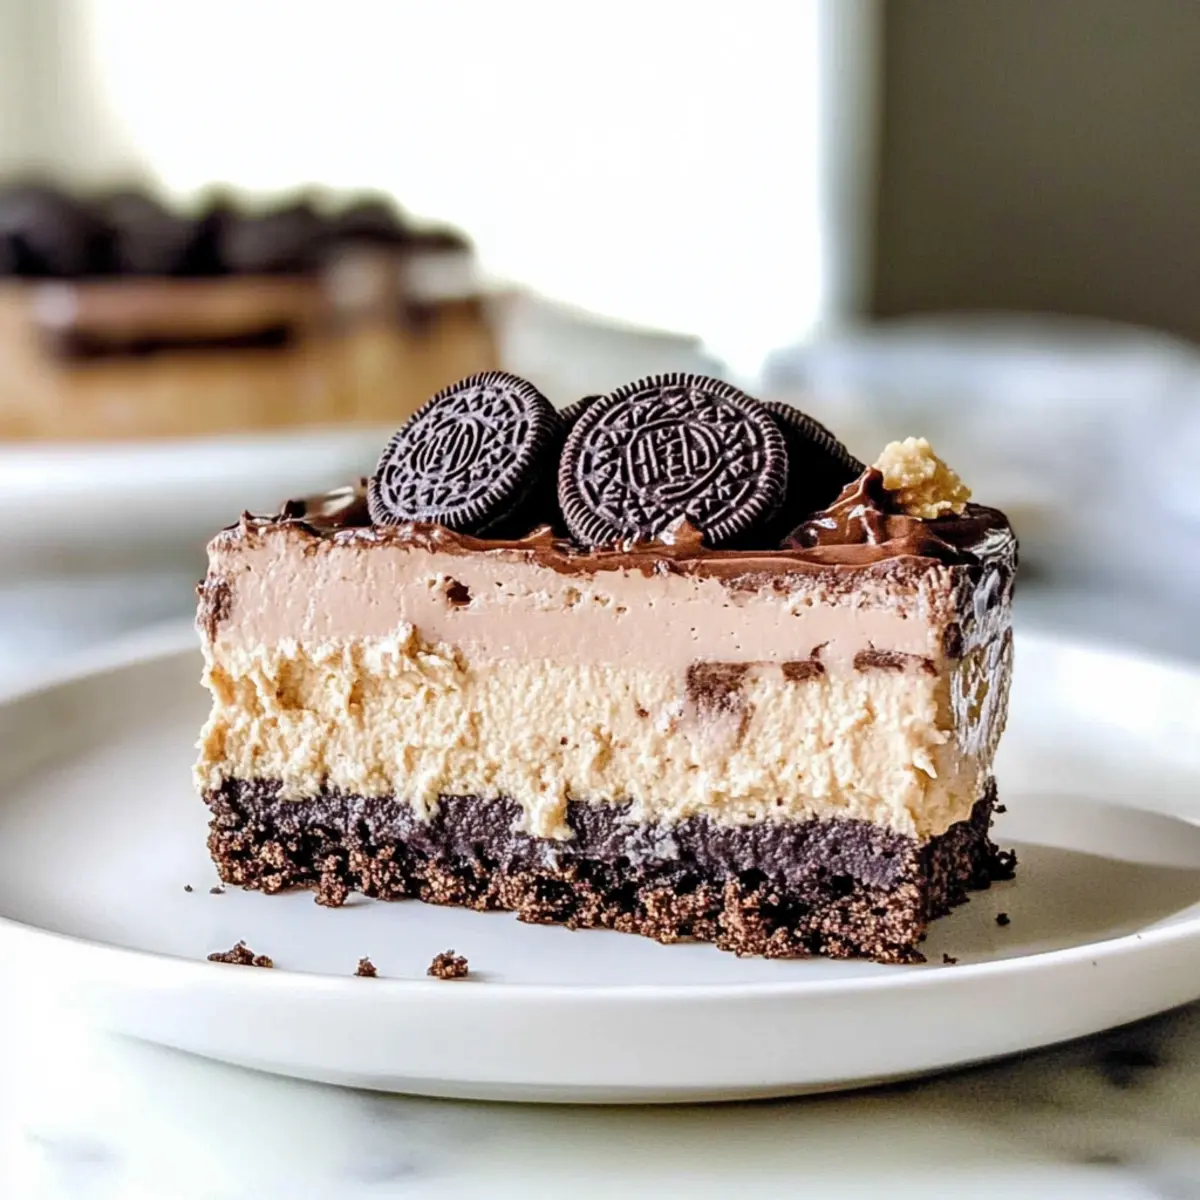
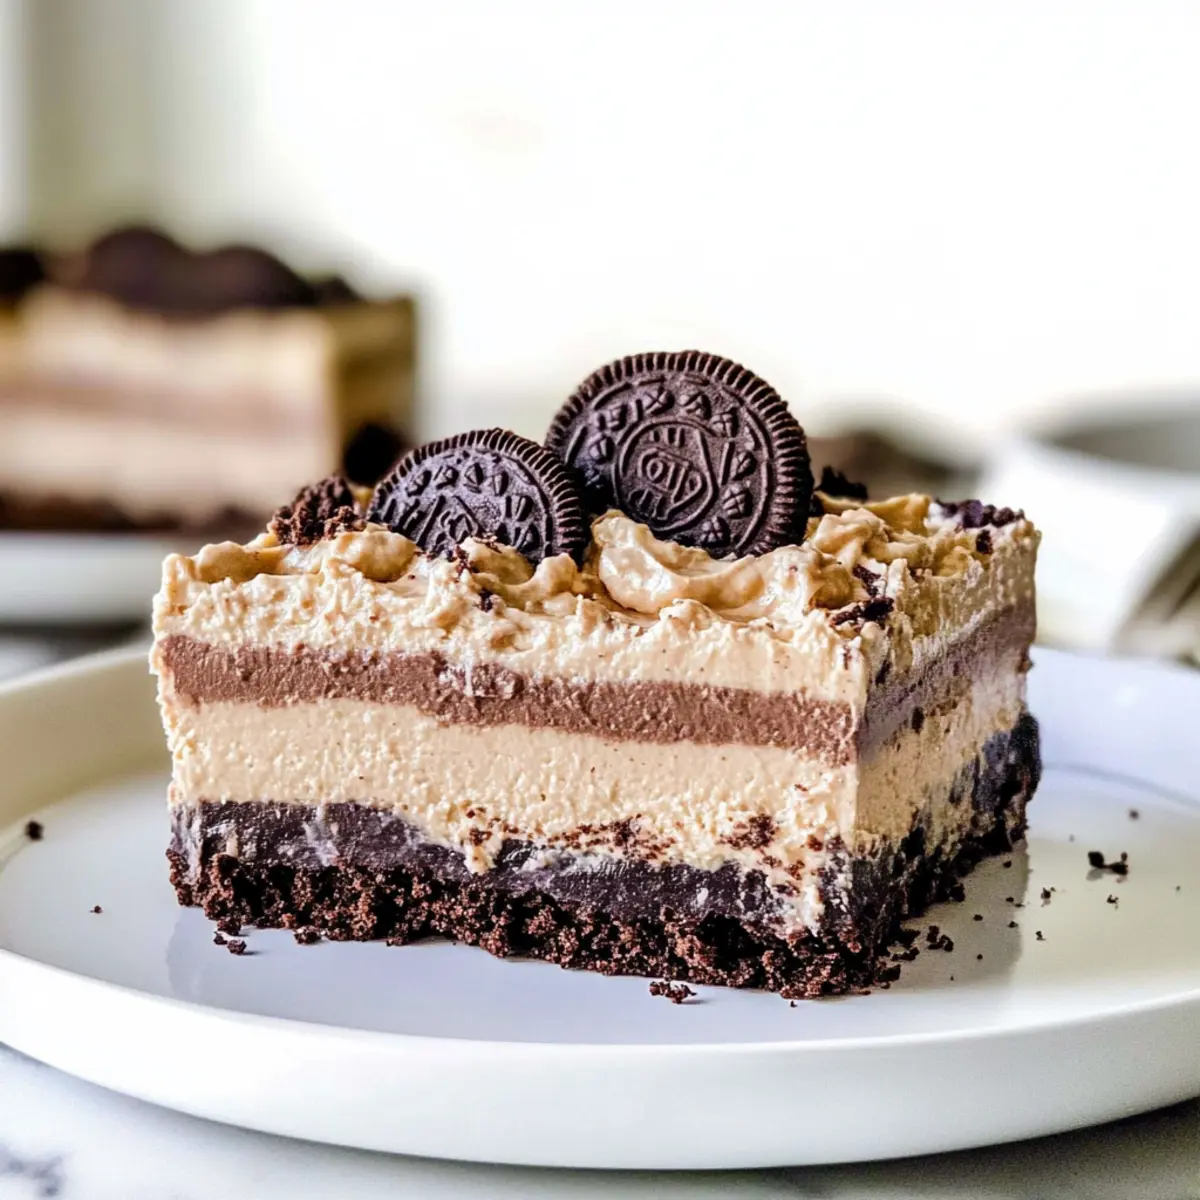
As the summer sun blazed overhead, I found myself yearning for something cool, creamy, and utterly satisfying. That’s when this Chocolate Peanut Butter No-Bake Dessert came to life in my kitchen. With its irresistible layers of velvety chocolate pudding, rich peanut butter cheesecake, and a crunchy Oreo crust, it’s the ultimate way to beat the heat without heating up the oven! Not only is this recipe a total crowd-pleaser, but it also embraces the convenience of make-ahead options, making life just a bit sweeter. Perfect for entertaining or simply indulging after a long day, this layered delight transforms any occasion into a special treat. Are you ready to discover how easy it is to create this decadent masterpiece?
Why is this dessert a must-try?
Irresistible Layers: The combination of creamy chocolate pudding and peanut butter cheesecake creates an indulgently rich texture that’s truly heavenly.
Quick & Simple: With no baking required, you can achieve a stunning dessert in just a few steps—perfect for those busy summer days.
Make-Ahead Convenience: Prepare this Chocolate Peanut Butter No-Bake Dessert in advance, so you can relax and enjoy entertaining without the last-minute stress.
Crowd-Pleaser: It’s always a hit at gatherings, bringing smiles and happy bellies to all who indulge. Don’t forget to try a drizzle of chocolate sauce for extra flair!
Endless Variations: Feel free to experiment with alternatives like Chocolate Peanut Butter cookies or even swap in flavored pudding for a unique twist.
Dive into this dessert that’s sure to become a favorite in your home!
Chocolate Peanut Butter No-Bake Dessert Ingredients
For the Crust
- Oreo Cookies – Provides the crunchy base; substitute with gluten-free cookies for a gluten-free version.
- Butter – Binds the crushed cookies; use coconut oil as a dairy-free substitute.
For the Peanut Butter Layer
- Cream Cheese – Creates a creamy layer; use softened vegan cream cheese for a dairy-free option.
- Creamy Peanut Butter – Adds rich flavor and creaminess; almond butter can be used as an alternative.
- Powdered Sugar – Sweetens the dessert; use coconut sugar for a less processed sweetener.
- Whipped Topping – Adds lightness and fluffiness; non-dairy whipped topping can be used as a substitute.
For the Chocolate Layer
- Chocolate Milk – To prepare the chocolate pudding; swap with almond milk or oat milk for a dairy-free version.
- Instant Chocolate Pudding – Provides structure and chocolate flavor; vanilla pudding can be used for a lighter twist.
For Garnish
- Miniature Peanut Butter Cups – Adds texture and extra peanut butter flavor; substitute with chocolate chips for a different taste.
- Additional Crushed Oreo Cookies – For topping; enhances the crunch factor.
This Chocolate Peanut Butter No-Bake Dessert is the perfect solution for warm days when you crave something decadent without the hassle of baking!
Step‑by‑Step Instructions for Chocolate Peanut Butter No-Bake Dessert
Step 1: Prepare the Crust
Start by preheating your oven to 350°F if you decide to bake the crust for extra crispiness. In a food processor, crush 16 Oreo cookies with 2 tablespoons of melted butter until they resemble fine crumbs. Press this mixture firmly into the bottom of a 9-inch baking dish, creating an even layer. Set aside for the time being as you move on to the creamy layers.
Step 2: Make Peanut Butter Layer
In a stand mixer, combine 8 ounces of softened cream cheese, 1 cup of creamy peanut butter, and 1 cup of powdered sugar. Mix on medium speed until the ingredients are well combined and creamy in texture—about 2 minutes. Gently fold in half of the thawed whipped topping until fully incorporated, creating a light and airy filling. Pour this rich mixture over the prepared Oreo crust, smoothing it out evenly with a spatula.
Step 3: Add Peanut Butter Cups
Next, take your miniature peanut butter cups and coarsely chop them into smaller pieces. Sprinkle three-fourths of these delightful morsels evenly over the peanut butter layer, pressing down lightly to ensure they adhere. This adds delightful textures and bursts of flavor to your Chocolate Peanut Butter No-Bake Dessert. Set aside as you prepare the chocolate layer to elevate your creation.
Step 4: Prepare Chocolate Layer
In a medium bowl, add the instant chocolate pudding, 1 cup of milk, and the remaining powdered sugar. Whisk these ingredients together for about 2 minutes, until the mixture thickens and begins to set. Let it sit for an additional 2 minutes for a perfect consistency. Finally, fold in the remaining whipped topping gently until no streaks remain, creating a luscious and creamy chocolate layer to pour over your dessert.
Step 5: Finish and Chill
Once your chocolate layer is ready, pour it over the existing layers in the baking dish, making sure to cover everything completely. Sprinkle the remaining crushed Oreo cookies and chopped peanut butter cups on top for a decorative touch. Now, cover the dish with plastic wrap and chill in the refrigerator for at least 3 hours, allowing the flavors to meld and the dessert to set beautifully.
Enjoy crafting this Chocolate Peanut Butter No-Bake Dessert, perfect for satisfying sweet cravings while keeping it cool in the kitchen!
What to Serve with Chocolate Peanut Butter No-Bake Dessert
When it comes to creating a memorable meal, pairing is everything!
- Fresh Berries: The bright acidity of strawberries or raspberries cuts through the richness, adding a refreshing balance. The vibrant color also enhances the visual appeal of the dessert.
- Vanilla Ice Cream: A scoop of creamy vanilla ice cream complements the dessert’s chocolate and peanut butter layers, making each bite even more indulgent. It’s a classic combination that everyone loves.
- Chocolate Drizzle: A drizzle of warm, melted chocolate over the top adds an extra layer of decadence, elevating your dessert from delightful to divine.
- Whipped Cream: Lightened whipped cream creates a lovely contrast in both texture and flavor, providing a silky, smooth finish that complements the crunch of the crust.
- Espresso or Coffee: A small cup of rich espresso pairs beautifully, enhancing the chocolate flavor and giving you a cozy, comforting experience. Its bitterness balances the dessert’s sweetness perfectly.
- Homemade Cookies: Serve with a selection of your favorite cookies for a fun dessert platter. Think chocolate chip or even peanut butter cookies for delightful flavor harmony.
- Nutty Granola: A sprinkle of nutty granola adds crunch and nutrition, creating a delightful texture contrast and making the dessert feel a little more wholesome.
- Fresh Mint Leaves: A few sprigs of mint as a garnish brighten up the dish with a pop of color and a refreshing hint of flavor, inviting guests to dig in!
- Sparkling Water: For a refreshing drink option, serve chilled sparkling water with a twist of lemon or lime to cleanse the palate between bites and enhance the meal’s overall refreshment.
- Chocolate Lava Cake: If you’re looking for more chocolate, a mini chocolate lava cake can bring the ultimate chocolate experience to the table, offering a warm contrast to the chilled dessert.
Crafting your perfect meal is all about balance—so mix and match these pairings to create a symphony of flavors and textures that everyone will adore!
How to Store and Freeze Chocolate Peanut Butter No-Bake Dessert
Fridge: Store any leftovers in an airtight container for up to 5 days. This helps maintain the creamy texture of your Chocolate Peanut Butter No-Bake Dessert.
Freezer: Wrap the dessert tightly in plastic wrap and foil. It can be frozen for up to two months, transforming it into a soft, ice cream-like treat perfect for warm days.
Thawing: When ready to enjoy, transfer the dessert to the fridge and let it thaw overnight for the best texture.
Reheating: This no-bake dessert is best served chilled. No reheating is necessary, just slice and serve straight from the fridge!
Expert Tips for Chocolate Peanut Butter No-Bake Dessert
-
Chill Time Matters: Allow the dessert to chill for at least 3 hours, or overnight if possible, for the best flavor and texture.
-
Don’t Rush the Layers: Ensure each layer sets properly before adding the next; this helps to maintain distinct layers in your Chocolate Peanut Butter No-Bake Dessert.
-
Make It Your Own: Feel free to experiment with different nut butters or cookie bases to suit your taste preferences and dietary needs.
-
Check Your Pudding: Whisk the pudding mixture thoroughly to avoid lumps and ensure a smooth chocolate layer.
-
Storage Tip: Keep leftovers in an airtight container in the refrigerator for up to 5 days to maintain freshness.
-
Freezing for Later: You can freeze this dessert! Just wrap it tightly in plastic wrap and foil for up to two months of indulgent treats.
Chocolate Peanut Butter No-Bake Dessert Variations
Feel free to unleash your creativity and personalize this dessert to suit your taste buds!
- Vanilla Twist: Substitute chocolate pudding with vanilla for a lighter, creamy experience. The sweet flavor will balance beautifully with peanut butter.
- Crunchy Surprise: Instead of miniature peanut butter cups, use Reese’s Pieces for a delightful pop of color and crunch that everyone will love.
- Peanut Butter Forward: Swap Oreo cookies for Nutter Butter cookies for an even stronger peanut butter essence in every slice. It’s a flavor explosion!
- Dairy-Free Delight: Replace all dairy ingredients with their non-dairy counterparts, like coconut cream and almond milk, for a vegan-friendly version of this treat.
- Chocolate Overload: Drizzle extra melting chocolate over the top for an indulgent finish, or try adding chocolate shavings to enhance the richness.
- Sweetener Swap: Use honey or maple syrup instead of powdered sugar to create a unique taste; just adjust the quantity for sweetness.
- Fruit Fusion: Add layers of your favorite berries, like strawberries or raspberries, between the creamy layers for a refreshing and colorful twist.
- Layered Parfaits: For individual servings, layer the components in small jars for a fun presentation—perfect for picnics or gatherings!
With endless options, this Chocolate Peanut Butter No-Bake Dessert can be tailored to your liking. Explore different combinations and make it your own!
Make Ahead Options
Preparing this Chocolate Peanut Butter No-Bake Dessert ahead of time is a game changer for busy weeknights! You can create the crunchy Oreo crust and the creamy peanut butter layer up to 24 hours in advance, covering them tightly with plastic wrap to maintain freshness. Additionally, the dessert can be fully assembled and chilled for up to 3 days before serving, ensuring the flavors meld beautifully. Just remember to add the final touches, like the crushed Oreo cookies and peanut butter cups, just before you present the dessert. This makes for a show-stopping treat that is just as delicious as it is convenient, allowing you to impress without the last-minute rush!
Chocolate Peanut Butter No-Bake Dessert Recipe FAQs
How do I choose ripe ingredients for my dessert?
Absolutely! For the best flavor, make sure you select fresh ingredients. Look for cream cheese that is not too firm but soft enough to mix smoothly. Fresh mini peanut butter cups will give a nice texture, while Oreo cookies should be crisp without any dark spots, indicating they’ve gone stale.
What’s the best way to store leftovers?
Store any leftovers of this Chocolate Peanut Butter No-Bake Dessert in an airtight container in the refrigerator for up to 5 days. This maintains its creamy texture and prevents it from absorbing unwanted odors. Simply slice and enjoy whenever the sweet cravings strike!
Can I freeze this dessert?
Yes, you can freeze it! To do so, wrap the dessert tightly in plastic wrap and then with foil, ensuring it is completely sealed. It’s best consumed within two months for optimal flavor. When you want to indulge, transfer it to the refrigerator and let it thaw overnight.
What if my layers don’t set properly?
If your layers aren’t setting as they should, make sure you let each layer chill for at least 3 hours before adding the next. Additionally, ensure your pudding mixture is properly thickened; whisk it for at least 2 minutes and allow it to sit for an additional 2 minutes as per instructions for ideal consistency.
Are there any dietary considerations I should be aware of?
Very! If you’re serving this dessert to guests with dietary restrictions, you can modify it to meet their needs. For example, use gluten-free cookies for those with gluten sensitivities and employ vegan cream cheese and non-dairy whipped topping for a dairy-free version. Always check the labels of your ingredients to ensure they fit your guests’ needs!
Can I modify the ingredient quantities?
Definitely! If you’re looking to make a smaller batch or adjust the sweetness, you can reduce the amount of sugar or the number of layers. However, maintain the same ratios between layers to keep the dessert’s structure and flavor balanced. Happy baking!
Chocolate Peanut Butter No-Bake Dessert: Simple Joy in Every Bite
Ingredients
Equipment
Method
- Prepare the crust by crushing the Oreo cookies and mixing with melted butter, then press into the baking dish.
- Make the peanut butter layer by mixing cream cheese, peanut butter, and powdered sugar until creamy, then fold in whipped topping and spread over crust.
- Add chopped peanut butter cups on top of the peanut butter layer, pressing them lightly into the mixture.
- Prepare the chocolate layer by whisking instant pudding with chocolate milk and additional powdered sugar until thickened; fold in remaining whipped topping.
- Pour the chocolate layer over the dessert, and sprinkle with crushed Oreo cookies and remaining peanut butter cups. Chill for at least 3 hours before serving.
Leave a Reply