
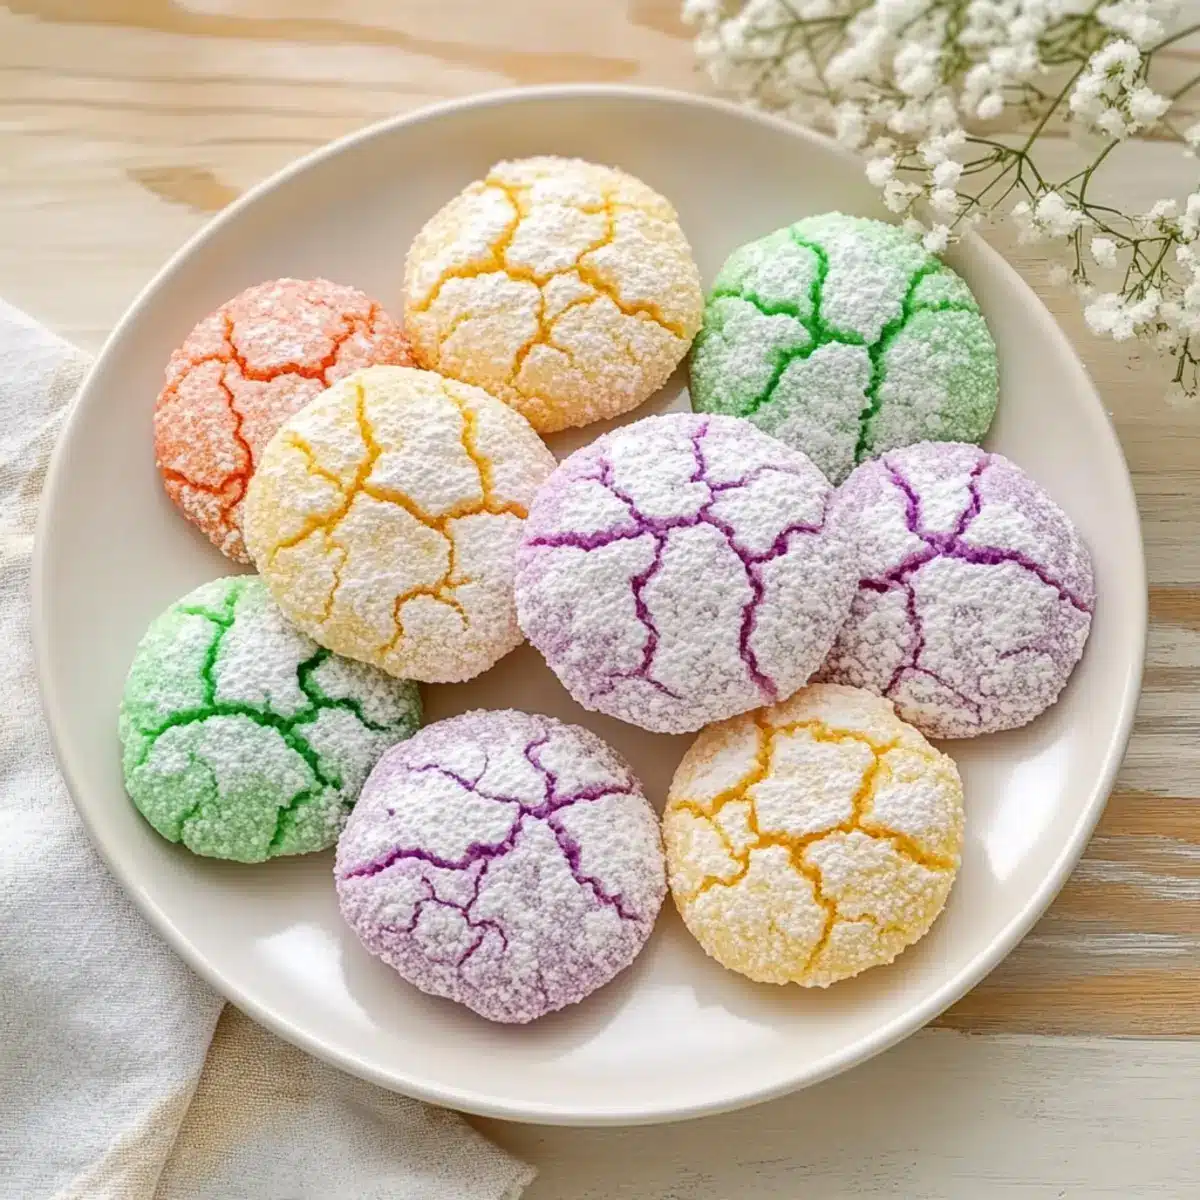
As I stood in my kitchen, a sprinkle of colorful delight beckoned from the countertop. These Springtime Crinkle Cookies are like a cheerful wave of nostalgia, instantly transporting me back to sunlit afternoons spent baking with family. Bursting with sweet vanilla flavor and featuring a delightful pastel exterior, these cookies are not only visually stunning but also incredibly easy to whip up. Perfect for Easter celebrations or any joyous gathering, they offer a quick, fun twist on traditional desserts. The chewiness combined with the sugary crust makes them a true crowd-pleaser, and who can resist that vibrant pop of color? Ready to create your very own batch of these irresistible treats? Let’s dive into the details!
Why are these cookies so delightful?
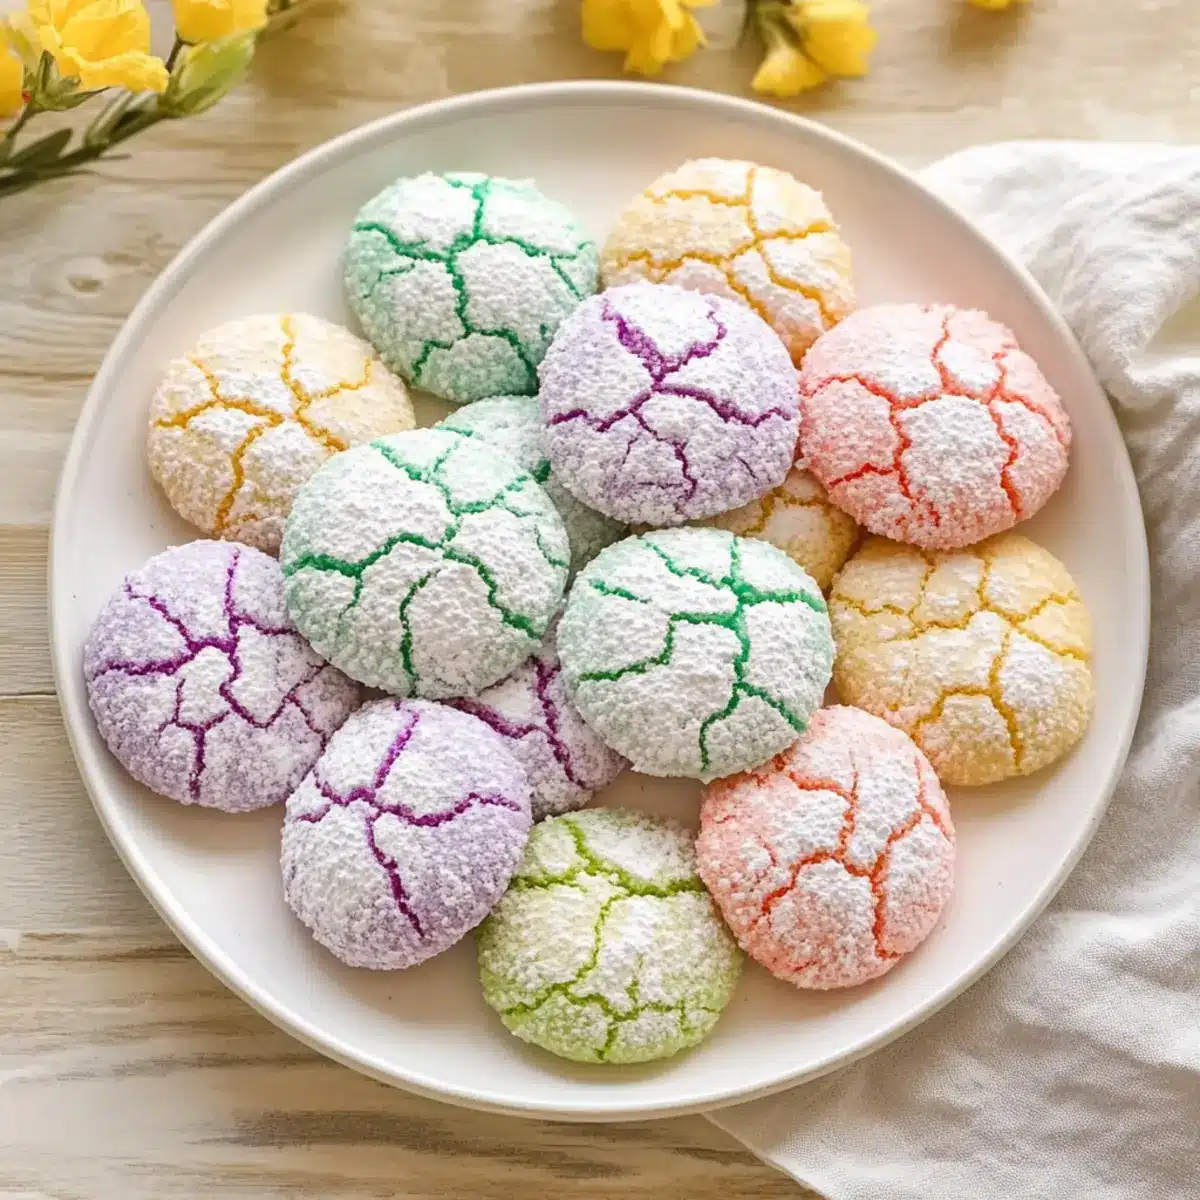
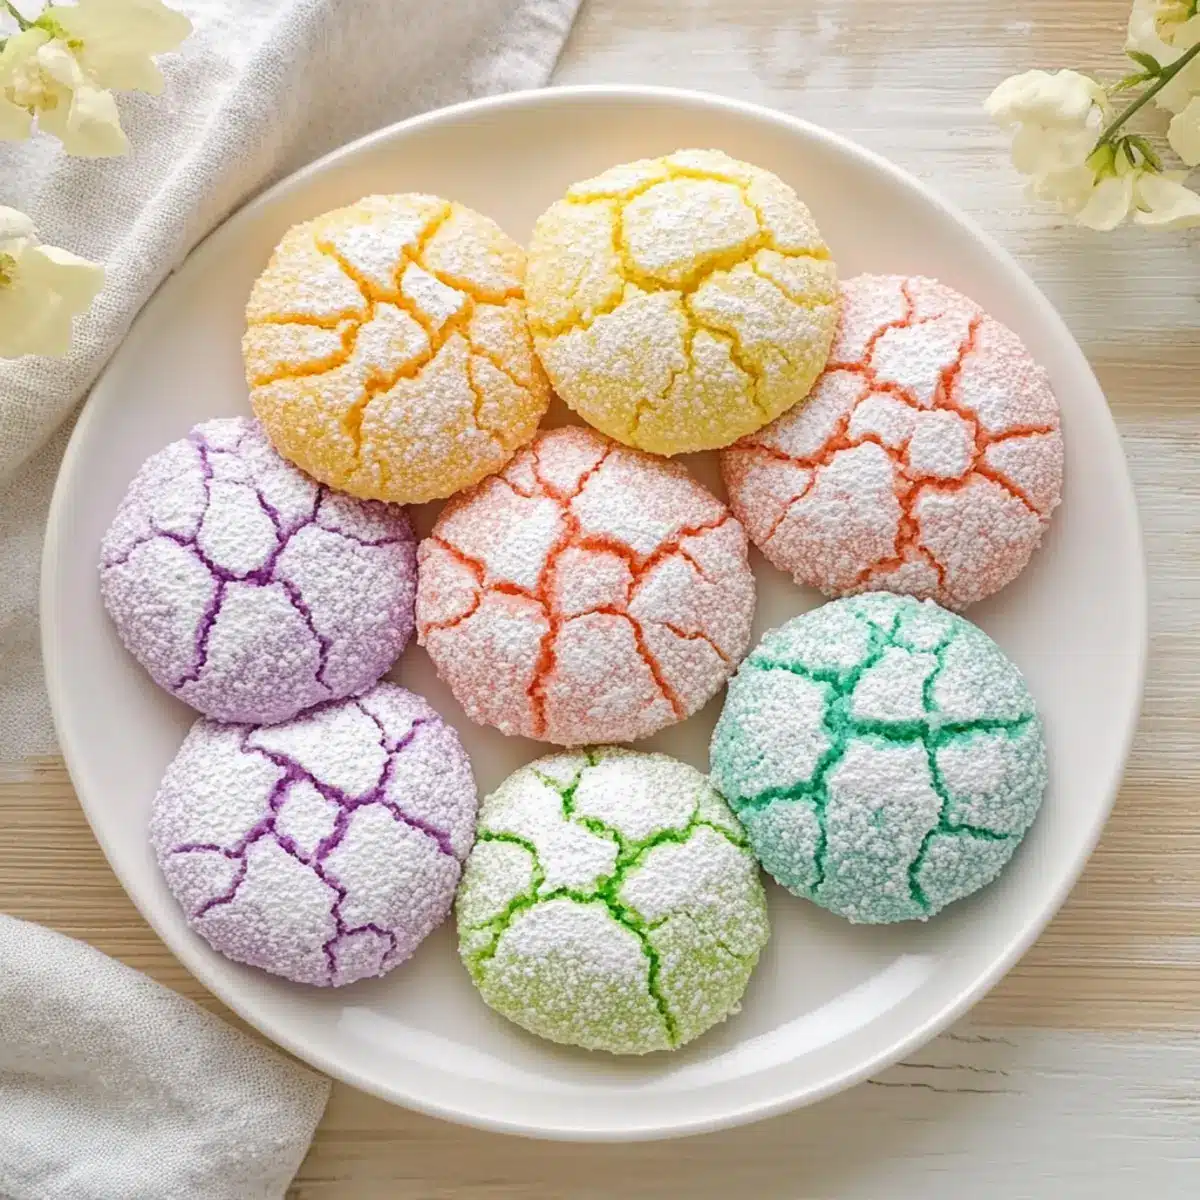
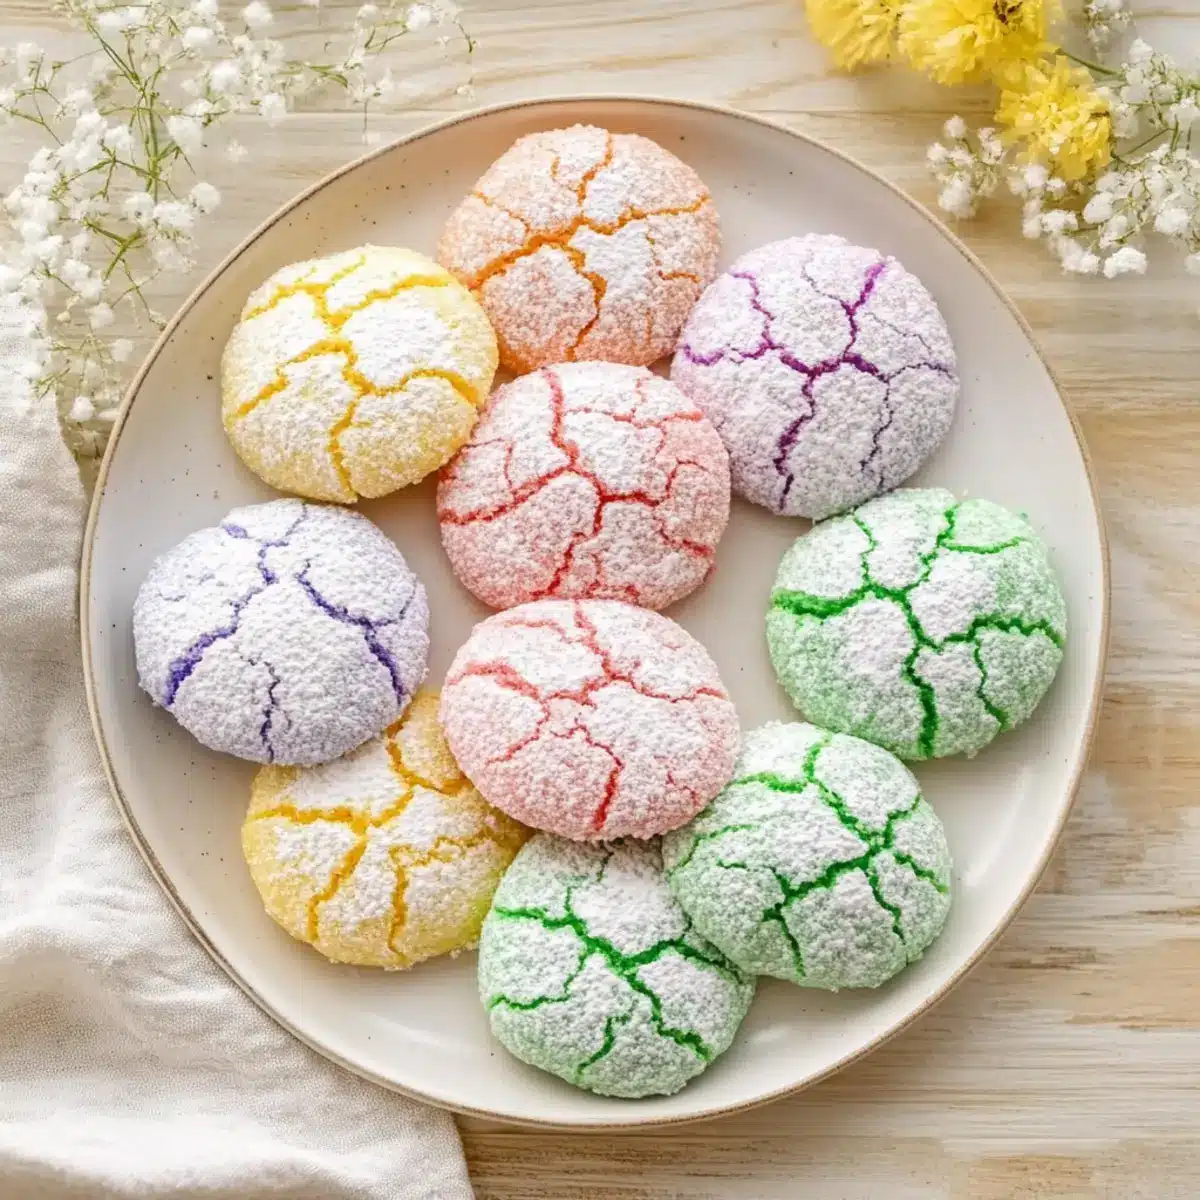
Bright, Colorful Appeal: These Springtime Crinkle Cookies bring joy to any gathering with their eye-catching pastel colors and picturesque cracks.
Simple to Make: Even beginner bakers can easily prepare these treats, making them perfect for family fun.
Chewy Texture: With a tender, chewy inside and a crisp, sugary exterior, they deliver a satisfying bite every time.
Versatile Flavor: Feel free to experiment with flavors by swapping almond extract or adding sprinkles to customize your cookies.
Ideal for Sharing: Perfect for Easter or springtime celebrations, these cookies are sure to delight guests of all ages. Make sure to check out these delicious Chewy Oatmeal Cookies for another easy-to-make treat!
Springtime Crinkle Cookies Ingredients
• Discover the essential components for these colorful treats!
For the Dough
- All-Purpose Flour – Provides structure and stability; gluten-free flour can be used for a gluten-free option.
- Baking Powder – Ensures a light, airy texture in each cookie.
- Salt – Balances the sweetness and enhances flavors beautifully.
- Unsalted Butter – Adds rich flavor; make sure it’s softened to blend easily.
- Granulated Sugar – Sweetens and contributes to the perfect texture.
- Large Eggs – Binds the dough together while adding moisture and structure.
- Vanilla Extract – Offers a comforting aroma and fantastic flavor profile.
- Almond Extract (optional) – Adds a light nutty note; feel free to omit or swap with another flavor for customization.
For the Coating
- Powdered Sugar – Coats the dough balls, creating a delightful crackle on the surface post-baking.
For the Color
- Gel Food Coloring – Provides vibrant pastel tones for a fun, eye-catching appearance; avoid liquid coloring to keep the dough firm.
Step‑by‑Step Instructions for Springtime Crinkle Cookies
Step 1: Preheat the Oven
Begin by preheating your oven to 350°F (175°C). While it warms up, line a baking sheet with parchment paper to prevent sticking and ensure even baking. This baking preparation sets the stage for your delightful Springtime Crinkle Cookies, making it easy to transfer your cookie trays in just a few steps.
Step 2: Prepare Dry Ingredients
In a medium bowl, whisk together 2 cups of all-purpose flour, 2 teaspoons of baking powder, and ½ teaspoon of salt. This mixture will provide the right structure and lightness for your cookies. As you mix, take notice of the fluffy texture forming; it’s an essential base for achieving those beautifully chewy crinkle cookies.
Step 3: Cream Butter and Sugar
In a large mixing bowl, beat ½ cup of softened unsalted butter and 1 cup of granulated sugar using an electric mixer until the mixture is light and fluffy, usually about 3-5 minutes. Watch for the sugar crystals to dissolve, creating an airy base that adds richness and sweetness to your Springtime Crinkle Cookies as they bake.
Step 4: Incorporate Eggs and Extracts
Add 2 large eggs to the butter-sugar mixture, one at a time, mixing well after each addition. Then, stir in 1 teaspoon of vanilla extract and ½ teaspoon of almond extract (if using). This step ensures a well-combined, moist dough, and the aromas that waft from the bowl will make your kitchen feel like a springtime bakery.
Step 5: Combine Wet and Dry Ingredients
Gradually fold the dry ingredients into the creamed mixture until a thick dough forms. Use a spatula for gentle mixing to avoid overworking the dough. You’ll know it’s ready when all the flour is incorporated and the dough is soft yet holds together nicely, preparing the canvas for your colorful cookies.
Step 6: Add Color and Chill the Dough
Divide the dough into smaller portions and tint each with gel food coloring of your choice. Work the colors into the dough until evenly distributed. Once tinted, wrap the portions in plastic wrap and chill in the refrigerator for at least 30 minutes. Chilling is crucial to prevent the cookies from spreading too much while baking, keeping their delightful crinkled shape.
Step 7: Form Cookie Balls
After chilling, preheat your oven if it has cooled down. Roll tablespoon-sized balls of dough in your hands then coat them generously in powdered sugar. Place each ball about two inches apart on the prepared baking sheet. This ensures enough space for the Springtime Crinkle Cookies to rise and crack beautifully in the oven.
Step 8: Bake the Cookies
Bake the cookies in the preheated oven for 10–12 minutes. Keep an eye on them; you want the tops to crack but the centers to remain soft and chewy. They should look set around the edges and slightly puffy in the middle, creating the perfect texture contrast of chewy goodness inside and a light, sugary crust outside.
Step 9: Cool Before Serving
Allow the cookies to cool on the baking sheet for about 5 minutes before transferring them to a wire rack. This cooling period allows the cookies to firm up slightly without losing their tender centers. Once cooled completely, these vibrant Springtime Crinkle Cookies are ready to be enjoyed at your next gathering or as a sweet treat for yourself!
Make Ahead Options
These Springtime Crinkle Cookies are ideal for busy home cooks looking to save time during festive preparations! You can prepare the dough up to 24 hours in advance by mixing all ingredients, coloring portions with gel food coloring, and then wrapping them tightly in plastic wrap before refrigerating. This chilling not only enhances the flavors but also ensures they hold their delightful shape when baked. If you’d like, you can even roll the dough balls in powdered sugar ahead of time and refrigerate them. When you’re ready to enjoy your cookies, simply place them on a baking sheet and bake as directed for freshly baked, mouthwatering treats that are just as delicious as when made from scratch!
Springtime Crinkle Cookies Variations
Let your creativity shine as you customize your Springtime Crinkle Cookies with these delightful twists!
-
Gluten-Free: Substitute all-purpose flour with a gluten-free blend for a tasty cookie that everyone can enjoy. The flavors remain vibrant and fun, perfect for gatherings.
-
Nutty Flavor: Replace almond extract with hazelnut or pistachio extract for a unique, delightful twist. This will give your cookies a warm, nutty aroma that beautifully complements the sweetness.
-
Vibrant Colors: Experiment with bold gel food coloring for a more striking appearance. Consider combining colors for a marbled effect, adding an artistic flair to your Springtime Crinkle Cookies.
-
Sprinkle Surprise: Add colorful sprinkles to the dough before chilling. They add texture and joy, making these cookies even more festive and enticing for kids and adults alike!
-
Chocolate Delight: Stir in mini chocolate chips or chunks for added richness. The melty chocolate complements the vanilla base beautifully, creating a decadent experience.
-
Citrus Zest: A teaspoon of lemon or orange zest can elevate the flavor profile, adding a refreshing citrusy touch. The combination of zest with sweetness brings a delightful zing to each bite.
-
Chili Kick: If you’re feeling adventurous, add a pinch of cayenne pepper for a subtle heat kick that contrasts deliciously with the sweetness. It’s a surprising twist that might just become a new favorite!
-
Cookie Sandwich: Take two cookies and spread a layer of frosting or cream cheese filling in between. This transforms the classic cookie into a delightful treat that feels extra special, perfect for sharing!
Feeling inspired? These variations will not only bring personal touches to your Springtime Crinkle Cookies, but they’ll also make for a memorable and interactive baking experience. If you’re looking for more inspiration, check out these delicious Chewy Oatmeal Cookies or whip up some No Bake Chocolate Cookies for a fun twist!
What to Serve with Springtime Crinkle Cookies
These delightful cookies are perfect for adding a touch of cheer to any spring gathering, and they pair wonderfully with a variety of delicious dishes and drinks.
- Fresh Fruit Salad: Bright, juicy fruits complement the sweetness of the cookies, creating a refreshing contrast that balances the dessert beautifully.
- Fluffy Vanilla Ice Cream: The creaminess of vanilla ice cream melts in your mouth, enhancing the chewy texture while offering a delightful temperature contrast.
- Whipped Cream Topped Hot Chocolate: This indulgent drink matches the cozy feel that these cookies bring, perfect for those chilly spring evenings.
- Lemonade Spritzer: A fizzy, refreshing drink with a citrus kick brightens up the palate, enhancing the flavors of the cookies and making them even more enjoyable.
- Carrot Cake: Rich and spiced, carrot cake brings in those sweet spring flavors, and its moist texture pairs well with the chewy crinkles.
- Spring Salad with Citrus Vinaigrette: A fresh salad with zesty dressing offers a tart counterpoint to the sweetness of the cookies, making for a balanced meal.
- Earl Grey Tea: A warm cup of artisanal Earl Grey adds an aromatic touch, harmonizing with the cookies’ flavors while offering a cozy vibe.
- Chocolate-Dipped Strawberries: These elegant treats add a touch of decadence that elevates the cookie experience, making them perfect for special occasions.
- Mini Cheesecakes with Berry Compote: Creamy cheesecakes topped with vibrant berries provide a delightful contrast in flavors, playing beautifully off the cookies’ sweetness.
Expert Tips for Springtime Crinkle Cookies
- Chill the Dough: Make sure to chill the dough for at least 30 minutes. This prevents spreading and helps maintain the crinkled shape during baking.
- Use Gel Coloring: For vibrant colors, stick to gel food coloring instead of liquid. It won’t affect the dough consistency and gives a strong, bright hue.
- Prevent Sticking: Dust your hands with powdered sugar while shaping dough balls. This keeps them from sticking to your hands and makes rolling easier.
- Check for Doneness: Slightly underbake your cookies to achieve soft centers. They will continue to firm up as they cool, ensuring a delightful chew.
- Experiment with Flavors: Don’t hesitate to switch up extracts or add sprinkles for fun variations of these Springtime Crinkle Cookies!
How to Store and Freeze Springtime Crinkle Cookies
Room Temperature: Store cookies in an airtight container at room temperature for up to 5 days to keep them soft and chewy.
Refrigerator: If you have cookie dough left over, it can be refrigerated for up to 24 hours before baking, tightly wrapped to prevent drying out.
Freezer: Freeze baked cookies for up to 3 months in a freezer-safe bag or container. For best results, layer with parchment paper to avoid sticking.
Reheating: To enjoy your cookies warm, let them sit at room temperature then pop them in the microwave for 10-15 seconds or reheat in the oven at 350°F (175°C) for a few minutes.
Springtime Crinkle Cookies Recipe FAQs
How do I choose the best ingredients for Springtime Crinkle Cookies?
Absolutely! When selecting your ingredients, look for the freshest options. For the best flavor, use unsalted butter that’s been softened to room temperature. Ensure your all-purpose flour is dry and free from any lumps. If you prefer a crunchier texture, opt for granulated sugar instead of brown sugar. Checking egg freshness is also key; a fresh egg will have a rounded yolk and a firm white.
What is the best way to store Springtime Crinkle Cookies?
Very! Store your baked Springtime Crinkle Cookies in an airtight container at room temperature for up to 5 days. This helps retain their chewy texture. If you prefer, you can also refrigerate them, but be sure to allow them to come back to room temperature before enjoying for optimal taste.
Can I freeze Springtime Crinkle Cookies?
Of course! To freeze your cookies, first allow them to cool completely. Then, place them in a single layer on a baking sheet and freeze until firm. After that, transfer them to a freezer-safe bag or container, separating layers with parchment paper to prevent sticking. They can be stored for up to 3 months and are best enjoyed when reheated for a few seconds in the microwave.
What should I do if my cookies spread too much while baking?
Uh-oh! If your Springtime Crinkle Cookies are spreading too much, it could be because the dough wasn’t chilled long enough. To avoid this, always chill your dough for at least 30 minutes before baking. If they still spread, try a little more flour to achieve the right consistency next time. Keeping an eye on the baking time and pulling them out slightly underbaked will also help maintain their lovely chewy centers.
Are these cookies safe for people with allergies?
Absolutely! While these Springtime Crinkle Cookies are made with standard ingredients like flour, butter, and eggs, for gluten-sensitive individuals, I recommend substituting regular flour with gluten-free flour to make them safe for consumption. Additionally, if someone has a nut allergy, simply omit the almond extract and stick with vanilla for flavoring. Always check for cross-contamination if you’re concerned about specific allergies before sharing with others.
Springtime Crinkle Cookies: Chewy, Colorful Delights for Easter
Ingredients
Equipment
Method
- Preheat your oven to 350°F (175°C) and line a baking sheet with parchment paper.
- In a medium bowl, whisk together the flour, baking powder, and salt.
- In a large mixing bowl, beat the softened butter and sugar until light and fluffy.
- Add the eggs one at a time, then stir in vanilla and almond extracts.
- Gradually fold dry ingredients into the wet mixture until a thick dough forms.
- Divide the dough and tint each portion with gel food coloring before chilling in the refrigerator.
- Roll tablespoon-sized balls of dough in powdered sugar and place on the baking sheet.
- Bake in the preheated oven for 10-12 minutes until the tops crack but the centers are soft.
- Cool on the baking sheet for 5 minutes before transferring to a wire rack.
Leave a Reply