
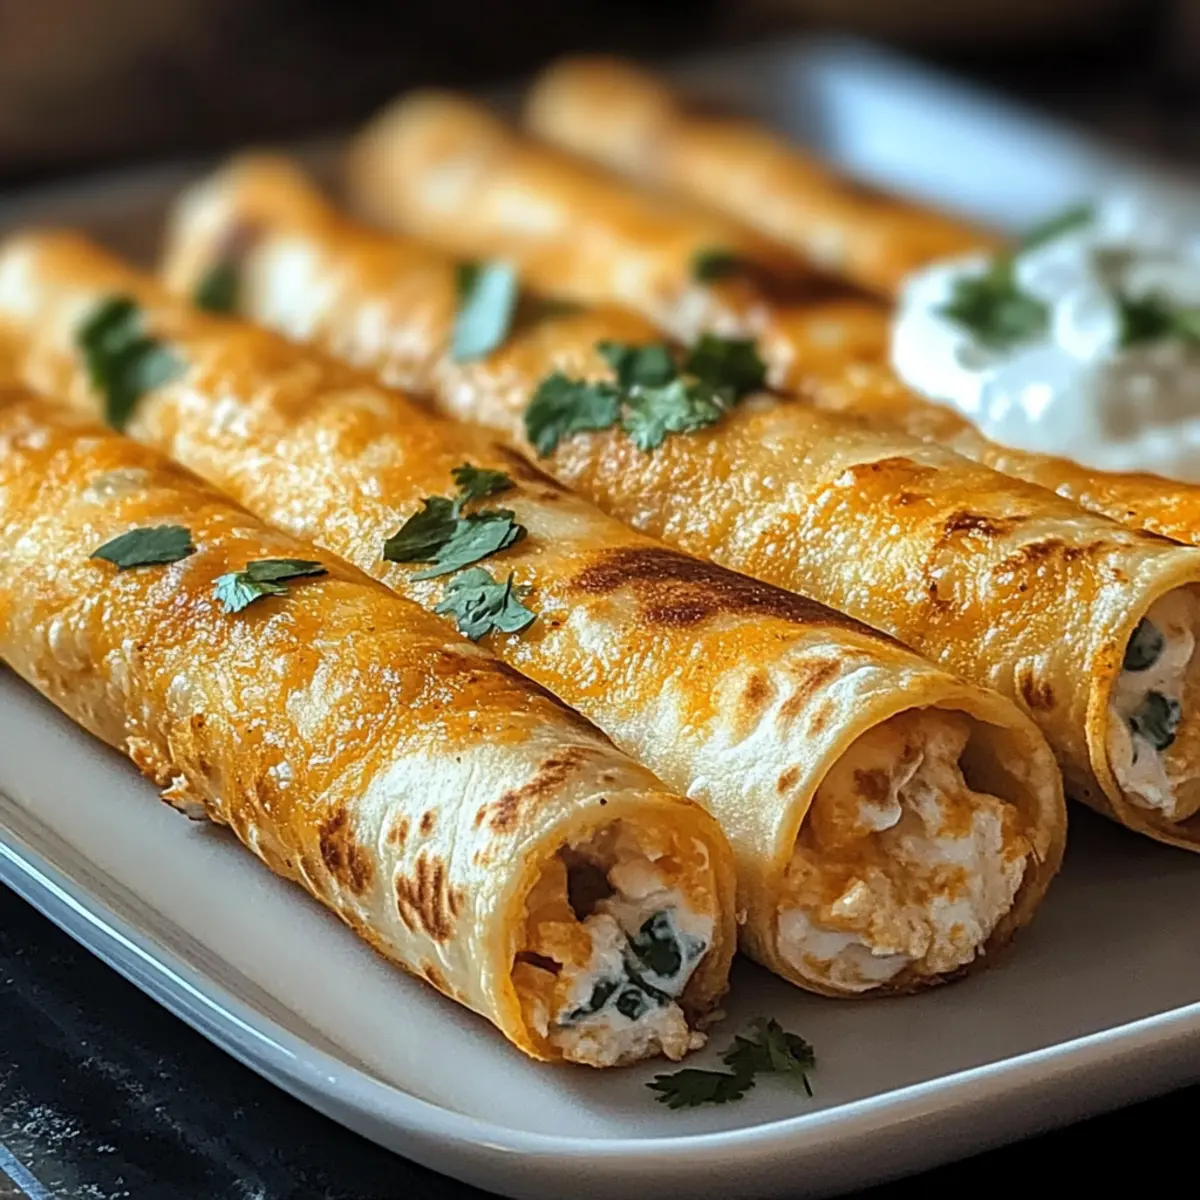
As the aroma of crispy chicken fills the kitchen, I can’t help but feel a rush of excitement. It’s time for Crispy Chicken Taquitos, a speedy recipe that transforms simple ingredients into a delightful Mexican-inspired dish. With just a few easy steps, you can whip up these hand-held gems that are not only a crowd-pleaser but can easily fit into a busy weeknight dinner. Imagine golden, crunchy tortillas bursting with a creamy and spiced filling—who wouldn’t love a bite of that? Plus, with the option to use corn tortillas, there’s a gluten-free twist that will make everyone happy. Ready to dive into this delicious journey and try your hand at these taquitos? Your taste buds are in for a treat!
Why Are Crispy Chicken Taquitos So Irresistible?
Simplicity: These taquitos are incredibly easy to make, utilizing straightforward ingredients that you likely already have at home.
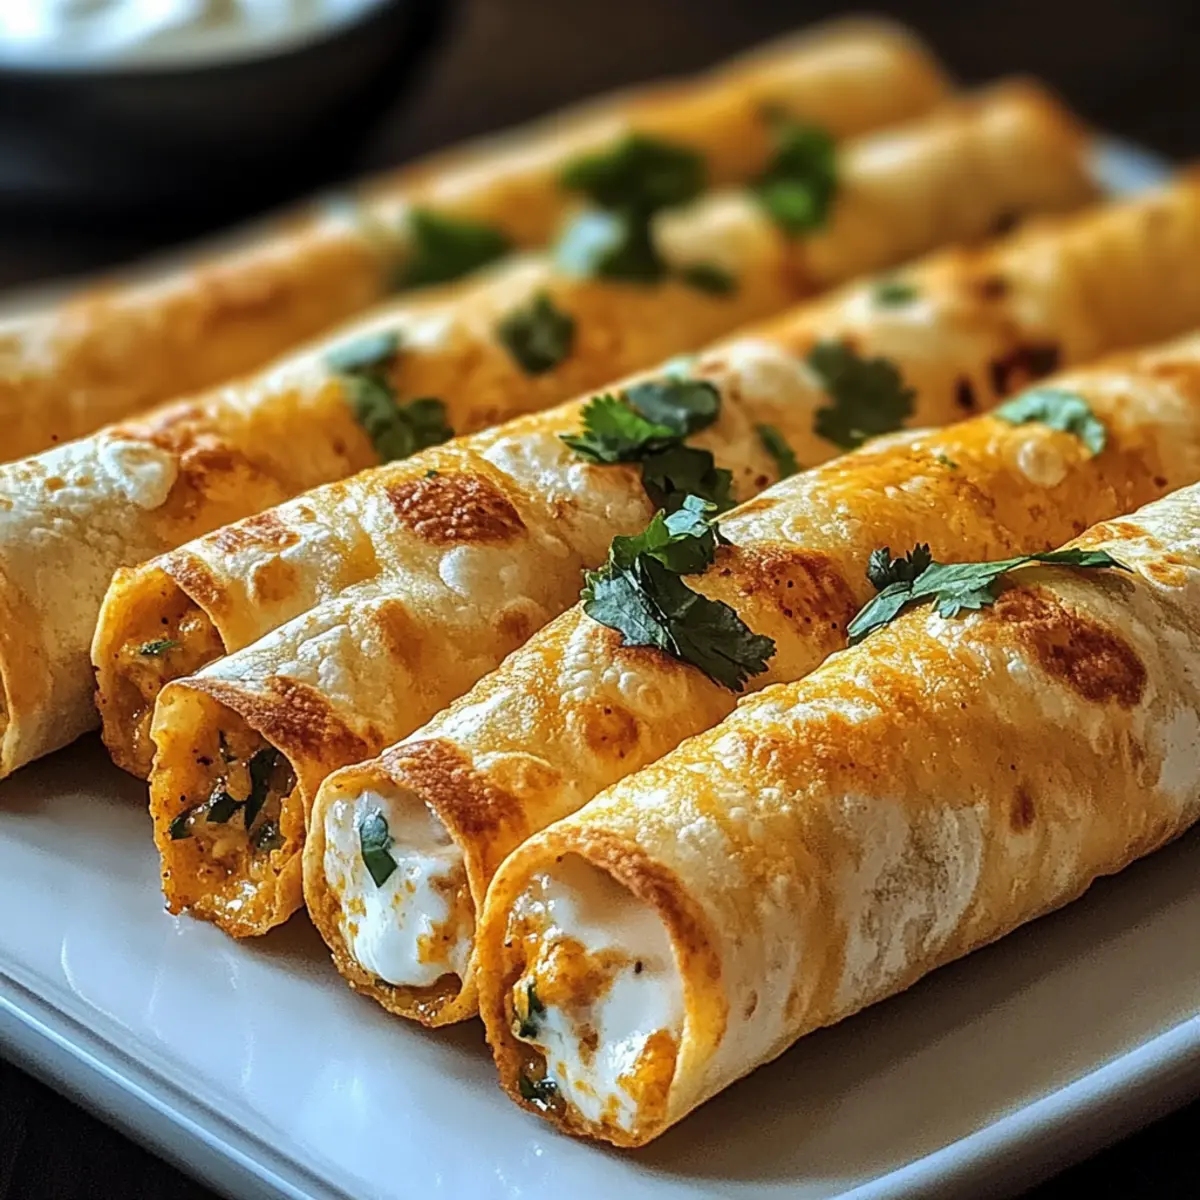
Flavor Fusion: The combination of creamy chicken, melty cheese, and spices creates a burst of flavors in every bite that will keep everyone coming back for more.
Versatile: Customize them to fit your taste! Try adding jalapeños for an extra kick or mixing in your favorite cheeses for a unique, personal touch.
Quick Preparation: With a prep time under 30 minutes, they’re perfect for busy weeknights or last-minute gatherings with friends—meaning you can enjoy homemade goodness without the wait!
Crowd-Pleasing Appeal: Whether it’s game day or a casual family dinner, these taquitos are sure to be a hit. Serve them alongside sour cream or guacamole from recipes like Cheesy Garlic Chicken Wraps for the ultimate snack experience!
Crispy Chicken Taquitos Ingredients
For the Filling
• Cooked Shredded Chicken – Provides protein and texture; rotisserie chicken works well for convenience.
• Cream Cheese – Adds creaminess and richness to the filling; ensure it is softened for easy mixing.
• Shredded Cheddar or Mexican Blend Cheese – Contributes flavor and melty texture; feel free to substitute with your favorite cheese.
• Salsa – Adds moisture and spiciness; choose mild or spicy based on preference.
• Garlic Powder – Enhances flavor depth.
• Chili Powder – Provides warmth and spice.
• Cumin – Contributes earthy flavor notes.
• Salt and Black Pepper – Essential for seasoning.
For the Taquitos
• Flour or Corn Tortillas – Base for taquitos; use corn tortillas for a gluten-free option. Warm them to prevent cracking.
• Cooking Spray or Oil – For brushing to ensure crispiness in those delicious Crispy Chicken Taquitos.
Step‑by‑Step Instructions for Crispy Chicken Taquitos
Step 1: Preheat the Oven
Preheat your oven to 425°F (220°C) and line a baking sheet with parchment paper. Ensure the oven is fully heated to achieve the perfect crispy texture. This preliminary step is vital as it enables the taquitos to brown evenly, giving that delicious crunch that everyone loves.
Step 2: Prepare the Filling
In a mixing bowl, combine the cooked shredded chicken, softened cream cheese, shredded cheese, salsa, garlic powder, chili powder, cumin, salt, and pepper. Use a spatula to mix everything until well combined and creamy. This flavorful filling comes together beautifully and is the heart of your Crispy Chicken Taquitos.
Step 3: Warm the Tortillas
To prevent cracking while rolling, warm your tortillas in the microwave for about 20 seconds. Alternatively, gently toast them in a skillet over low heat. This softening step makes them pliable, ready to be filled with your delicious chicken mixture, ensuring they roll up perfectly without tearing.
Step 4: Assemble the Taquitos
Take one tortilla and spoon 2–3 tablespoons of the chicken filling onto one edge. Roll it tightly, starting from the filling side, towards the other end. Securely roll each tortilla and place it seam-side down on the prepared baking sheet. Repeat until all filling is used, creating a delightful lineup of Crispy Chicken Taquitos.
Step 5: Bake for Crispiness
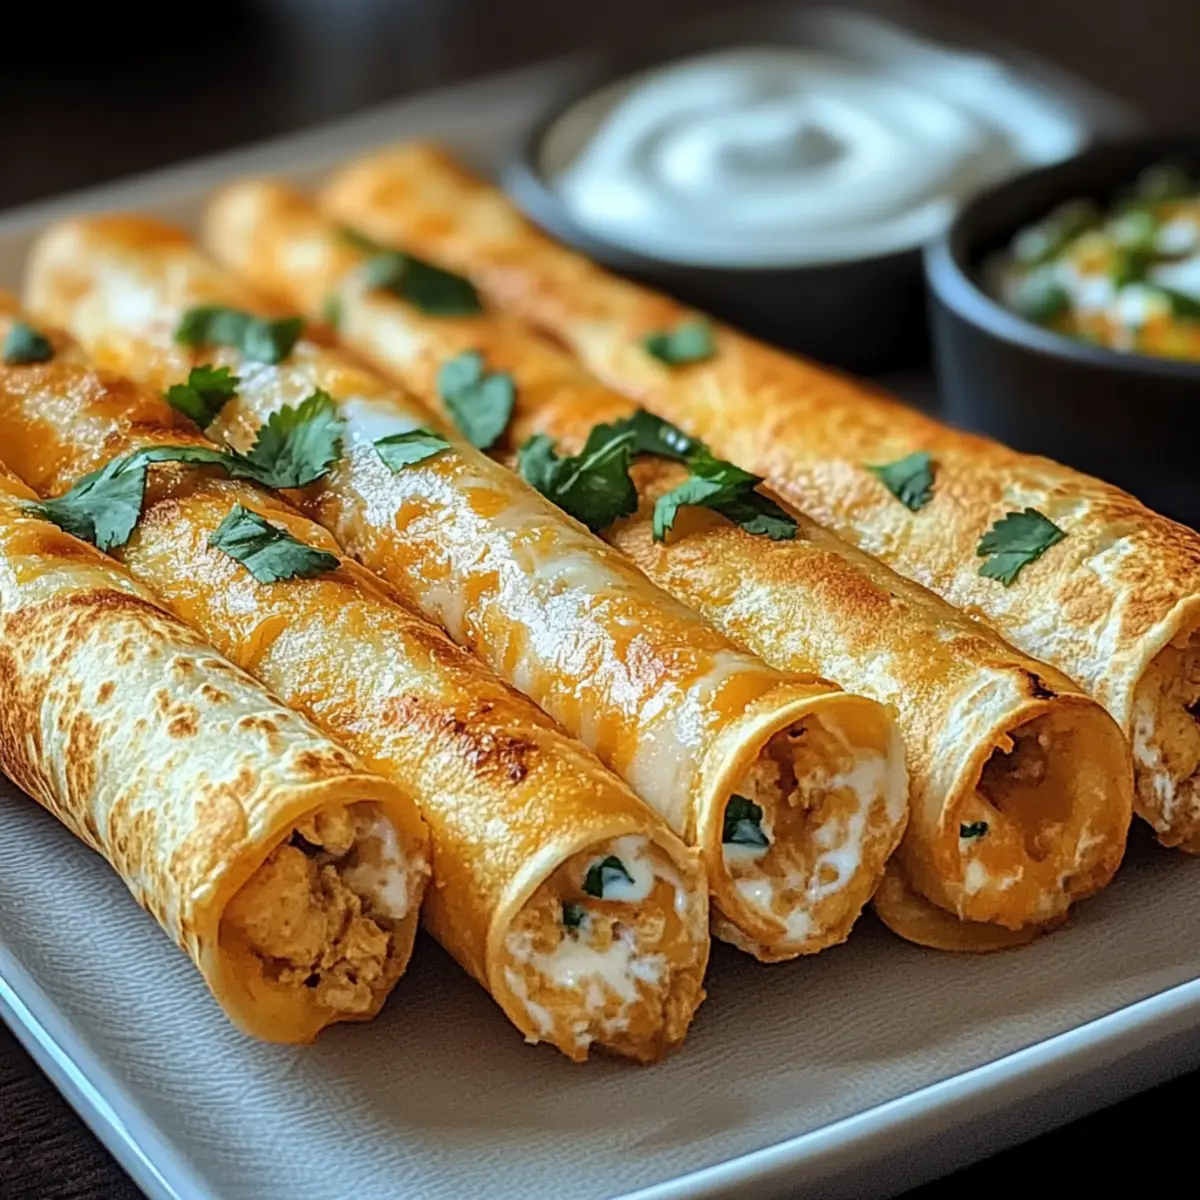
Brush the assembled taquitos lightly with cooking spray or oil for that golden appearance. Place them in the oven and bake for 15–20 minutes, until they turn golden brown and crispy. Keep an eye on them during the last few minutes—this is when they reach that satisfying crunch you desire.
Step 6: Serve and Enjoy
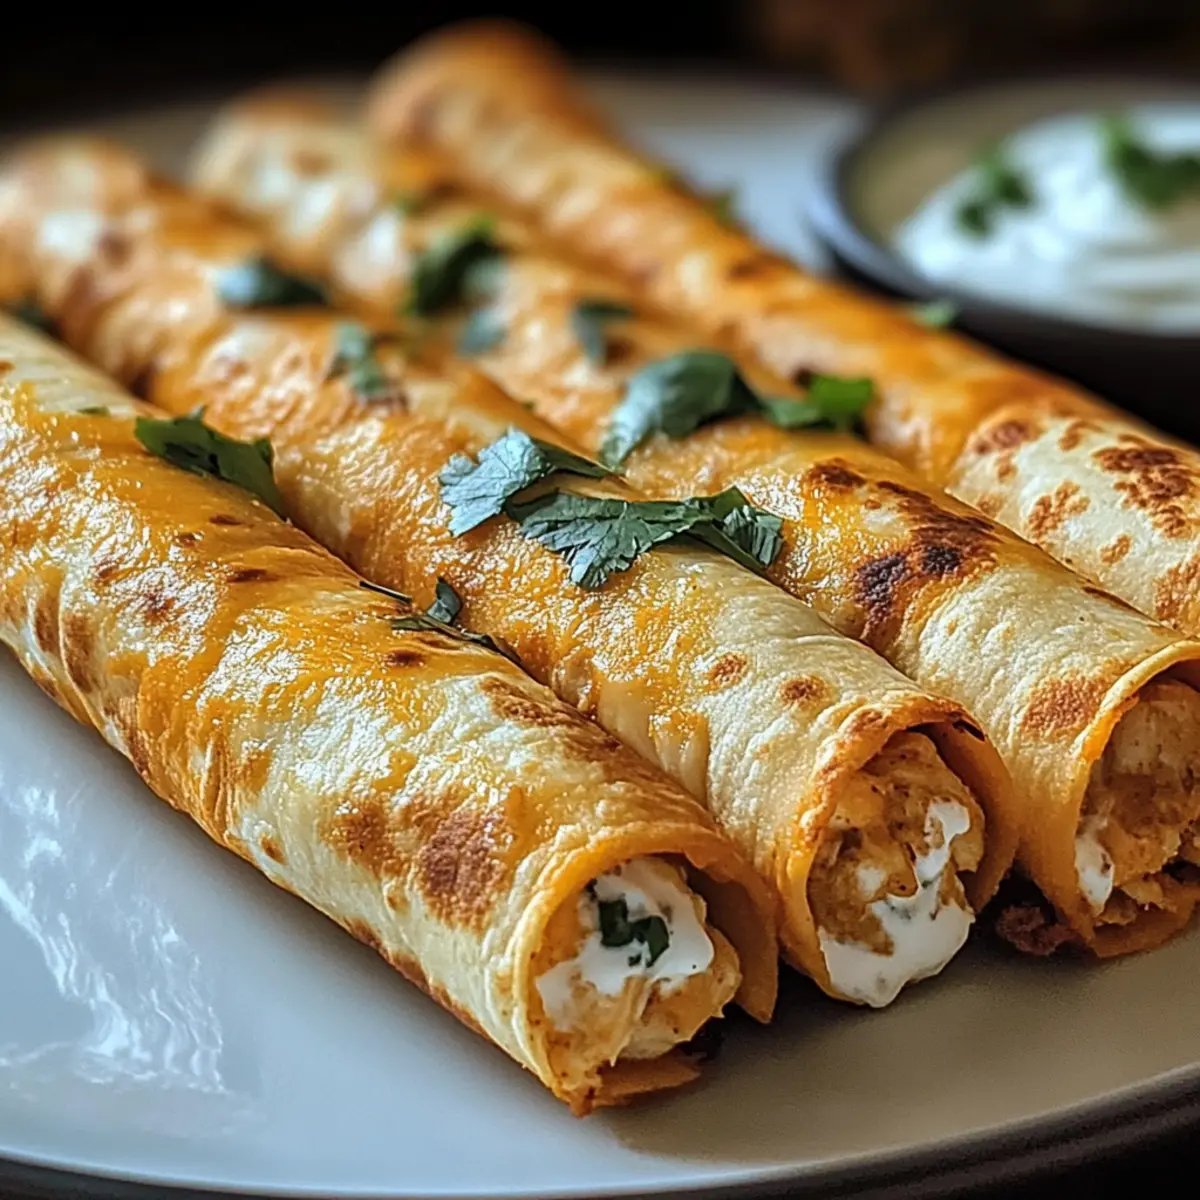
Once baked, remove the Crispy Chicken Taquitos from the oven. Allow them to cool slightly before serving them warm. Pair with sour cream, guacamole, or your favorite salsa to elevate the experience. Your delicious, hand-held snacks are ready for everyone to enjoy!
Crispy Chicken Taquitos Customizations
Feel free to unleash your creativity in the kitchen and personalize these delicious taquitos with a few simple modifications!
-
Gluten-Free: Switch to corn tortillas to make your taquitos gluten-free, allowing everyone to enjoy this tasty treat without worry.
-
Spicy Kick: Add diced jalapeños or a splash of hot sauce to the filling for an extra layer of heat that spice lovers will adore.
-
Creamy Avocado: Mix diced avocado into the filling for additional creaminess and a fresh, buttery flavor that elevates each bite.
-
Cheese Variety: Experiment with different cheeses, such as pepper jack for spice or feta for a tangy twist, to create a unique flavor profile.
-
Veggie Boost: Throw in some black beans or corn to the filling for added nutrition and texture that enhances the heartiness of your meal.
-
Herbed Finesse: Fold in fresh herbs like cilantro or parsley into the filling to infuse a burst of freshness that brightens the overall dish.
-
Baked vs. Air-Fried: For a quicker option, you can air-fry your taquitos for that crunchy exterior in an even shorter time. Just adjust cooking times for perfect crispiness!
-
Salsa Varieties: Change up the salsa for different flavor profiles—try mango salsa for a sweet and zesty twist or green salsa for a tangy bite.
With these variations, you can easily customize your Crispy Chicken Taquitos to suit any palate or occasion! Make sure to serve with dips like guacamole or a side of salsa from your favorite recipes, such as the delightful Asian Chicken Cranberry salad, to refresh your taste buds even more!
How to Store and Freeze Crispy Chicken Taquitos
Fridge: Store leftover taquitos in an airtight container for up to 3 days. This keeps them fresh and ready for quick reheating when cravings strike.
Freezer: For longer storage, freeze taquitos in a single layer on a baking sheet, then transfer to a freezer bag for up to 3 months. Bake directly from frozen, adding about 5-10 minutes to the cooking time.
Reheating: Reheat taquitos in an oven or air fryer to maintain their crispiness. Heat at 350°F (175°C) for about 10-15 minutes until heated through and crispy again.
Assembly Tip: You can assemble taquitos ahead of time and refrigerate them for up to 24 hours before baking, making your Crispy Chicken Taquitos an easy and convenient dish for any occasion.
What to Serve with Crispy Chicken Taquitos
Imagine a vibrant gathering where the air is filled with laughter and the aroma of freshly baked taquitos mingles with the clinking of glasses and cheerful chatter.
-
Creamy Guacamole: This avocado dip brings a luscious creaminess that complements the crispy texture and spiced chicken filling beautifully. A perfect addition for those who love fresh flavors.
-
Zesty Salsa: Choose a chunky or smooth salsa to add a vibrant burst of flavor with each bite. The tanginess pairs wonderfully with the savory filling, adding a refreshing contrast.
-
Mexican Street Corn Salad: This delightful salad, featuring roasted corn, cilantro, and a tangy dressing, adds a fresh crunch, perfectly balancing the warmth and flavors of the taquitos.
-
Cooling Sour Cream: A dollop of sour cream provides a rich and creamy element, smoothing the spicy notes of the filling. It’s a classic pairing you won’t want to skip!
-
Black Bean Salad: This hearty salad, infused with spices, adds fiber and nutrition while enhancing the meal with its earthy flavors. It’s not just filling; it’s a fiesta on your plate!
-
Crisp Lettuce Wraps: For a lighter side, serve crisp lettuce leaves drizzled with lime juice to provide a crunchy and refreshing counterpart to the crispy taquitos.
-
Chilled Horchata: This sweet rice drink offers a delightful contrast with its creamy, cinnamon flavor—a soothing sip alongside the savory snacks.
-
Chocolate Flan: End the evening on a sweet note with this silky dessert that brings a rich, velvety finish, enhancing your gathering with a traditional touch.
-
Pineapple Agua Fresca: A refreshing drink made with fresh pineapple and mint, it provides a fruity burst that delights the palate while washing down the savory delights of your taquitos.
Expert Tips for Crispy Chicken Taquitos
-
Warm Tortillas Well: Warmth makes tortillas pliable, preventing cracks. Microwaving them for 20 seconds does wonders for rolling without tearing.
-
Mix Efficiently: Ensuring the cream cheese is softened helps achieve a smooth and creamy filling. A well-mixed filling ensures even flavor in every taquito.
-
Crispy Finish: For extra crunch, flip the taquitos halfway through baking. This ensures all sides get that irresistible golden-brown finish.
-
Make Ahead: Assemble taquitos and refrigerate for up to 24 hours before baking. You can also freeze them and bake directly from frozen; just add extra time.
-
Season Generously: Don’t skimp on spices! Proper seasoning enhances the filling’s flavor, which makes your Crispy Chicken Taquitos even more irresistible.
Make Ahead Options
These Crispy Chicken Taquitos are ideal for busy home cooks wanting to save time throughout the week! You can assemble the taquitos up to 24 hours in advance by rolling them tightly and storing them in an airtight container in the refrigerator. This makes for easy meal prep—simply pop them in the oven when you’re ready to enjoy a quick and satisfying meal. If you prefer, you can also freeze the assembled taquitos for up to 3 months; just bake them straight from the freezer, adding a few extra minutes to the cooking time for perfectly crispy results. To maintain their quality, avoid soaking the tortillas in moisture before wrapping, and they will emerge just as delicious when baked!
Crispy Chicken Taquitos Recipe FAQs
What type of chicken is best for Crispy Chicken Taquitos?
Absolutely! Cooked shredded chicken is ideal for this recipe. I recommend using rotisserie chicken for convenience or leftover grilled chicken to save time. Just ensure it’s fully cooked and shredded for easy mixing.
How should I store leftover taquitos?
Store any leftover taquitos in an airtight container in the fridge, where they will stay fresh for up to 3 days. Reheat them in the oven or air fryer to regain their crispy texture—it’s as simple as heating them at 350°F (175°C) for about 10-15 minutes.
Can I freeze Crispy Chicken Taquitos?
Yes, you can freeze them! Simply lay the assembled taquitos in a single layer on a baking sheet, freeze until solid, then transfer them to a freezer bag. They will last up to 3 months in the freezer. When ready to enjoy, bake them directly from frozen, adding 5-10 extra minutes to the cooking time.
What if my tortillas crack while rolling?
Very! If your tortillas crack, they might not be warm enough or may need a bit more preparation. To prevent this, warm them in the microwave for about 20 seconds or lightly toast them in a skillet until they are pliable. If you have corn tortillas, they tend to crack more easily unless warmed sufficiently.
Is there a gluten-free option for this recipe?
Absolutely! You can easily make this recipe gluten-free by opting for corn tortillas instead of traditional flour tortillas. Just ensure you check the package for any gluten-free certifications to avoid any cross-contamination.
Can I prepare taquitos in advance?
Yes! You can assemble the taquitos and refrigerate them for up to 24 hours before baking. This is perfect for meal prep, as it allows you to have a fresh and quick snack or meal ready to be popped into the oven whenever you choose.
Crispy Chicken Taquitos: Your New Favorite Easy Snack
Ingredients
Equipment
Method
- Preheat your oven to 425°F (220°C) and line a baking sheet with parchment paper.
- In a mixing bowl, combine the cooked shredded chicken, softened cream cheese, shredded cheese, salsa, garlic powder, chili powder, cumin, salt, and pepper.
- Warm your tortillas in the microwave for about 20 seconds or gently toast them in a skillet over low heat.
- Take one tortilla and spoon 2–3 tablespoons of the chicken filling onto one edge. Roll it tightly and place seam-side down on the baking sheet.
- Brush the assembled taquitos lightly with cooking spray or oil and bake for 15–20 minutes until golden brown and crispy.
- Once baked, allow the taquitos to cool slightly before serving. Pair with sour cream, guacamole, or your favorite salsa.
Leave a Reply