
You won’t believe how easy it is to whip up a batch of delicious 4-Ingredient Gluten-Free Chocolate Oat Cookies that are both satisfying and nutritious! With just four simple ingredients, this quick recipe is perfect for anyone craving a homemade treat without the guilt of indulgent sweets. Not only do these cookies come together in minutes, but they’re also gluten-free and naturally sweetened, making them an ideal snack for health-conscious individuals. When your sweet tooth strikes, these cookies offer the perfect balance of rich chocolate flavor and chewy goodness, without any complicated steps or lengthy prep times. So, are you ready to discover a new favorite in your baking repertoire?
Why are these cookies a must-try?
Simplicity at Its Best: With just four ingredients and minimal prep time, these cookies are a breeze to make, perfect for busy weekdays!
Decadent Chocolate Flavor: Rich cocoa powder brings indulgence without guilt, satisfying your chocolate cravings.
Adaptable Recipe: Enjoy the freedom to adjust with gluten-free oats or swap bananas with applesauce for diverse dietary needs.
Healthy Snacking: Packed with fiber and protein, these cookies are an energizing treat after a long day, making them great to pair with a refreshing glass of almond milk.
No-Bake Option: Want to skip the oven? Try a no-bake version by chilling the mixture and forming it into bars!
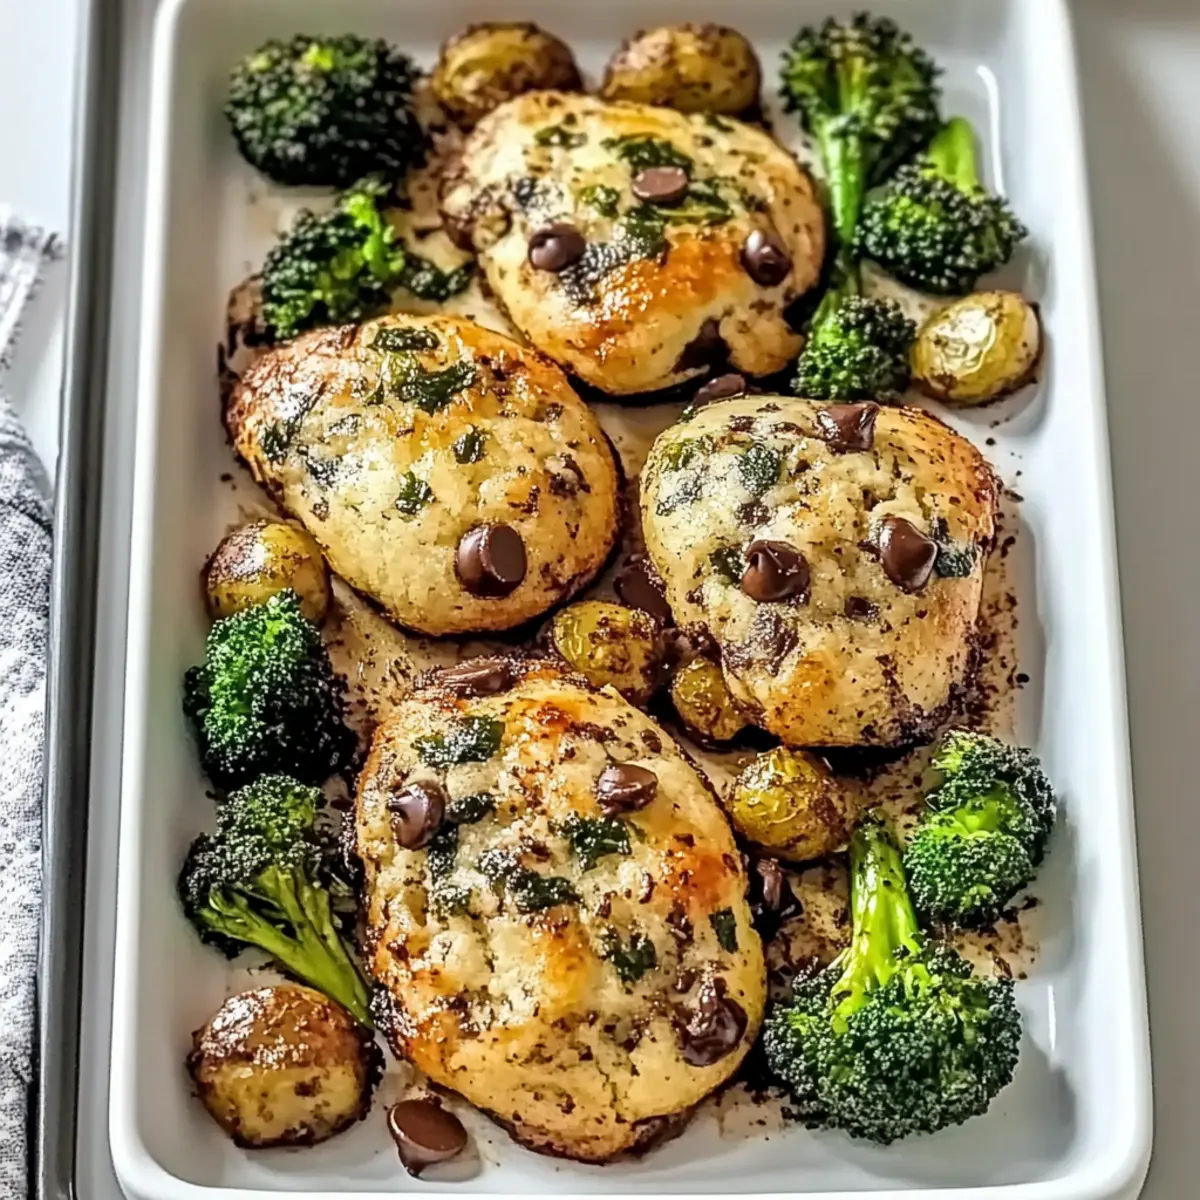
These Chocolate Oat Cookies make a delicious addition to your go-to recipes along with Garlic Butter Chicken for a complete meal!
Chocolate Oat Cookie Ingredients
• Prepare to dive into a simple yet delectable recipe with these must-have ingredients!
For the Dough
- Oats – Base ingredient providing structure and heartiness; can substitute with gluten-free oats for a gluten-free version.
- Cocoa Powder – Adds deep chocolate flavor; unsweetened is best to control sweetness.
- Banana – Acts as a natural sweetener and binder; overripe bananas work best, or substitute with applesauce for a low-sugar option.
- Nut Butter – Provides richness and moisture; almond or peanut butter is ideal, but any nut-free seed butter works for allergies.
These ingredients come together to create irresistible Chocolate Oat Cookies that satisfy your cravings while keeping it wholesome!
Step‑by‑Step Instructions for 4-Ingredient Gluten-Free Chocolate Oat Cookies
Step 1: Preheat Oven
Begin by preheating your oven to 350°F (175°C). This vital step ensures that your cookies bake evenly and achieve that delicious chewy texture. While the oven warms up, you can gather your baking sheet and line it with parchment paper for easy clean-up and to prevent sticking.
Step 2: Mix Dry Ingredients
In a mixing bowl, combine your oats and unsweetened cocoa powder. Use a whisk to blend the dry ingredients thoroughly, ensuring there are no clumps. This will help distribute the cocoa flavor evenly throughout the cookies, setting the stage for those rich, chocolatey bites you’re about to create.
Step 3: Prepare Wet Ingredients
Next, take your ripe bananas and mash them in a separate bowl until smooth. Add your choice of nut butter to the mashed bananas and stir until well blended. This combination acts as a binder and natural sweetener in your 4-Ingredient Gluten-Free Chocolate Oat Cookies, contributing to their delightful texture and flavor.
Step 4: Combine Mixtures
Now, pour the banana and nut butter mixture into the bowl with the dry ingredients. Stir vigorously until a sticky dough forms—this should take about 1-2 minutes. Be sure not to overmix; a well-combined dough will lead to perfectly chewy cookies fresh out of the oven.
Step 5: Shape and Bake
Using a tablespoon, scoop out the dough and place it onto the lined baking sheet, spacing them about 2 inches apart. Gently shape each scoop into a rounded cookie. Bake in the preheated oven for 10-12 minutes, until the cookies are set and slightly firm to the touch but still soft in the center.
Step 6: Cool and Enjoy
Once baked, remove the cookies from the oven and let them cool on the sheet for about 5 minutes. This allows them to firm up a bit more before transferring to a wire rack. Allow the cookies to cool completely, and then enjoy these delightful 4-Ingredient Gluten-Free Chocolate Oat Cookies as a quick, healthy snack!
Expert Tips for Chocolate Oat Cookies
• Use Ripe Bananas: Opt for overripe bananas for natural sweetness and better binding in your Chocolate Oat Cookies.
• Choose the Right Oats: Ensure you’re using certified gluten-free oats if needed, as not all varieties may be safe for gluten-sensitive individuals.
• Don’t Overmix the Dough: Gently stir the ingredients just until combined; overmixing can lead to denser cookies instead of the desired chewy texture.
• Monitor Baking Time: Ovens vary, so keep an eye on your cookies during the last few minutes; they should look slightly soft in the center but firm around the edges.
• Experiment with Mix-ins: Feel free to add nuts, seeds, or even dried fruits to your dough for added texture and flavor, making your Chocolate Oat Cookies even more delightful!
Storage Tips for 4-Ingredient Gluten-Free Chocolate Oat Cookies
Room Temperature: Store your cookies in an airtight container at room temperature for up to 7 days. This keeps them fresh and chewy, ready for snacking!
Freezer: For longer storage, freeze the cookies in a single layer on a baking sheet, then transfer to a zip-top bag. They can be frozen for up to 3 months.
Reheating: When you’re ready to enjoy, simply thaw at room temperature or microwave for 10-15 seconds for that fresh-baked warmth.
Airtight Container: Always use an airtight container to prevent moisture from making your delicious chocolate oat cookies soggy, ensuring they stay crispy and tasty!
Make Ahead Options
These 4-Ingredient Gluten-Free Chocolate Oat Cookies are perfect for meal prep, making your baking experience smoother and more convenient. You can prepare the dough up to 24 hours in advance; simply mix the oats, cocoa powder, mashed banana, and nut butter, then refrigerate it in an airtight container to maintain freshness. To prevent any browning or texture issues, ensure the mixture is well covered. When you’re ready to bake, scoop the chilled dough onto a baking sheet and bake as directed. This way, you’ll enjoy freshly baked cookies with minimal effort, perfect for busy weeknights or unexpected guests!
What to Serve with 4-Ingredient Crispy Chocolate Oat Cookies
Pair your delightful cookies with these simple yet delicious additions to create a satisfying snack experience.
- Creamy Almond Milk: A glass of cool almond milk beautifully complements the rich chocolate, enhancing the overall flavor profile.
- Fresh Berries: Juicy strawberries or raspberries offer a refreshing contrast, balancing sweetness with a burst of tartness in every bite.
With these pairings, you can make your snack time not only tasty but also wholesome and refreshing!
- Vanilla Yogurt: Creamy yogurt adds a subtle tanginess and texture, making it an ideal dip for your chocolate oat cookies.
- Nutty Granola: A sprinkle of crunchy granola provides a delightful contrast, adding a satisfying crunch that pairs well with the chewy cookies.
- Herbal Tea: A warm cup of chamomile or mint tea soothes the palate and provides a calming backdrop to the rich chocolate flavor.
- Chocolate-Covered Fruit: For the chocolate lover, chocolate-covered oranges or bananas make a tantalizing pairing, echoing the cookies’ flavor harmony.
- Ice Cream: Treat yourself to a scoop of vanilla or coconut ice cream for the ultimate indulgence, making every bite feel like a celebration.
Variations & Substitutions for Chocolate Oat Cookies
Embrace your creativity in the kitchen and make these cookies uniquely yours with these fun variations!
-
Nut-Free: Substitute peanut or almond butter with sunflower seed butter for a delicious nut-free version. This allows everyone to enjoy the cookies without worry!
-
Vegan Delight: Use maple syrup instead of honey to keep these cookies vegan-friendly. The subtle sweetness pairs perfectly with rich chocolate flavor.
-
Gluten-Free Version: Ensure you choose certified gluten-free oats, allowing those with gluten sensitivities to indulge without concern. They won’t miss out on these tasty treats!
-
Hearty Add-Ins: Mix in a handful of chopped nuts or dark chocolate chunks for added crunch and layers of flavor. This twist elevates the cookie experience while satisfying different textures.
-
Fruity Twist: Incorporate some raisins or dried cranberries into the dough for a delightful fruity burst. The sweetness complements the chocolate perfectly, creating a mouthwatering combination!
-
Spiced Up: Add a sprinkle of cinnamon or a dash of vanilla extract into the mixture to enhance flavor and create a warm aroma while baking. It adds a cozy essence that feels like home!
-
Cocoa Lovers: For an even richer chocolate experience, substitute half of the oats with unsweetened cocoa powder. This not only intensifies the chocolate flavor but creates a beautiful deep brown color!
-
No-Bake Option: No time to bake? Chill the dough and shape it into bars instead! This easy variation is perfect for those hot days when you crave something sweet but want to skip the oven.
These delectable changes let you tailor your Chocolate Oat Cookies to your taste! If you’ve enjoyed these cookies, you might also love pairing them with some savory options like the Garlic Butter Chicken or even the sweet delight of Cheesy Garlic Chicken for a balanced meal. Happy baking!
4-Ingredient Gluten-Free Chocolate Oat Cookies Recipe FAQs
What type of oats should I use for these cookies?
Absolutely! For the best results, use certified gluten-free oats if you’re making these cookies for someone with a gluten sensitivity. Regular oats can sometimes be cross-contaminated with gluten, so it’s always good to check the packaging.
How should I store the cookies after baking?
I recommend placing the cookies in an airtight container at room temperature, where they will stay fresh for up to 7 days. If you need them to last longer, freeze them in a single layer on a baking sheet, then transfer to a zip-top bag. They can be frozen for up to 3 months!
Can I substitute the ripe bananas in the recipe?
Certainly! If you’re not keen on banana flavor, you can substitute it with unsweetened applesauce, which works well as a binder and also keeps the cookies moist. Both options provide natural sweetness, so choose depending on your taste preference.
What should I do if my dough is too crumbly?
If you find your dough to be on the dry side, it might need a little more moisture. Try adding a teaspoon of water or more nut butter, bit by bit, until your cookie dough holds together well. It shouldn’t be overly sticky, but it should be cohesive enough that it can form a nice ball.
How can I tell when the cookies are done baking?
During baking, keep an eye on your cookies—they should be slightly firm to the touch around the edges, while still soft in the center. A good rule of thumb is to bake them for 10-12 minutes and check for that soft center. If in doubt, you can always take them out a minute earlier; they’ll continue to firm up as they cool!
Are these cookies suitable for kids and pets?
While these cookies are a great snack for kids, be cautious with pets. Ingredients like chocolate and nut butters may not be safe for dogs; ensure you keep these treats out of reach from furry friends. If making for kids, it’s always a wonderful idea to involve them in the cookie-making process—cooking together can create delightful memories!
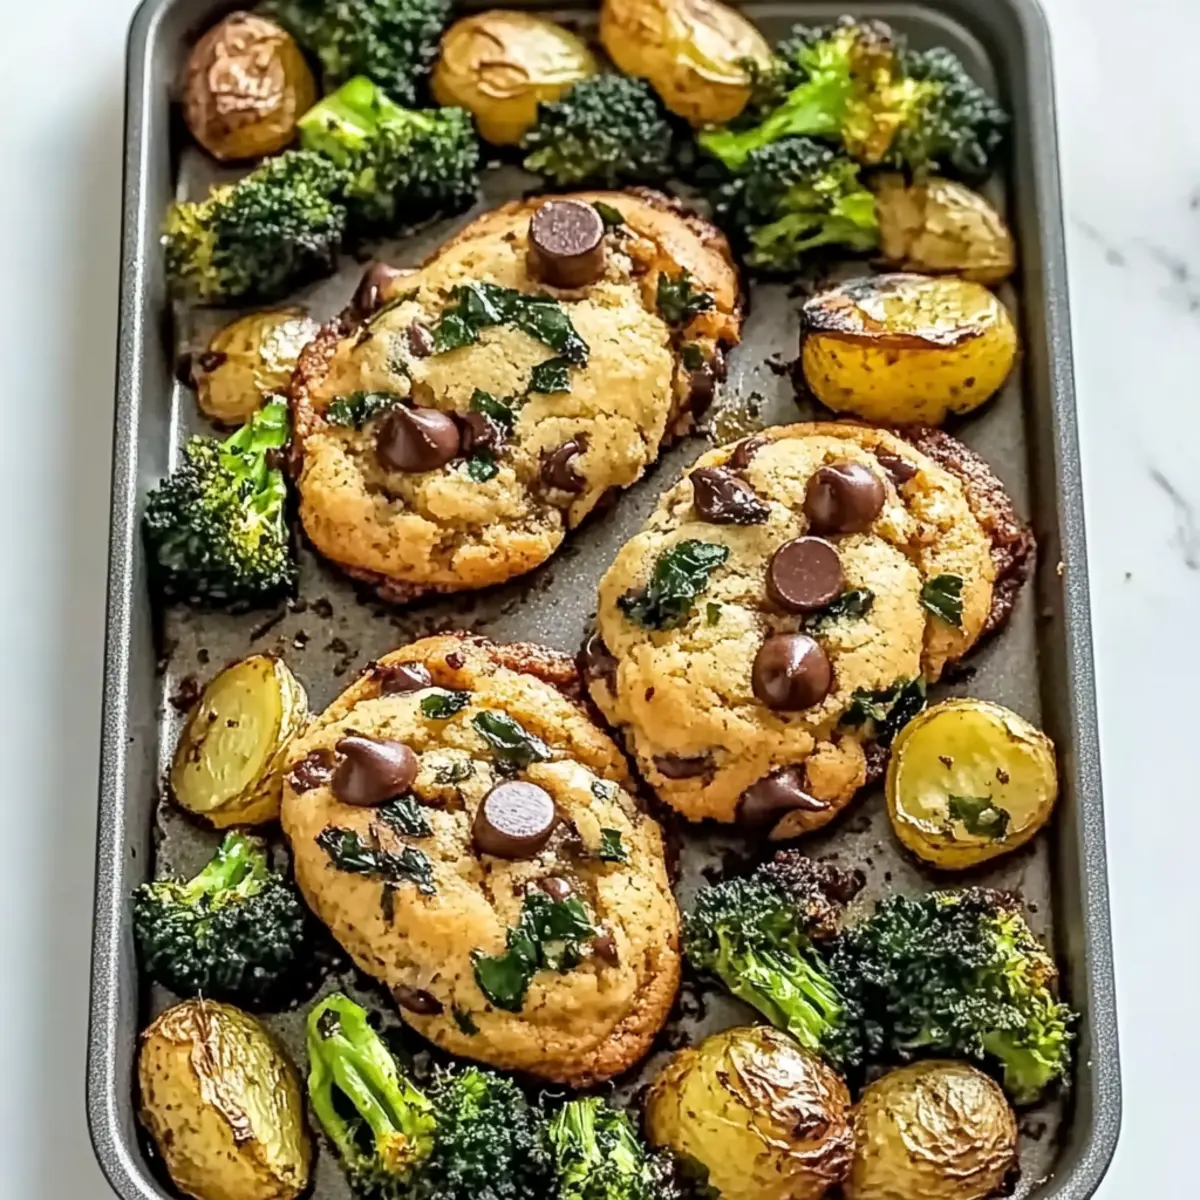
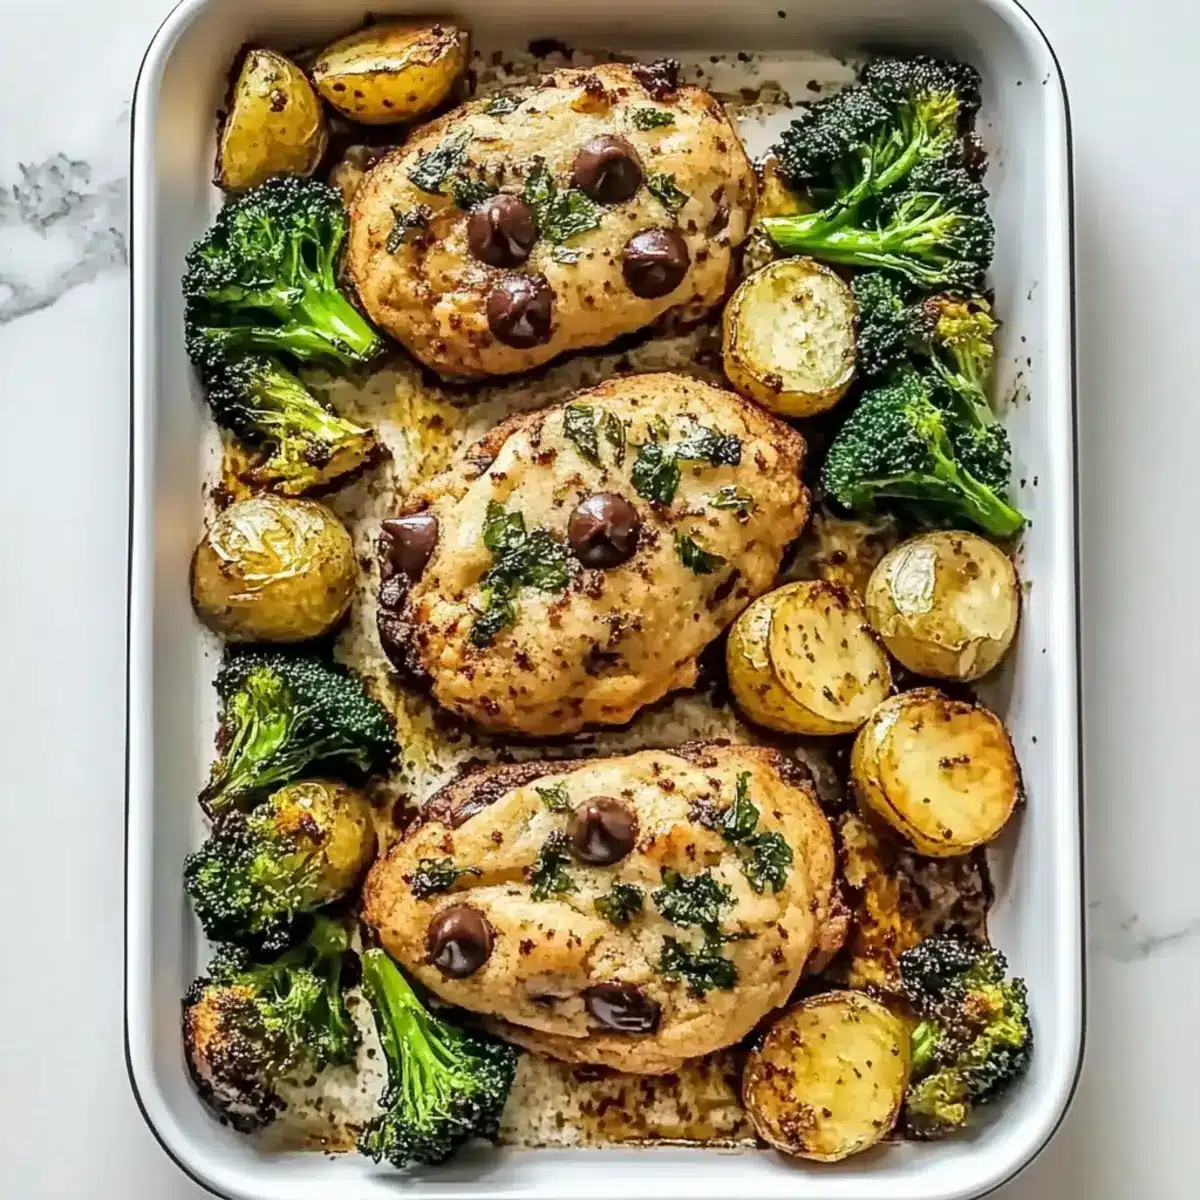
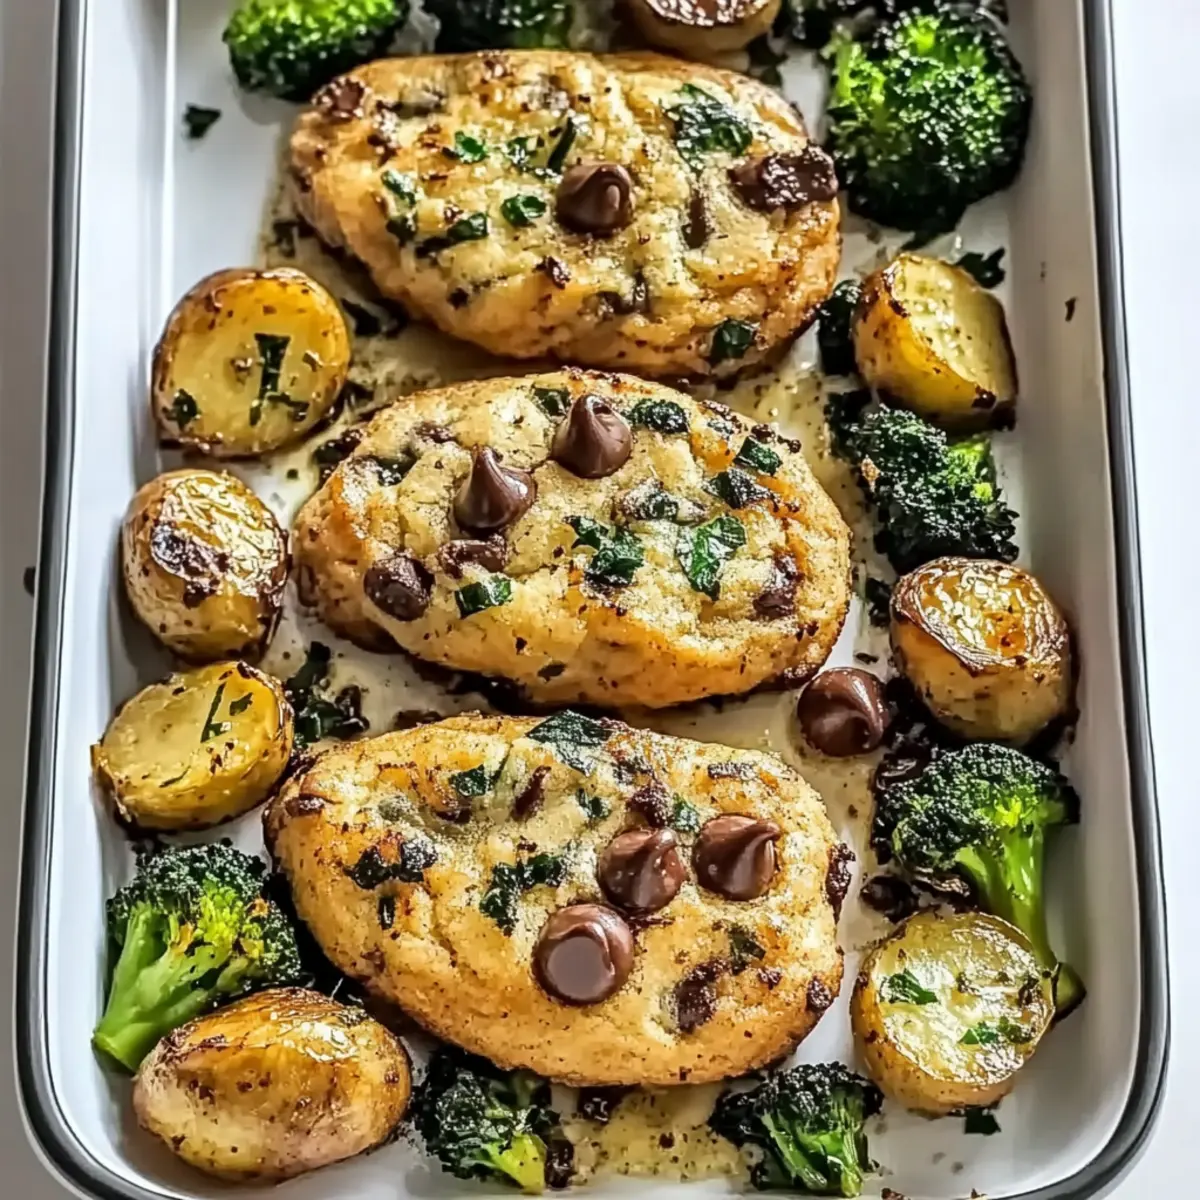
Sheet Pan Garlic Butter Chicken and Veggies in 30 Minutes
Ingredients
Equipment
Method
- Preheat oven to 400°F (200°C). Line a baking sheet with parchment paper.
- In a bowl, mix melted butter and garlic powder. Coat chicken breasts with this mixture.
- Place chicken on the baking sheet. Arrange mixed vegetables around the chicken.
- Bake in preheated oven for 20 minutes or until chicken is cooked through.
- Let it cool for 5 minutes before serving.
Leave a Reply