
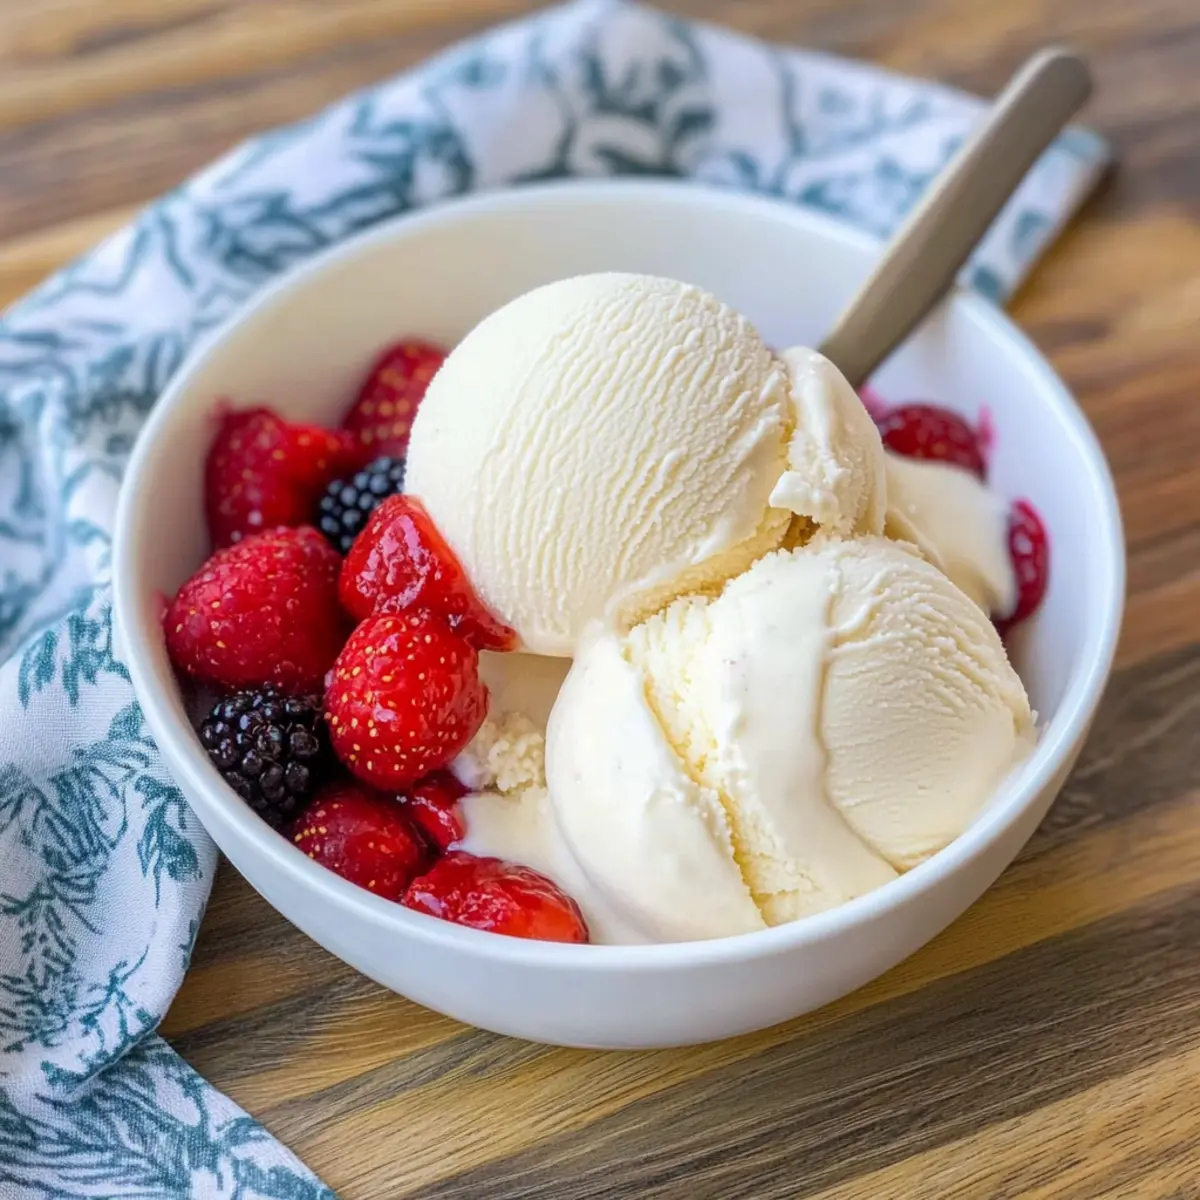
You won’t believe how easy it is to enjoy creamy, homemade vanilla ice cream with just five ingredients! One sunny afternoon, I found myself craving a sweet, cool indulgence but wanted to steer clear of store-bought brands. That’s when I whipped up what I now call the Best (and Easiest) Homemade Ice Cream. It’s incredibly satisfying to make this lush treat from scratch, and the bonus? It’s completely customizable! You can stir in your favorite mix-ins or keep it classic—perfect for cooling off during warm months or for those quiet evenings when you just need a little something sweet. Trust me; your taste buds will thank you as you scoop up this silky delight. Ready to dive into the world of homemade ice cream? Let’s get started!
Why is Homemade Ice Cream So Special?
Creamy Texture: This recipe yields a velvety and smooth consistency that is simply unmatched by store-bought options.
Five Ingredients: You only need five simple ingredients to create a deliciously rich flavor that will elevate your dessert experience.
Customizable: Feel free to get creative! Add in chocolate chips, fruits, or any of your favorite mix-ins to make this ice cream uniquely yours.
Time-Saving: In just a few minutes of prep, you can enjoy a homemade treat without the fuss of complicated processes.
Impressive Treat: Whether it’s a warm summer day or a cozy evening at home, serving this ice cream will always impress your family and friends. Trust me, once you’ve made this, you’ll never want to reach for store-bought again! Why not try adding some crushed berries or chocolate sauce on top? For more delightful inspiration, check out my Strawberry Cream Japanese cake roll to complete your dessert spread!
The Best Homemade Ice Cream Ingredients
• You won’t believe how simple it is!
For the Base
- Heavy Cream – Provides rich creaminess; opt for higher-fat versions for a silkier finish.
- Whole Milk – Balances the fat content; be cautious with substitutes as they may alter texture.
- Sugar – Sweetens the ice cream while enhancing texture; stick with granulated for best results.
- Fine Sea Salt – Elevates flavors beautifully; feel free to swap with table salt but adjust to taste.
- Vanilla Extract or Vanilla Bean – Adds a delightful vanilla essence; use one tablespoon for full flavor impact.
Feel free to adapt these five ingredients to your liking and enjoy one of the best homemade ice creams you’ll ever make!
Step‑by‑Step Instructions for The Best (and Easiest) Homemade Ice Cream
Step 1: Combine the Ingredients
In a medium saucepan, combine 1 cup of heavy cream, 3/4 cup of sugar, and a pinch of fine sea salt. Set the heat to medium and gently stir the mixture until the sugar fully dissolves, about 2-3 minutes. If you’re using a vanilla bean, scrape the seeds into the mixture and add the pod as well for extra flavor.
Step 2: Add Remaining Ingredients
Remove the saucepan from the heat and carefully stir in the remaining 1 cup of heavy cream, 1 cup of whole milk, and 1 tablespoon of vanilla extract. Whisk until the mixture is smooth and creamy, ensuring that all components are well blended. This step is crucial to achieving the rich taste of The Best (and Easiest) Homemade Ice Cream.
Step 3: Chill the Mixture
Transfer your creamy mixture to a bowl, cover it with plastic wrap or a lid, and refrigerate for at least 2 hours, or until it is thoroughly chilled. This chilling time helps the flavors meld together beautifully, giving your homemade ice cream a richer taste.
Step 4: Churn the Ice Cream
Once the mixture is chilled, pour it into your ice cream maker. Churn according to the manufacturer’s instructions, usually about 20-25 minutes, until it thickens to a soft-serve consistency. Keep an eye on it; when it doubles in volume and has a smooth texture, you know it’s ready!
Step 5: Freeze for Texture
For a firmer vanilla ice cream, transfer the churned ice cream into an airtight container; smooth the top with a spatula and seal it tightly. Place it in the freezer for at least 4 hours. This step allows the ice cream to harden to the perfect scoopable consistency, making it a delightful treat to enjoy later.
Step 6: Serve and Enjoy
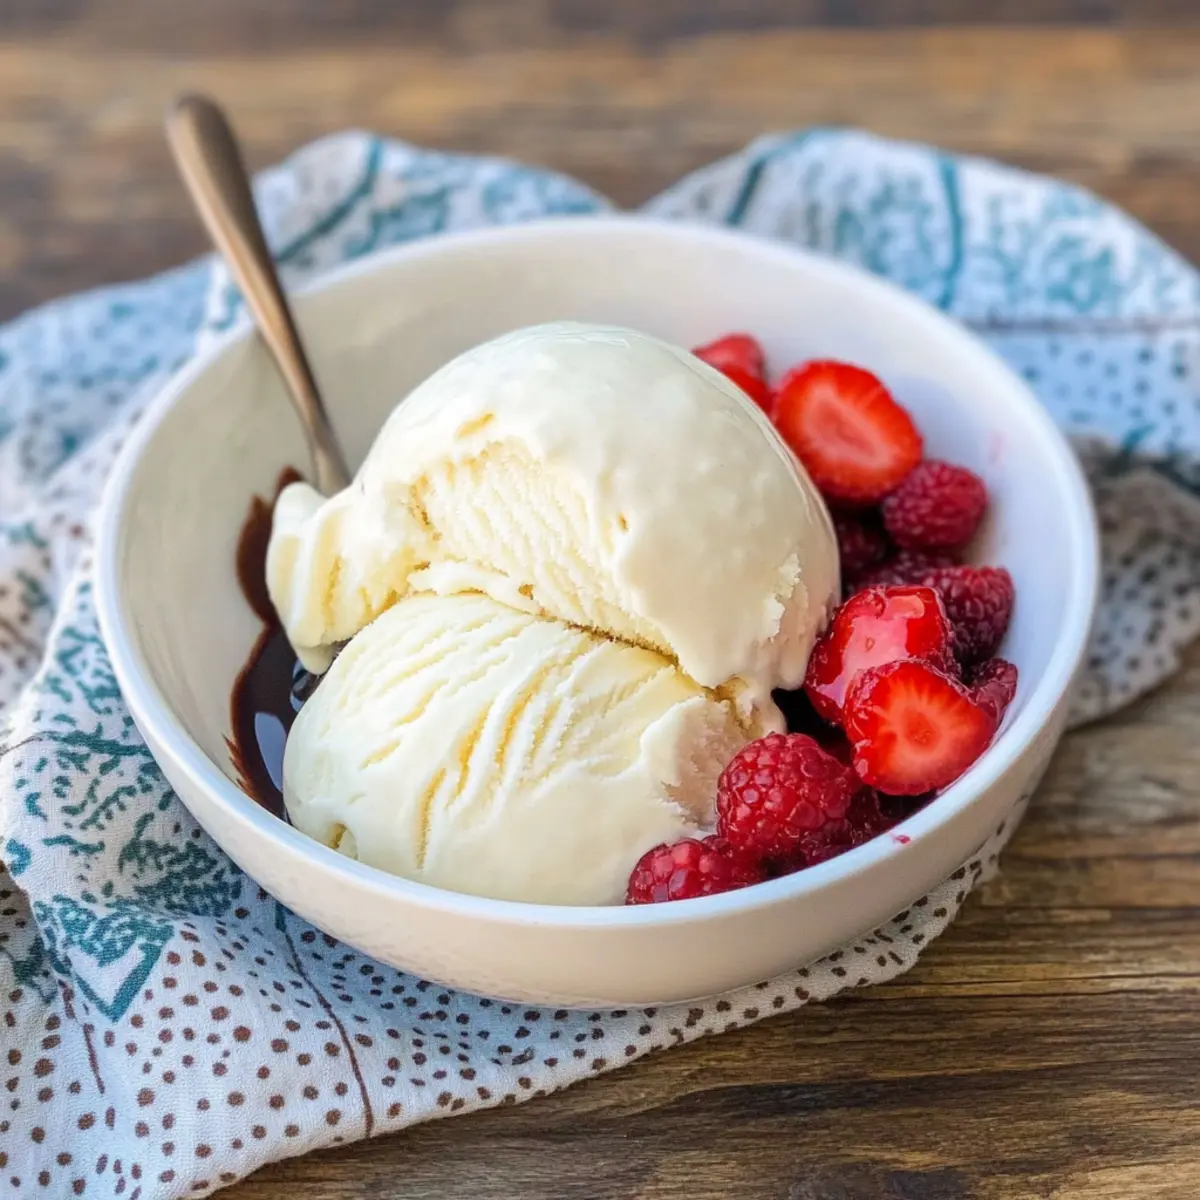
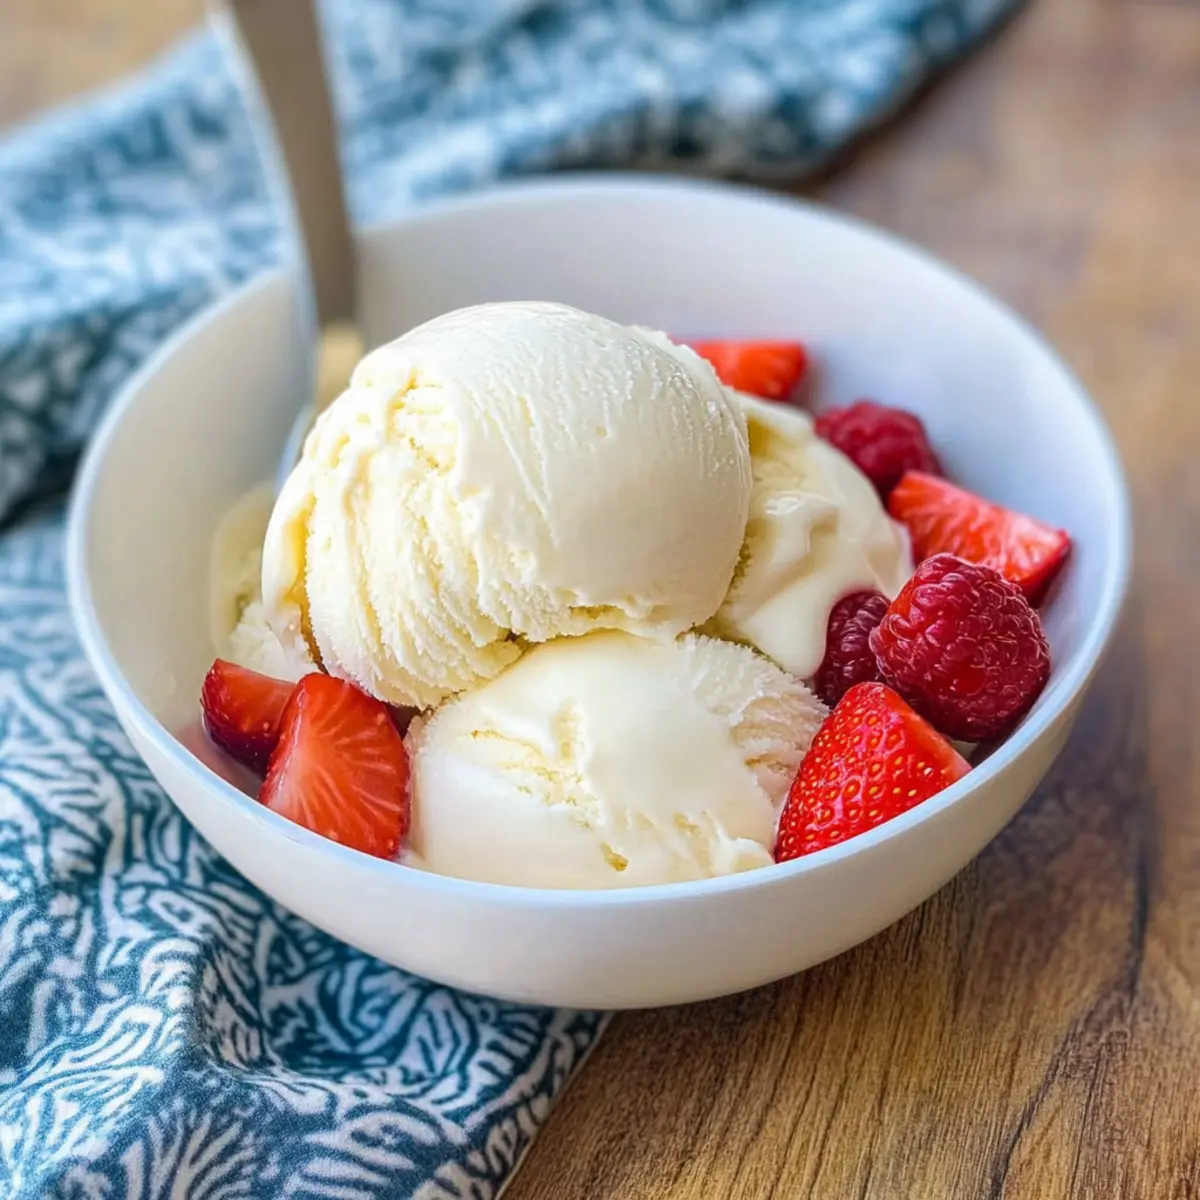
Scoop out generous portions of your homemade ice cream into bowls or cones, and if you like, top it with your favorite toppings such as chocolate sauce or fresh fruits. Your creamy delight awaits! Remember, this is The Best (and Easiest) Homemade Ice Cream, so enjoy every soothing bite and share it with loved ones.
How to Store and Freeze Homemade Ice Cream
Fridge: Store any leftover ice cream in an airtight container for up to 3 days for best flavor and texture.
Freezer: For longer storage, freeze the homemade ice cream in an airtight container for up to 2 weeks. To maintain creaminess, make sure it’s tightly sealed.
Reheating: If the ice cream becomes too hard, let it sit at room temperature for about 10 minutes before scooping to scoop out perfect portions. Enjoy your best homemade ice cream experience!
Avoid Ice Crystals: To prevent ice crystals from forming, press a piece of parchment paper gently against the surface before sealing the container.
Make Ahead Options
You’ll love how easy it is to make The Best (and Easiest) Homemade Ice Cream ahead of time! To save time during those busy weeknights, prepare the ice cream base up to 24 hours in advance. Simply follow the initial steps of combining the ingredients, then chill the mixture in the refrigerator overnight. This not only allows the flavors to meld beautifully but ensures a rich and creamy texture. When you’re ready to serve, simply churn the chilled mixture in your ice cream maker, then transfer it to an airtight container and freeze for at least 4 hours before enjoying. This way, you’ll always have a delightful dessert on hand, just waiting to impress your family and friends!
What to Serve with Easiest Creamy Vanilla Ice Cream?
There’s nothing quite like the taste of velvety homemade vanilla ice cream to cool off your day and elevate your dessert game!
-
Warm Brownies: The fudgy richness of brownies pairs beautifully with the creamy ice cream, creating a delightful contrast in textures.
-
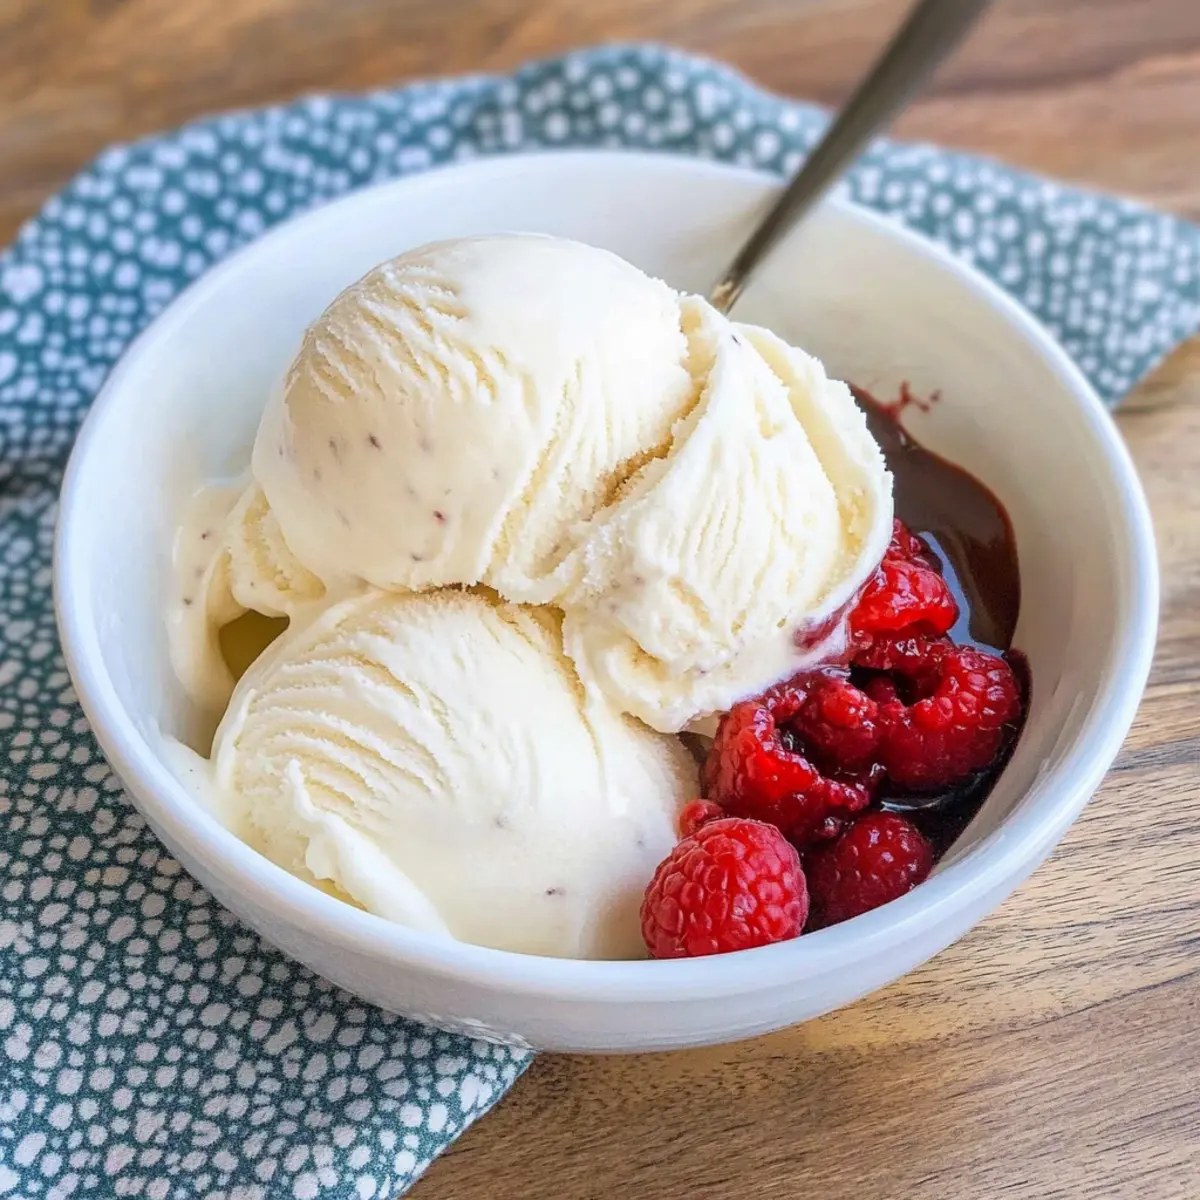
Fresh Berries: Juicy strawberries, blueberries, or raspberries add a vibrant pop of color and tartness that complements the sweet vanilla flavor wonderfully.
-
Chocolate Sauce: Drizzling warm chocolate sauce over scoops makes for a decadent treat that adds richness and indulgence to each bite.
-
Homemade Waffles: Crispy, golden waffles provide a lovely base for the ice cream. The warmth of the waffles contrasts with the coolness, making each mouthful unforgettable.
-
Caramel Drizzle: Adding a drizzle of homemade caramel creates a sweet and buttery profile that enhances the vanilla notes of the ice cream.
-
Coconut Macaroons: The chewy texture and coconut flavor of these treats harmonize well with the smooth creaminess of the ice cream.
-
Minty Spritzers: A refreshing mint spritzer or lemonade cleanses the palate and balances the richness, perfect for a warm evening gathering.
-
Chocolate Chip Cookies: Classic cookie and ice cream pairing; the warm cookies provide a comforting familiarity, while the ice cream adds that needed softness.
-
Coffee: A cup of freshly brewed coffee elevates this dessert experience, creating a delightful contrast of flavors—sweet, creamy, and bitter.
-
Fruit Sorbet: For a lighter option, serve with a refreshing fruit sorbet. The fruity zing complements the creamy vanilla, offering a bright finish to your meal.
The Best (and Easiest) Homemade Ice Cream Variations
Feel free to let your creativity shine as you customize your homemade ice cream experience! Each twist is a chance to explore delightful flavors and textures.
-
Chocolate Swirl: Add 1/2 cup of melted chocolate or cocoa powder during the mixing stage to create a rich, chocolatey delight. The contrast between creamy vanilla and decadent chocolate is simply irresistible!
-
Fruity Twist: Fold in 1 cup of pureed strawberries or raspberries after churning for a light and refreshing flavor. This vibrant addition not only enhances the taste but also provides a lovely pop of color.
-
Coffee Infusion: Mix in 2 tablespoons of instant coffee granules or 1/2 cup of brewed espresso for that caffeine kick. If you’re a coffee lover, this variation will surely elevate your ice cream game!
-
Nutty Crunch: Stir in 1/2 cup of chopped nuts, like pistachios or almonds, during the last few minutes of churning for added texture. The combination of creamy ice cream and crunchy nuts creates a delightful experience.
-
Caramel Swirl: Drizzle in 1/2 cup of homemade or store-bought caramel sauce when transferring the churned ice cream to the container. Each bite will be a luscious surprise of sweetness.
-
Mint Chocolate Chip: Add a few drops of peppermint extract and fold in chocolate chips for a refreshing sensation. Imagine enjoying that classic flavor combo on a warm day!
-
Savory-Sweet Delight: Mix in 1/2 teaspoon of sea salt and a tablespoon of maple syrup for a sophisticated twist. This surprising combination heightens the sweetness and adds a gourmet touch.
For more delightful inspiration, you can explore the world of flavors with my Pistachio Ice Cream or try out some of my creamy treats that will tantalize your taste buds, like the Strawberry Cream Japanese cake roll! Whether you’re opting for a flavor boost or a delightful mix-in, these variations make your homemade ice cream even more special. Happy churning!
Expert Tips for the Best Homemade Ice Cream
-
Chill the Mixture: Allow your ice cream mixture to chill thoroughly for at least 2 hours. This ensures a smoother texture and richer flavor in the final result.
-
Avoid Over-Churning: Keep a close eye on the ice cream maker during churning—over-churning can cause the ice to become grainy instead of creamy.
-
Perfect Storage: Use an airtight container for freezing. This prevents ice crystals from forming, ensuring that your homemade ice cream remains smooth and delicious.
-
Experiment with Mix-ins: During the last few minutes of churning, add any mix-ins like fruit, nuts, or chocolate chips. This way, they’ll be incorporated evenly without disrupting the creamy texture of the ice cream.
-
Use Fresh Ingredients: Opt for high-quality vanilla extract and fresh cream for an indulgent flavor. The best homemade ice cream starts with the best ingredients!
-
Time to Serve: Let the ice cream sit at room temperature for a few minutes before scooping. This makes it easier to serve while maintaining its delightful creaminess.
The Best (and Easiest) Homemade Ice Cream Recipe FAQs
What type of cream is best for making ice cream?
Absolutely! For the best homemade ice cream, I recommend using heavy cream, as it provides a rich and creamy texture. If you want an even silkier finish, opt for a higher-fat alternative, like heavy whipping cream. Lower-fat options, like almond or low-fat milk, will change the consistency significantly.
How long can I store my homemade ice cream?
You can store your homemade ice cream in an airtight container in the freezer for up to two weeks while maintaining its delicious and creamy texture. To keep it fresh and free from ice crystals, ensure it’s well-sealed. Treat yourself to your sweet creation within this time frame for the best flavor!
Can I freeze homemade ice cream for longer?
While homemade ice cream tastes best when consumed within two weeks, you can freeze it for up to three months. Just make sure to store it in an airtight container, and consider covering the surface with parchment paper to prevent ice crystals from forming. When you’re ready to enjoy, let it sit at room temperature for about 10 minutes before scooping for that perfect serve.
I don’t have an ice cream maker—how can I still make this recipe?
Not a problem! You can still make this delicious ice cream without a machine. Simply pour your mixed ingredients into a shallow container and place it in the freezer. Stir the mixture every 30-60 minutes for the first few hours to break up any ice crystals. Repeat this for about 3-4 hours until it’s beautifully creamy. This technique gives you creamy indulgence without needing special equipment!
Can I add mix-ins like fruit or candy?
The more the merrier! You can totally customize your ice cream with mix-ins. During the last few minutes of churning (or just before the freezing step if you’re hand-mixing), fold in your favorite goodies—like chocolate chips, crushed cookies, or fruits. This makes each scoop uniquely delightful and a treat your family will absolutely love!
The Best (and Easiest) Homemade Ice Cream You’ll Ever Make
Ingredients
Equipment
Method
- In a medium saucepan, combine 1 cup of heavy cream, 3/4 cup of sugar, and a pinch of fine sea salt. Set the heat to medium and gently stir until the sugar fully dissolves, about 2-3 minutes.
- Remove the saucepan from the heat and carefully stir in the remaining 1 cup of heavy cream, 1 cup of whole milk, and 1 tablespoon of vanilla extract. Whisk until smooth and creamy.
- Transfer your creamy mixture to a bowl, cover it with plastic wrap, and refrigerate for at least 2 hours, or until thoroughly chilled.
- Once chilled, pour it into your ice cream maker. Churn according to the manufacturer's instructions, about 20-25 minutes, until it thickens to a soft-serve consistency.
- Transfer the churned ice cream into an airtight container, smooth the top, and seal tightly. Place it in the freezer for at least 4 hours to harden.
- Scoop out portions into bowls or cones, and top with your favorite toppings like chocolate sauce or fresh fruits.
Leave a Reply