
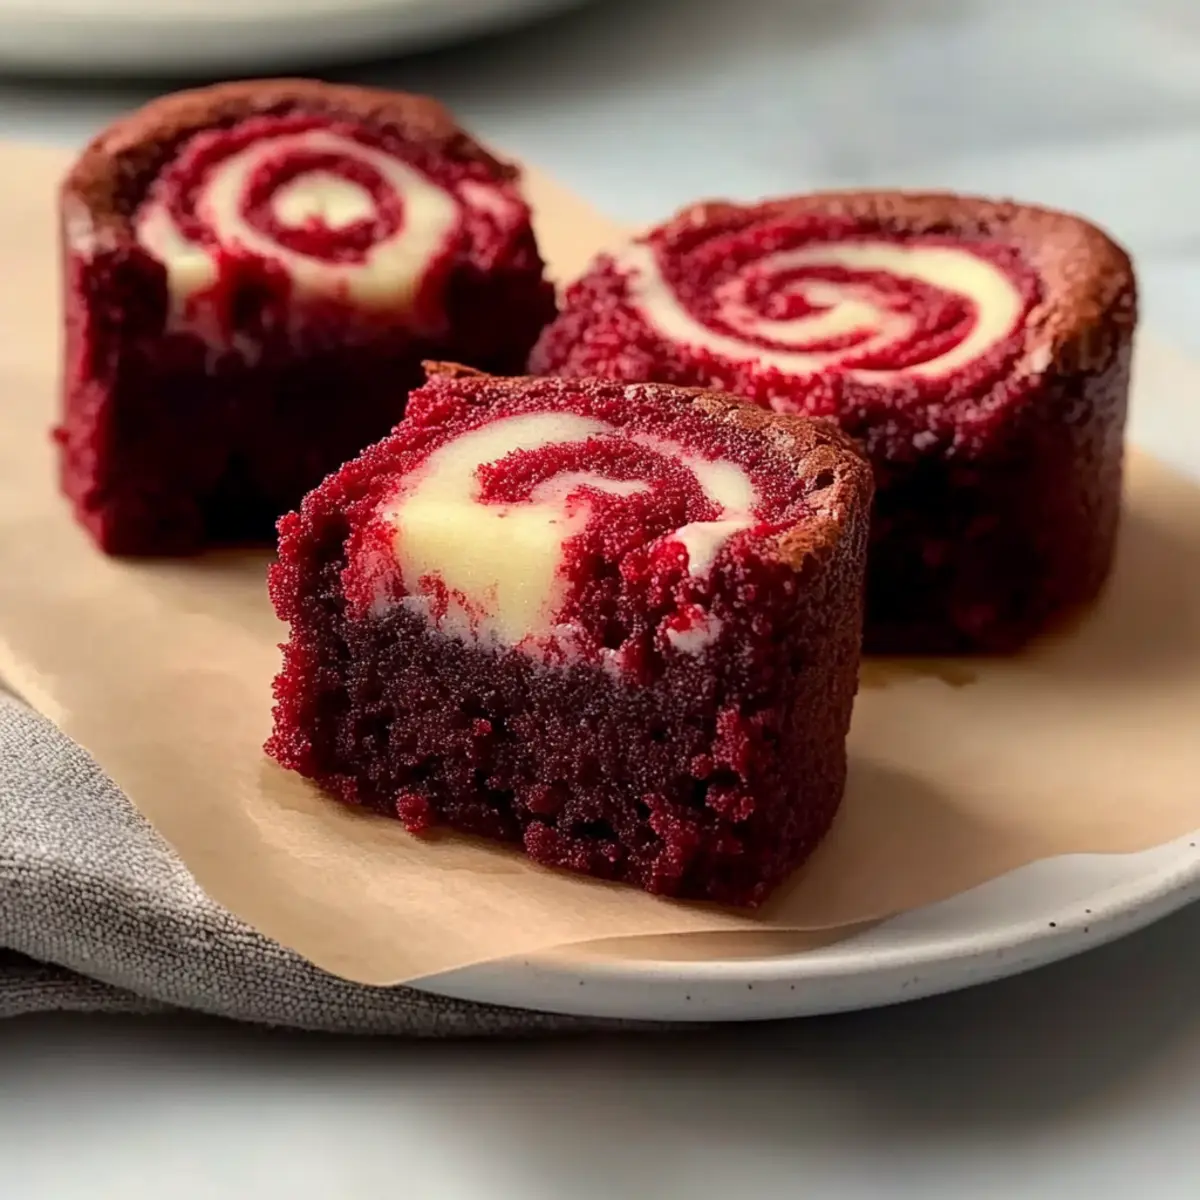
As I pulled a tray of these vibrant Homemade Red Velvet Brownie Bites from the oven, the rich, chocolaty aroma wafted through my kitchen, almost teasing my taste buds. Each fudgy bite is perfectly complemented by a swirl of creamy, tangy cream cheese—creating a delightful contrast that elevates these treats from ordinary to extraordinary. The best part? With just a handful of ingredients and minimal effort, these brownie bites are sure to impress any crowd, making them a perfect addition to gatherings or cozy nights in. Plus, their bite-sized nature means you can indulge without the guilt of a hefty slice of cake! Are you ready to dive into this deliciously simple recipe?
Why Are These Brownie Bites Special?
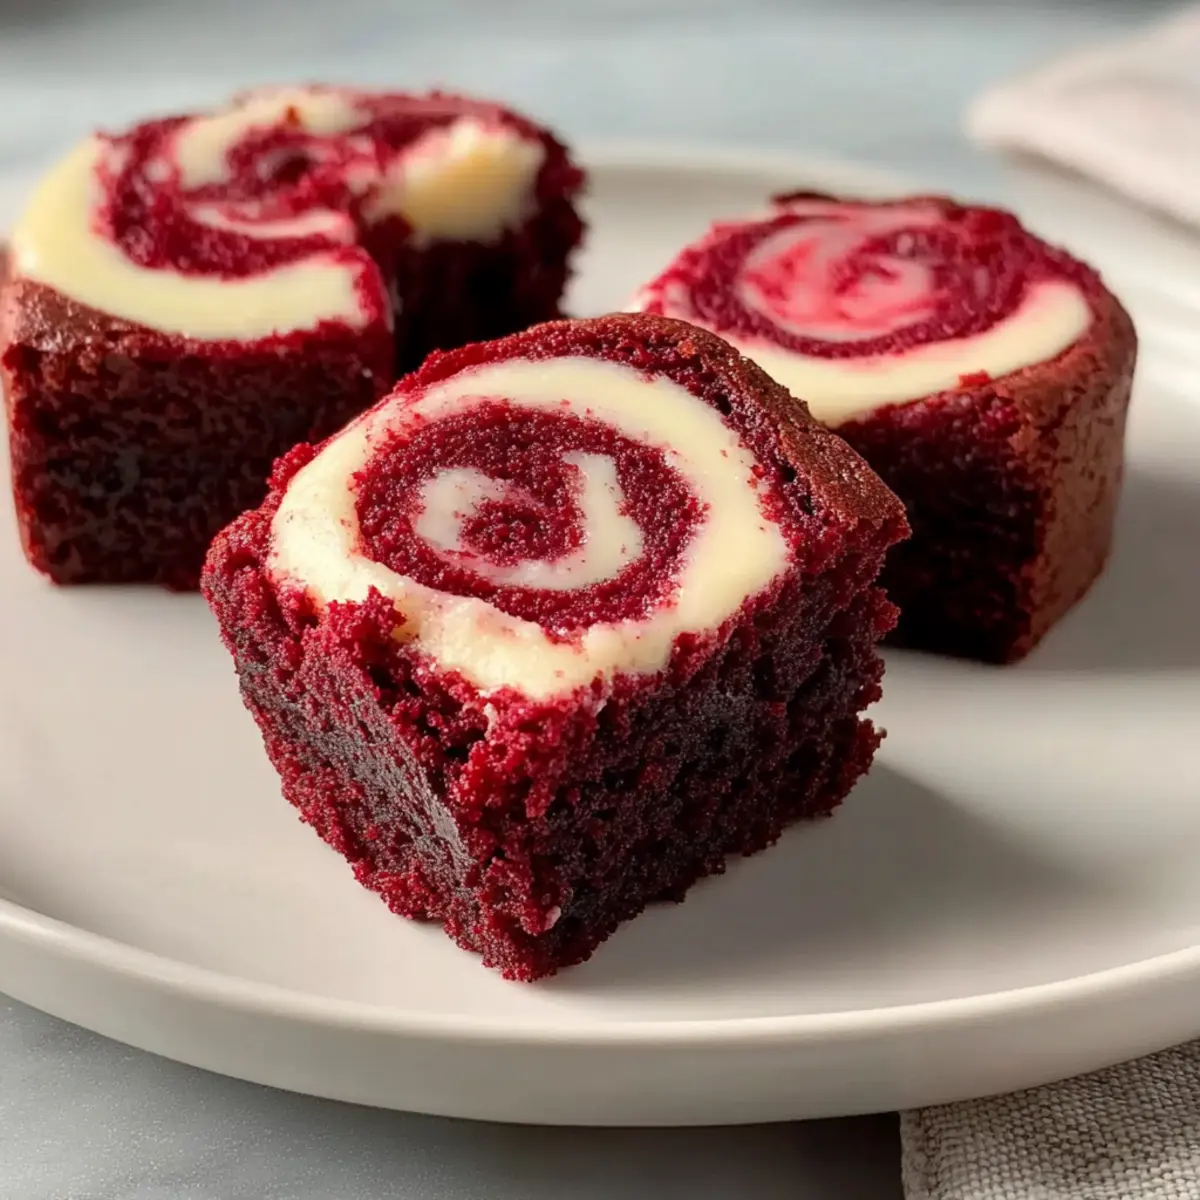
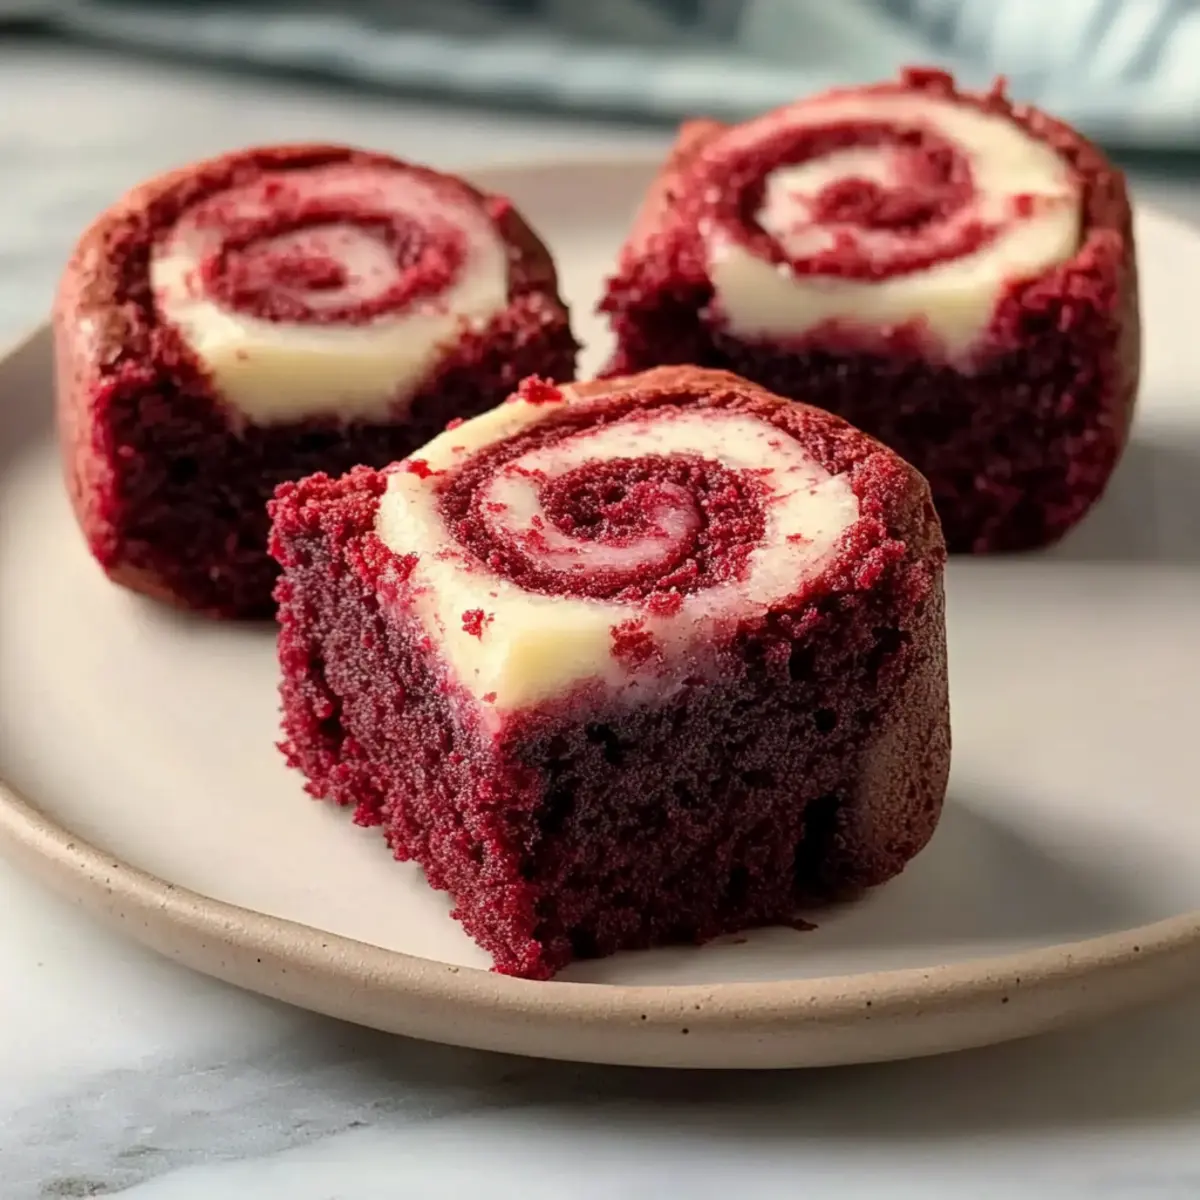
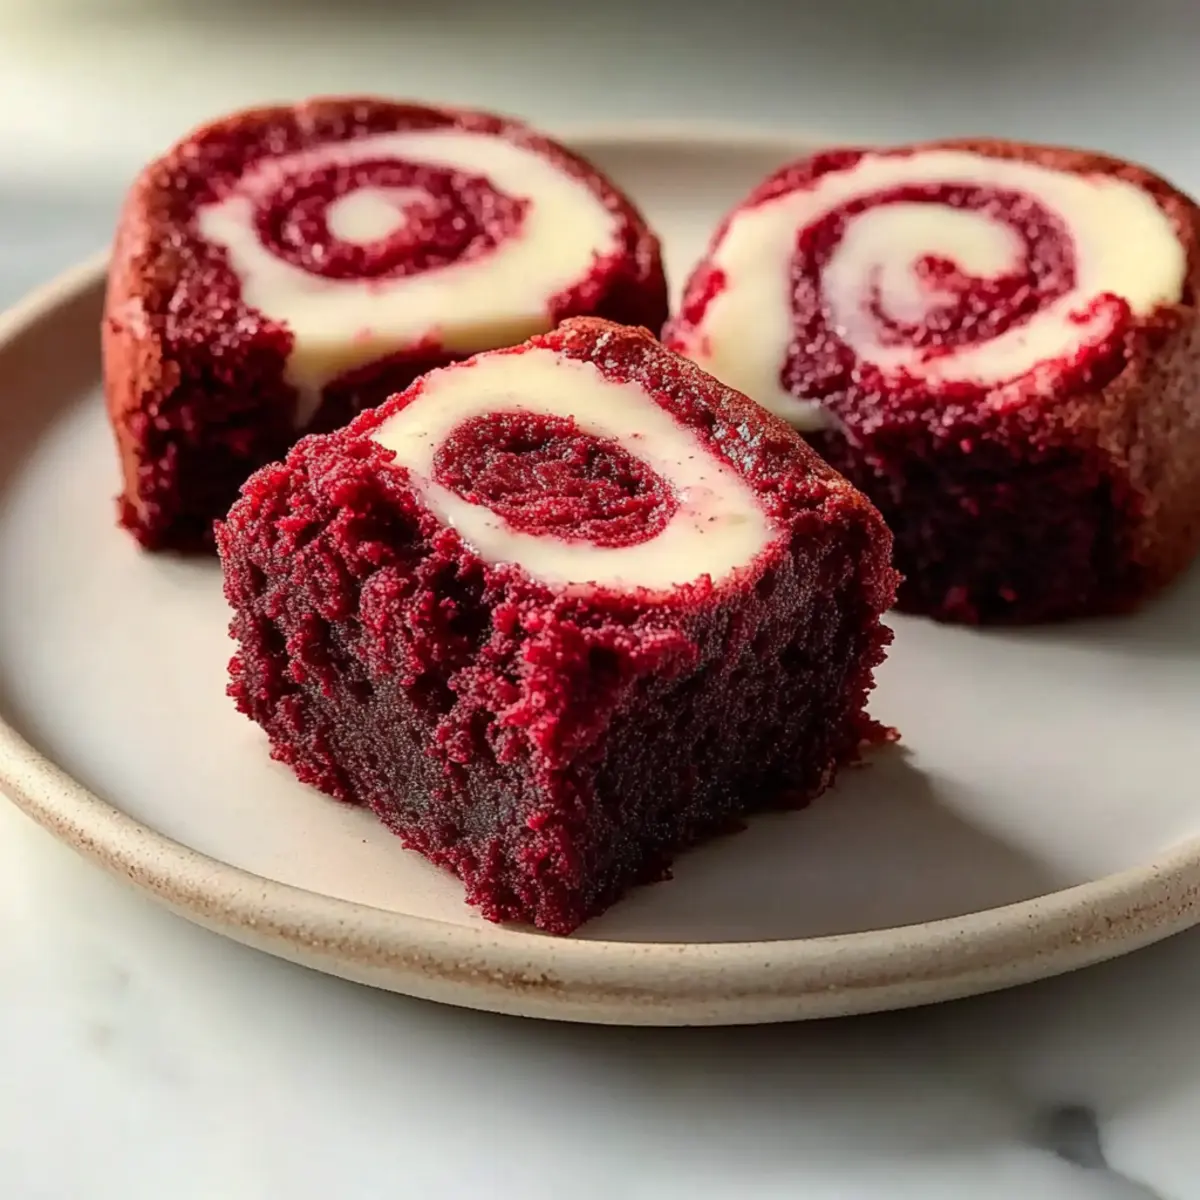
Irresistible Texture: Each fudgy bite melts in your mouth, marrying the rich chocolate with a creamy cream cheese swirl.
Effortless Preparation: With minimal effort and basic ingredients, you’ll create gourmet treats that impress everyone without a wonder of complicated techniques.
Visual Appeal: The vibrant red hue captures attention, making them perfect for any occasion—from casual gatherings to festive celebrations.
Versatile Swaps: Feel free to experiment with different cocoa types or substitute cream cheese with mascarpone for a flavor twist!
Crowd-Pleaser: These bite-sized desserts are perfect for sharing; just like Oreo Cheesecake Bites, they’ll surely be a hit!
Homemade Red Velvet Brownie Bites Ingredients
-
For the Brownie Base
-
Butter – Provides moisture and richness; you can substitute with margarine or coconut oil for a dairy-free option.
-
Sugar – Sweetens the brownies, contributing to the fudgy texture; using brown sugar can add extra moisture.
-
Cocoa Powder – Gives the brownies their essential chocolate flavor; natural cocoa is classic, while Dutch-process creates a deeper color and milder flavor.
-
Vanilla Extract – Enhances the overall flavor; opt for pure vanilla extract to get the best results.
-
Red Food Coloring – Adds that signature vibrant hue of red velvet; gel food coloring works best for maintaining color intensity.
-
Salt – Balances sweetness and amplifies flavors.
-
Espresso Powder – Intensifies the chocolate flavor without leaving a coffee taste; it can be omitted but may slightly reduce richness.
-
Vinegar – Provides acidity that enhances the red color and adds depth to the flavor.
-
Eggs – Binds the ingredients together and helps to achieve a fudgy texture; use room temperature eggs for better mixing.
-
Flour – Gives structure to your brownies; avoid overmixing for the best texture.
-
For the Cream Cheese Swirl
-
Cream Cheese – The star of the swirl that creates a lovely tang; ensure it’s at room temperature to prevent lumps.
-
Egg Yolk – Adds richness to the cream cheese filling, enhancing the overall creaminess.
-
Additional Sugar – Sweetens the cream cheese mixture; adjust to your taste preference.
With these Homemade Red Velvet Brownie Bites ingredients, you’re all set to create a beautiful dessert that not only looks stunning but also tastes divine!
Step‑by‑Step Instructions for Homemade Red Velvet Brownie Bites
Step 1: Preheat the Oven
Begin by preheating your oven to 350°F (175°C) and greasing a mini muffin pan. This ensures that your Homemade Red Velvet Brownie Bites won’t stick during the baking process. A well-greased pan is essential for a clean release, making it easier to enjoy your delicious treats right out of the oven.
Step 2: Sift the Cocoa Powder
In a medium bowl, sift in the cocoa powder to remove any lumps. This step is important for achieving the smooth, fudgy texture that defines your red velvet brownie bites. Sifting also helps evenly distribute the cocoa powder, making for a rich chocolate flavor throughout the batter.
Step 3: Mix the Brownie Batter
Melt the butter in a saucepan over low heat, then stir in the sugar, sifted cocoa, vanilla extract, red food coloring, salt, espresso powder, and vinegar until smooth. This mixture should appear glossy and well-combined, indicating the flavors are melded beautifully. Let this mixture cool slightly to avoid cooking the eggs in the next step.
Step 4: Incorporate the Eggs
Once the butter mixture has cooled, whisk in the eggs one at a time until fully incorporated. This ensures that your batter is light and airy, which is essential for achieving those delicious Homemade Red Velvet Brownie Bites. Be careful not to overmix; just mix until you see no streaks of egg.
Step 5: Fold in the Flour
Gently fold in the flour using a spatula, mixing until just combined. This is crucial for maintaining the fudgy texture of your brownies. Overmixing can lead to dense bites, so stop mixing as soon as the flour disappears, ensuring your mixture remains thick and luscious.
Step 6: Prepare the Cream Cheese Swirl
In another bowl, beat the cream cheese with sugar and vanilla extract until smooth and creamy. Then, incorporate the egg yolk to add richness to the cream cheese swirl. This blend should be airy and free of lumps, creating a lovely contrast once it’s swirled into your brownie batter.
Step 7: Assemble the Brownie Bites
Spoon the brownie batter into the prepared muffin cups, filling them halfway. Once done, add a dollop of the cream cheese mixture on top. Using a toothpick, gently swirl the cream cheese into the brownie batter, being careful to create a beautiful marbled effect without overmixing.
Step 8: Bake to Perfection
Place the muffin pan in the preheated oven and bake for about 12 minutes. The edges should appear set and the centers may look slightly soft—this is perfect for ensuring that your brownie bites will be fudgy and moist. Keep a close eye to avoid overbaking!
Step 9: Cool Before Serving
Remove the muffin pan from the oven and let the brownie bites cool in the pan for 5 minutes. This helps them firm up a bit, making removal much easier. After cooling, transfer your Homemade Red Velvet Brownie Bites to a wire rack to cool completely, ensuring they are ready to enjoy or serve!
Make Ahead Options
These Homemade Red Velvet Brownie Bites are a fantastic choice for meal prep enthusiasts looking to save time during busy weeknights! You can make the brownie batter and cream cheese swirl up to 24 hours in advance. Simply prepare both components, cover them well, and refrigerate. When you’re ready to bake, just scoop the brownie batter into your muffin cups, add the cream cheese swirl, and bake directly from the fridge for a couple of extra minutes to ensure they’re cooked through. By prepping ahead, you’ll have flavorful, fudgy brownie bites that are just as delicious, allowing you to enjoy homemade treats without last-minute fuss!
Homemade Red Velvet Brownie Bites Variations
Feel free to play around and add your personal touch to this scrumptious recipe!
- Dairy-Free: Substitute butter with coconut oil and cream cheese with dairy-free alternatives for a delightful vegan twist.
- Nutty Flavor: Fold in chopped walnuts or pecans into the brownie batter for an added crunch and depth of flavor, creating a lovely textural contrast.
- Extra Chocolate: Add chocolate chips—dark or white—either into the brownie batter or as a topping, enhancing the chocolate richness even more!
- Flavor Boost: Swap out vanilla extract for almond or mint extract, introducing a subtle yet captivating change to the flavor profile.
- Spicy Kick: A pinch of cayenne or chili powder will add a unique warmth that pairs surprisingly well with the sweetness of the brownies, giving them a fun kick!
- Fresh Fruit: Top your brownie bites with a light smear of raspberry or strawberry puree for a fruity complement to the rich chocolaty taste.
- Cream Cheese Variation: Try using mascarpone for your cheesecake swirl, which provides a creamier texture while adding a unique flavor twist.
- Gourmet Topping: Drizzle a bit of salted caramel sauce on top for a sophisticated touch, elevating your brownie bites to a whole new level of indulgence.
These variations are sure to keep your baking exciting! If you’re looking for more bite-sized inspirations, you might enjoy these delightful Cheesecake Bites Sharing or some Pistachio Honey Bites. Happy baking!
How to Store and Freeze Homemade Red Velvet Brownie Bites
Fridge: Keep your brownie bites in an airtight container in the refrigerator for up to 5 days. This helps maintain their fudgy texture and creamy swirl.
Freezer: For longer storage, wrap the brownie bites individually in plastic wrap and place them in a freezer-safe bag. They can be frozen for up to 3 months.
Thawing: Thaw your frozen brownie bites in the fridge overnight or at room temperature for about an hour before serving. This ensures they return to their delicious fudgy state.
Reheating: If you prefer them warm, reheat in the microwave for 10-15 seconds—just enough to soften without melting the cream cheese swirl. Enjoy your Homemade Red Velvet Brownie Bites fresh!
What to Serve with Fudgy Red Velvet Brownie Bites?
Indulging in these luscious brownie bites creates the perfect opportunity to craft a delightful dessert spread that promises to wow your guests.
-
Vanilla Ice Cream: The creamy, rich texture of vanilla ice cream pairs exquisitely with the fudgy brownie bites, enhancing their decadent flavor.
-
Fresh Berries: Sweet strawberries or tart raspberries introduce a refreshing contrast, cutting through the richness of the brownies, while adding a pop of color.
-
Espresso Coffee: A robust cup of espresso elevates the chocolatey goodness, creating a wonderful balance that heightens the overall experience of the dessert.
-
Whipped Cream: Light and airy whipped cream adds a delightful fluffiness that complements the dense brownie bites, making each bite even more satisfying.
-
Chocolate Drizzle: A rich chocolate sauce drizzled on top adds a luxurious touch, intensifying the chocolate flavor and making it even more indulgent.
-
Mint Leaves: Glistening green mint leaves not only provide a vibrant contrast but also add a burst of freshness, enhancing the visual appeal and taste.
-
Milk: For a classic pairing, serve alongside a cold glass of milk. The creaminess of the milk pairs wonderfully with the rich brownie bites, making it a nostalgic experience.
Expert Tips for Homemade Red Velvet Brownie Bites
-
Prevent Sticking: Thoroughly grease your muffin pan to ensure each brownie bite releases easily. A non-stick spray helps, but consider parchment liners for extra insurance.
-
Perfect Mixing: When combining the dry and wet ingredients, mix just until incorporated. Overmixing can lead to dense brownie bites rather than the desired fudgy texture of your Homemade Red Velvet Brownie Bites.
-
Watch the Clock: Keep an eye on the baking time—remove them from the oven when they’re slightly underdone in the center. This will ensure a melt-in-your-mouth fudginess.
-
Room Temperature Ingredients: Make sure your eggs and cream cheese are at room temperature before mixing. This helps them blend smoothly, avoiding lumps in your delicious cream cheese swirl.
-
Swirl with Care: When creating the cream cheese swirl, use gentle motions to maintain beautiful marbling. Avoid overmixing the two batters to keep that lovely contrast intact.
Homemade Red Velvet Brownie Bites Recipe FAQs
What type of cocoa powder should I use for the brownie bites?
For the best flavor and texture, I recommend using Dutch-process cocoa powder, as it gives a deeper color and milder taste. However, natural cocoa powder also works well, providing a classic chocolate flavor. Feel free to experiment to find your favorite!
How should I store homemade red velvet brownie bites?
Store the brownie bites in an airtight container in the refrigerator for up to 5 days. This will keep them fresh and maintain their fudgy texture. If you plan to enjoy them later, freezing is a great option—wrap them individually in plastic wrap and place them in a freezer-safe bag.
Can I freeze homemade red velvet brownie bites?
Absolutely! To freeze, wrap each brownie bite tightly in plastic wrap and place them in a freezer-safe bag. They can be frozen for up to 3 months. When you’re ready to indulge, simply thaw them in the refrigerator overnight or at room temperature for about an hour.
How can I prevent my brownie bites from sticking to the pan?
Great question! To avoid sticking, thoroughly grease your mini muffin pan. You can use non-stick spray, but I often opt for parchment liners for extra assurance. This way, you can lift the brownie bites out easily without any mess.
What if my cream cheese swirl ends up lumpy?
To achieve a smooth cream cheese swirl, ensure your cream cheese is at room temperature before mixing. If it’s too cold, lumps will form. Beat it with sugar and vanilla until smooth, and incorporate the egg yolk gently. This will result in a silky swirl that beautifully complements your brownie bites!
Are there any dietary considerations I should keep in mind?
If you have dietary restrictions, you can make substitutions. For a dairy-free option, replace butter with coconut oil and cream cheese with a dairy-free alternative like cashew cream. Always check labels on packaged ingredients for potential allergens like gluten or nuts.
Fudgy Homemade Red Velvet Brownie Bites You’ll Adore
Ingredients
Equipment
Method
- Preheat your oven to 350°F (175°C) and grease a mini muffin pan.
- In a medium bowl, sift in the cocoa powder to remove any lumps.
- Melt the butter in a saucepan over low heat, then stir in the sugar, sifted cocoa, vanilla extract, red food coloring, salt, espresso powder, and vinegar until smooth. Let this mixture cool slightly.
- Whisk in the eggs one at a time until fully incorporated.
- Gently fold in the flour using a spatula until just combined.
- In another bowl, beat the cream cheese with sugar and vanilla extract until smooth. Incorporate the egg yolk.
- Spoon the brownie batter into the prepared muffin cups, filling them halfway. Add a dollop of the cream cheese mixture on top and swirl with a toothpick.
- Bake for about 12 minutes until edges are set and centers look slightly soft.
- Let the brownie bites cool in the pan for 5 minutes before transferring to a wire rack.
Leave a Reply