
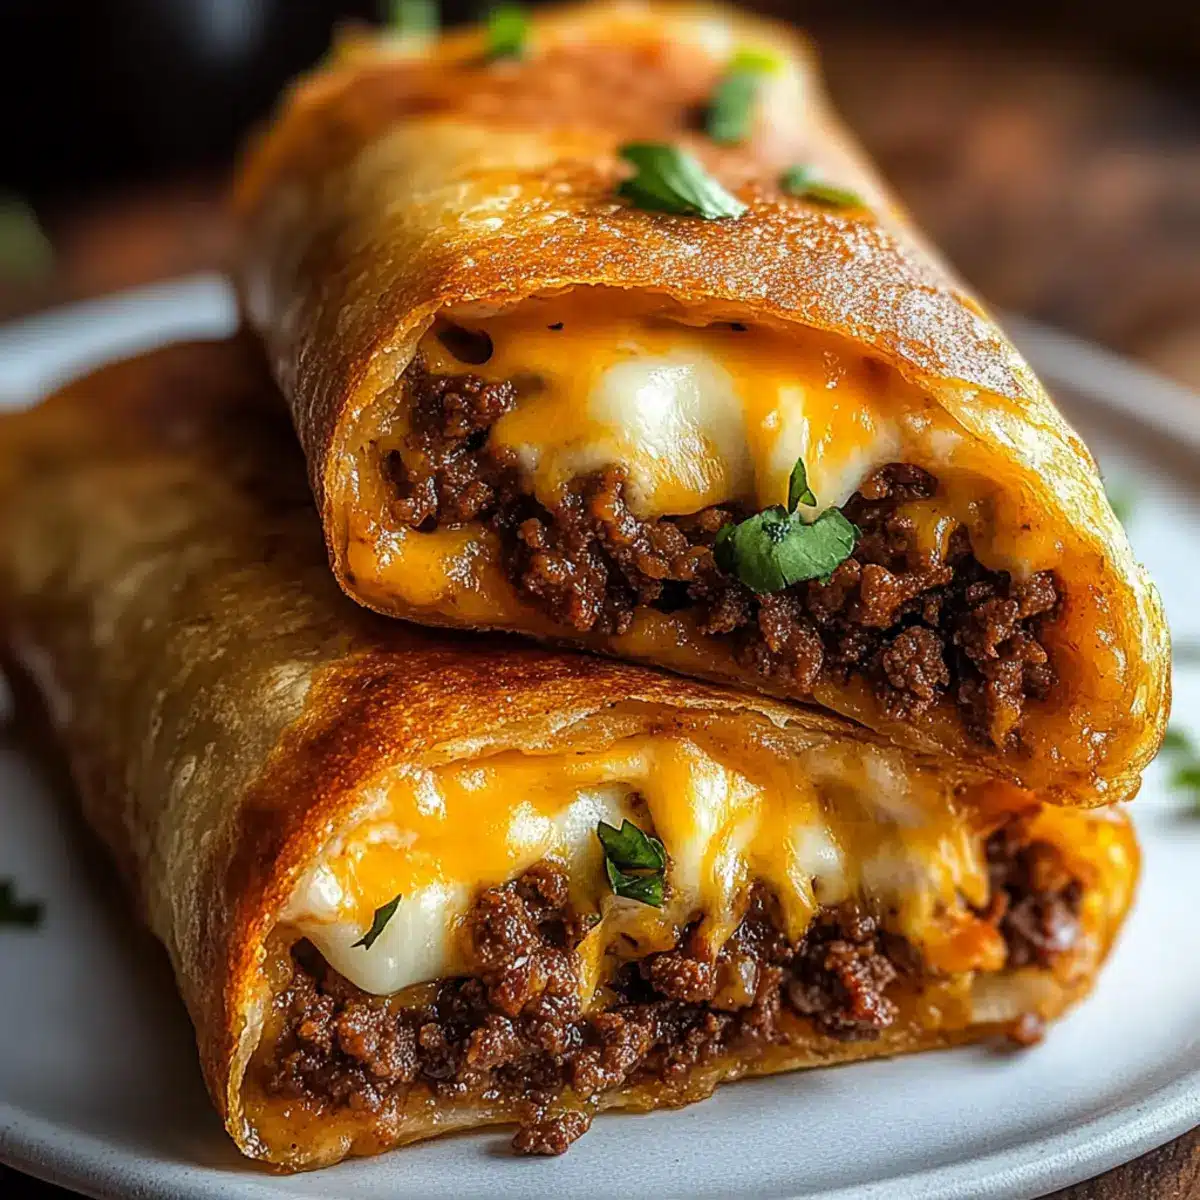
The tantalizing scent of Beef and Cheese Chimichangas wafts through my kitchen, instantly transporting me to a bustling Tex-Mex restaurant where every bite tells a story. These golden, crispy delights are not just a meal; they are a celebration of flavor, wrapped up in a flour tortilla and ready for your family to enjoy. The beauty of this recipe lies in its flexibility—you can customize it to your heart’s content, making them kid-friendly and freezer-friendly for those busy weeknights. Plus, they come together in no time, allowing you to spend less time in the kitchen and more time cherishing those laughter-filled moments around the dinner table. Could there be a better way to wow your family with a comforting classic that offers the perfect crunch?
Why are these Chimichangas a must-try?
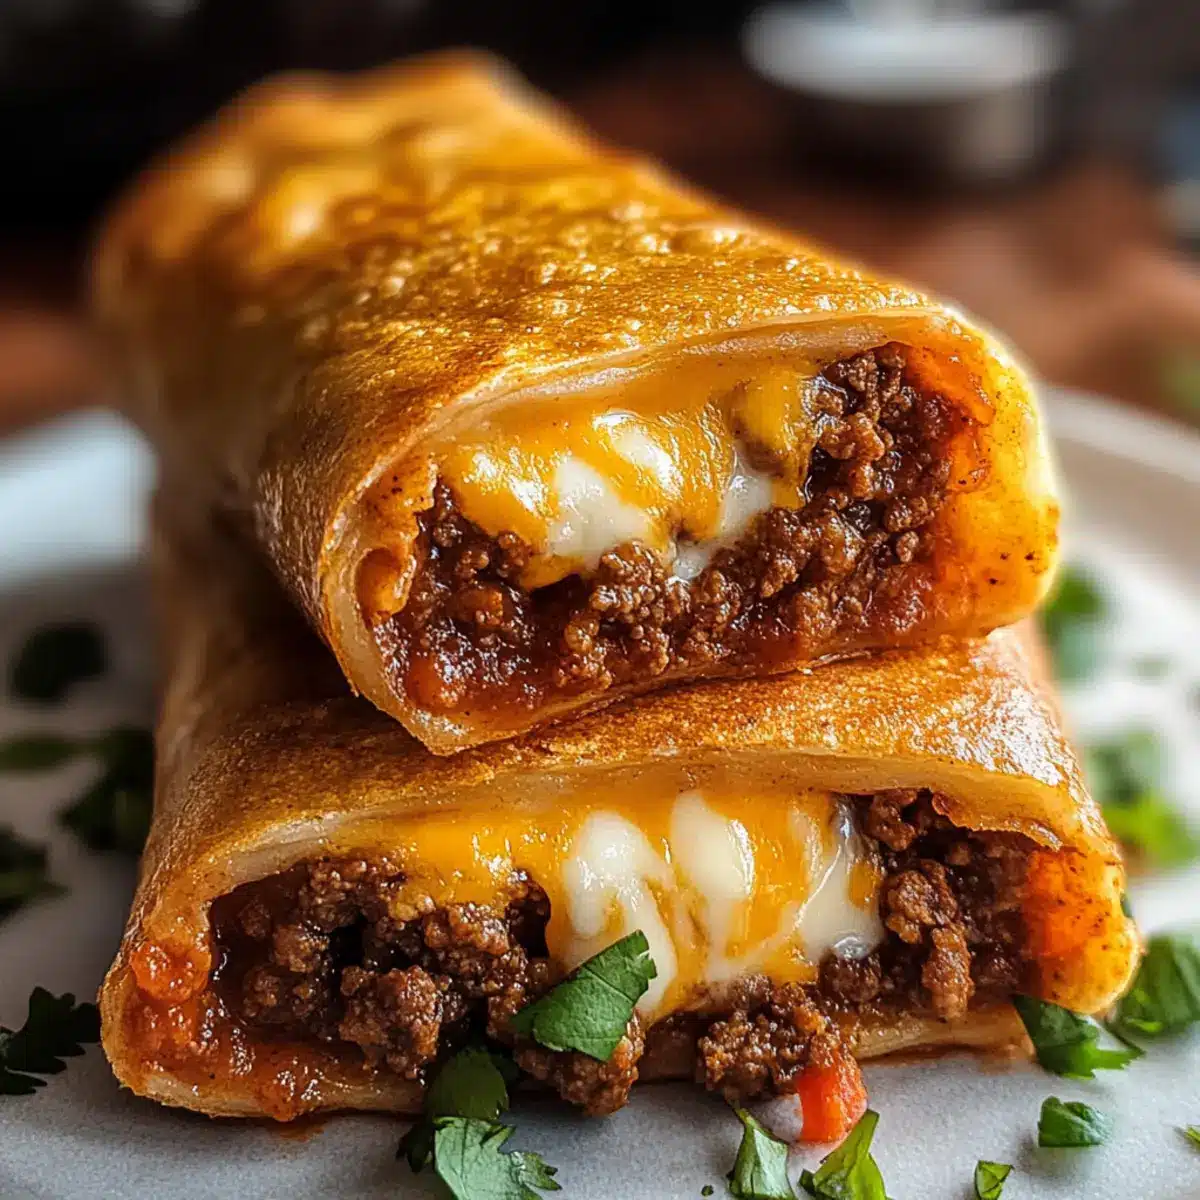
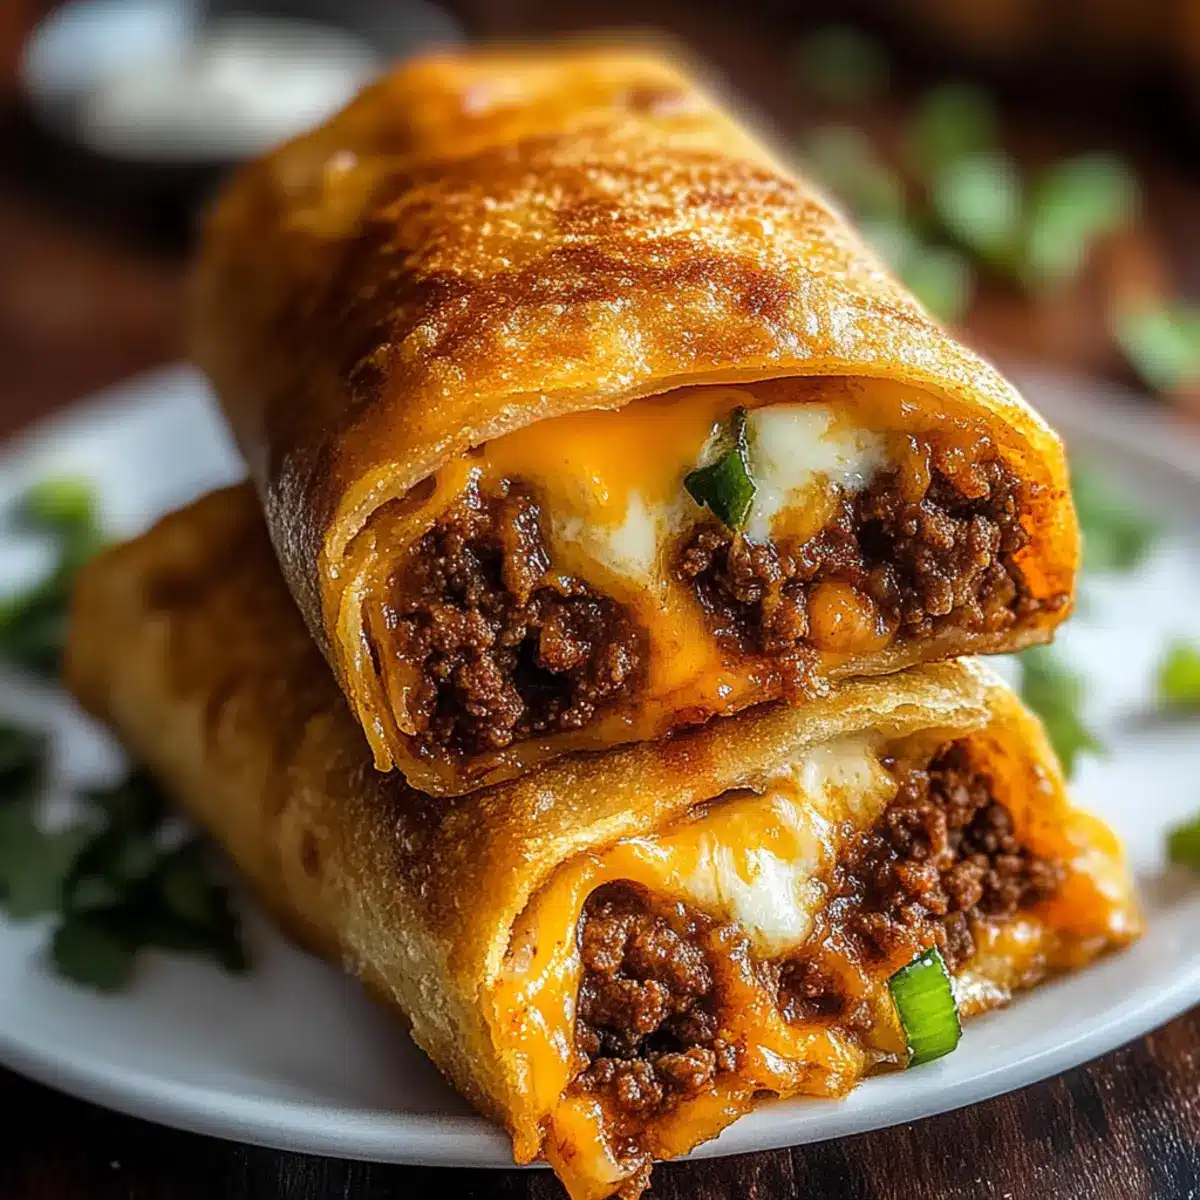
Crispy Texture: The golden exterior creates a satisfying crunch that complements the gooey, cheesy filling.
Customizable Fillings: Tailor these Beef and Cheese Chimichangas to your taste with additions like beans, jalapeños, or even veggies.
Kid-Friendly Fun: The delightful flavors and hands-on assembly make mealtime enjoyable for both kids and adults alike!
Freezer-Friendly: Make a double batch and freeze some for easy weeknight dinners—just cook from frozen!
Quick to Prepare: Ready in under an hour, this dish fits perfectly into your busy schedule, allowing more family time.
With such versatility, you might also love trying these with ground beef and potatoes or incorporating elements from my easy ground beef bulgogi for a unique twist!
Beef and Cheese Chimichangas Ingredients
For the Filling
- Ground Beef – Provides the rich, savory foundation; swap for shredded chicken or ground turkey if you prefer.
- Onion – Adds a sweetness and depth; yellow or white onions work best in this recipe.
- Garlic – Enhances flavor; fresh minced garlic is ideal, but garlic powder can save the day in a pinch!
- Taco Seasoning – Flavors the beef perfectly; feel free to use your favorite homemade blend for a personal touch.
- Salsa – Keeps everything moist and flavorful; you can substitute with tomato sauce if needed.
- Refried Beans – Add creaminess and texture; omit if you want a lighter filling.
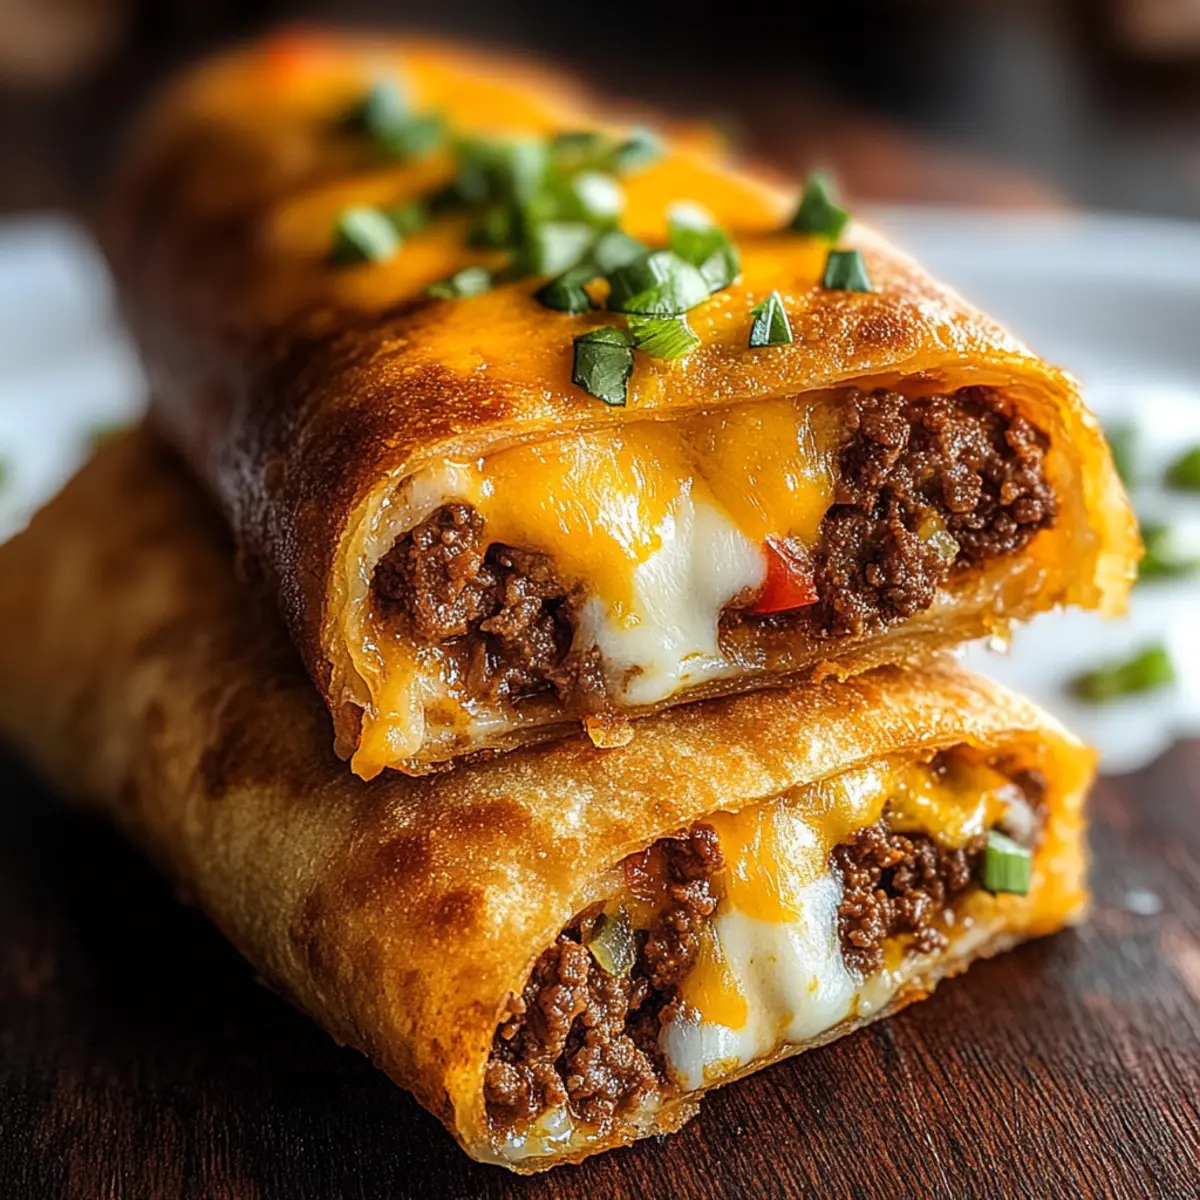
- Cheddar Cheese – Melts beautifully and adds richness; try Monterey Jack or a Mexican blend for a twist.
For the Wrap
- Large Flour Tortillas – Essential for holding it all together; use burrito-sized to prevent tearing, or whole wheat for a healthier option.
For Cooking
- Vegetable Oil – Required for frying; olive oil is a fantastic, lighter alternative for baking.
These ingredients come together to create scrumptious Beef and Cheese Chimichangas that your family will adore!
Step‑by‑Step Instructions for Beef and Cheese Chimichangas
Step 1: Cook the Filling
In a large skillet over medium heat, add the ground beef and diced onion. Brown the beef for about 5–7 minutes until it’s fully cooked, breaking it apart with a spatula, and drain any excess grease. Stir in the minced garlic, taco seasoning, and salsa, then let it simmer for 2–3 minutes until everything is well combined and fragrant.
Step 2: Prepare the Tortillas
Warm the large flour tortillas in a dry skillet or microwave for about 10–15 seconds to ensure they’re pliable. This step is key to prevent tearing when you assemble the Beef and Cheese Chimichangas. Lay each tortilla flat on a clean surface, ready for filling.
Step 3: Assemble the Chimichangas
Spread a spoonful of refried beans evenly onto the center of each tortilla. Next, add a generous scoop of the beef mixture followed by a sprinkle of shredded cheddar cheese. Fold the sides of the tortilla inward, then roll it tightly from the bottom up to encase all the delicious ingredients securely.
Step 4: Choose Cooking Method
For frying, heat vegetable oil in a deep skillet to 350°F (175°C). Carefully add the chimichangas seam-side down and fry for about 2–3 minutes until golden brown and crispy. For baking, preheat the oven to 400°F (200°C), place the chimichangas on a baking sheet brushed with oil, and bake for 20–25 minutes or until they reach a crisp, golden finish.
Step 5: Rest and Serve
Once cooked to perfection, let the Beef and Cheese Chimichangas rest for 2 minutes. This allows the filling to set slightly. Serve them warm with toppings like sour cream, guacamole, or a fresh salsa for an extra flavor burst that everyone will love.
Beef and Cheese Chimichangas Variations
Feel free to unleash your culinary creativity and tweak these chimichangas for a personal touch that delights every taste bud!
-
Bean & Beef Chimichangas: Add refried beans directly to the beef filling for a creamy twist. The addition of beans not only enhances the texture but also boosts the protein content, making each bite even more satisfying.
-
Spicy Option: Incorporate jalapeños or switch to pepper jack cheese for a delightful kick. This variation offers a bold flavor that spice lovers will adore, transforming your chimichangas into a fiery treat.
-
Breakfast Version: Fill the chimichangas with scrambled eggs and crispy bacon instead of beef. Serve them with a side of salsa for a deliciously hearty breakfast that can easily transition to brunch.
-
Vegetarian Option: Substitute ground beef with sautéed vegetables and black beans. This plant-based adaptation brings freshness and texture while ensuring it’s still packed with flavor.
-
Cheese Lovers’ Delight: Mix different cheeses like Monterey Jack, queso blanco, and cheddar for a rich and gooey filling. The combination of cheeses melts wonderfully and adds complexity to every delicious bite.
-
Sweet and Savory: Add a dash of cinnamon or a tablespoon of brown sugar to the beef filling for a sweet contrast. This unique flavor profile pairs beautifully with toppings like avocado or a drizzle of honey.
-
Gluten-Free Twist: Use corn tortillas instead of flour tortillas to make the chimichangas gluten-free. This change introduces a different texture and flavor, making each bite just as delightful.
-
Rice & Beef Chimichangas: Blend in a half-cup of cooked rice with your beef mixture for a heartier filling. This will stretch your ingredients further and add a lovely contrast in texture between the rice and beef.
If you’re looking for more inspiration, consider trying these variations with a side of salsa or guacamole, or perhaps whip up some Ground Beef Bulgogi for a flavorful twist!
Expert Tips for Beef and Cheese Chimichangas
• Warm Tortillas: Always warm tortillas before filling; this keeps them flexible and prevents tearing during assembly.
• Secure the Roll: If you’re worried about chimichangas opening while frying, use toothpicks to secure them until golden.
• Frying Temperature: Maintain the oil temperature at 350°F (175°C) to achieve a crispy texture without absorbing too much oil.
• Freezing Insights: Freeze uncooked chimichangas for busy days—just cook them directly from frozen for a quick meal!
• Custom Fillings: Don’t hesitate to experiment! Add beans, jalapeños, or veggies to make your Beef and Cheese Chimichangas uniquely yours.
How to Store and Freeze Beef and Cheese Chimichangas
- Fridge: Store cooked chimichangas in an airtight container for up to 3 days. Make sure they are completely cooled before sealing to prevent moisture buildup.
- Freezer: For longer storage, freeze uncooked chimichangas individually wrapped in plastic wrap, then place them in a freezer bag for up to 2 months. Cook directly from frozen, adding extra time to the frying or baking process.
- Reheating: Reheat in an oven or air fryer to maintain crispiness, usually at 350°F (175°C) for 10–15 minutes. Avoid microwaving to keep the tortillas from getting soggy.
- Make-Ahead Tip: Assemble your Beef and Cheese Chimichangas ahead of time and refrigerate for up to 2 days before cooking for a convenient meal option!
Make Ahead Options
These Beef and Cheese Chimichangas are perfect for meal prep enthusiasts! You can assemble the chimichangas up to 24 hours in advance by preparing the filling, wrapping them tightly in plastic wrap, and storing them in the refrigerator to keep them fresh. Alternatively, you can freeze assembled chimichangas for up to 2 months; just place them in an airtight container or freezer bag to prevent freezer burn. When you’re ready to enjoy, simply cook them directly from frozen, adding an extra few minutes to your cooking time. This ensures each bite is just as delicious and satisfying as when freshly made, saving you valuable time on busy weeknights!
What to Serve with Crispy Beef and Cheese Chimichangas
The crunch of chimichangas paired with delightful sides creates an unforgettable feast that warms both heart and belly.
- Fresh Guacamole: Its creamy texture and zesty lime flavor contrast beautifully with the crispy chimichangas, enhancing every bite.
- Spicy Salsa: A vibrant, tangy salsa provides a refreshing pop of flavor that perfectly balances the richness of the chimichangas.
- Corn Salad: This colorful salad adds a burst of sweetness and crunch, bringing a fresh element to your Tex-Mex meal.
- Mexican Rice: Fluffy and flavorful, it complements the savory filling while providing a satisfying base for the meal.
- Refried Beans: Creamy and rich, they pair well with the chimichangas, adding depth and heartiness to your plate. They can be served alongside or even spread inside!
- Chili con Queso: This warm cheese dip offers a luscious, gooey addition, perfect for dipping chimichangas or drizzling over the top.
- Margaritas: A refreshing cocktail option that adds a festive touch, balancing the meal’s savory flavors with its citrusy notes.
- Churros: For dessert, the sweet, cinnamon-dusted churros provide a delightful way to round off a robust Tex-Mex feast.
Beef and Cheese Chimichangas Recipe FAQs
How do I choose the best tortillas for my chimichangas?
Absolutely! It’s essential to select large, burrito-sized flour tortillas to prevent tearing during assembly. Look for tortillas that are fresh and have a bit of flexibility; avoiding ones that are cracking or dried out will make wrapping much easier.
How should I store my leftover chimichangas?
Very good question! Store any cooked chimichangas in an airtight container in the refrigerator for up to 3 days. Make sure they are completely cooled before sealing to avoid moisture buildup, which can lead to sogginess.
Can I freeze chimichangas, and if so, how?
Of course! To freeze uncooked chimichangas, individually wrap them in plastic wrap and then place them in a freezer-safe bag. They can be stored for up to 2 months. When you’re ready to enjoy them, cook directly from frozen—just add a few extra minutes to your frying or baking time.
What if my chimichangas come apart while cooking?
No worries, this can happen! If your chimichangas open during frying, make sure to warm the tortillas slightly beforehand to make them more pliable. Alternatively, you can use toothpicks to secure them while frying to prevent any open sides during cooking.
Are these chimichangas suitable for kids or those with allergies?
Absolutely! They are quite kid-friendly due to their fun and customizable nature. If there are allergies, you can easily adapt this recipe by using gluten-free tortillas, substituting meat with safe alternatives like beans or vegetables, and ensuring the cheese used is dairy-free if needed.
How can I maintain the crispiness when reheating?
Good question! The best way to reheat your Beef and Cheese Chimichangas and keep them crispy is to use an oven or air fryer. Preheat to 350°F (175°C) and heat for about 10–15 minutes, avoiding the microwave to prevent any sogginess.
Crispy Beef and Cheese Chimichangas for a Flavorful Feast
Ingredients
Equipment
Method
- In a large skillet over medium heat, add the ground beef and diced onion. Brown the beef for about 5–7 minutes until fully cooked, breaking it apart, and drain excess grease. Stir in minced garlic, taco seasoning, and salsa, then let it simmer for 2–3 minutes.
- Warm the large flour tortillas in a dry skillet or microwave for about 10–15 seconds. Lay each tortilla flat on a clean surface.
- Spread a spoonful of refried beans onto the center of each tortilla. Add a scoop of beef mixture followed by a sprinkle of shredded cheddar cheese. Fold the sides of the tortilla inward and roll it tightly from the bottom.
- For frying, heat vegetable oil to 350°F. Carefully add the chimichangas seam-side down and fry for about 2–3 minutes until golden brown. For baking, preheat the oven to 400°F, place chimichangas on a baking sheet, and bake for 20–25 minutes.
- Let the chimichangas rest for 2 minutes. Serve warm with toppings like sour cream, guacamole, or fresh salsa.
Leave a Reply