
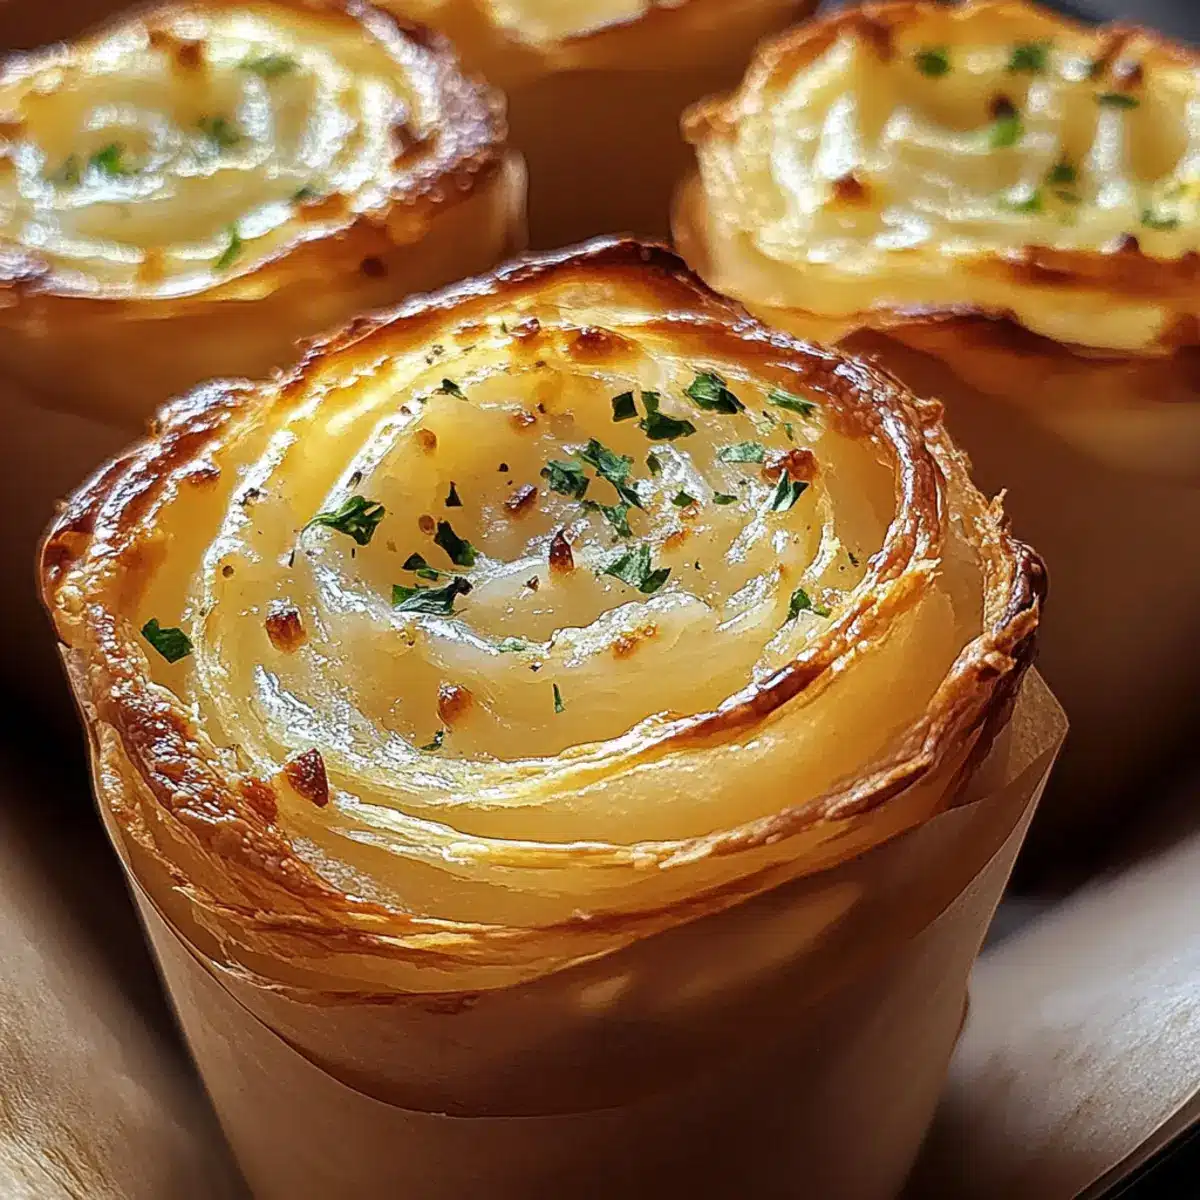
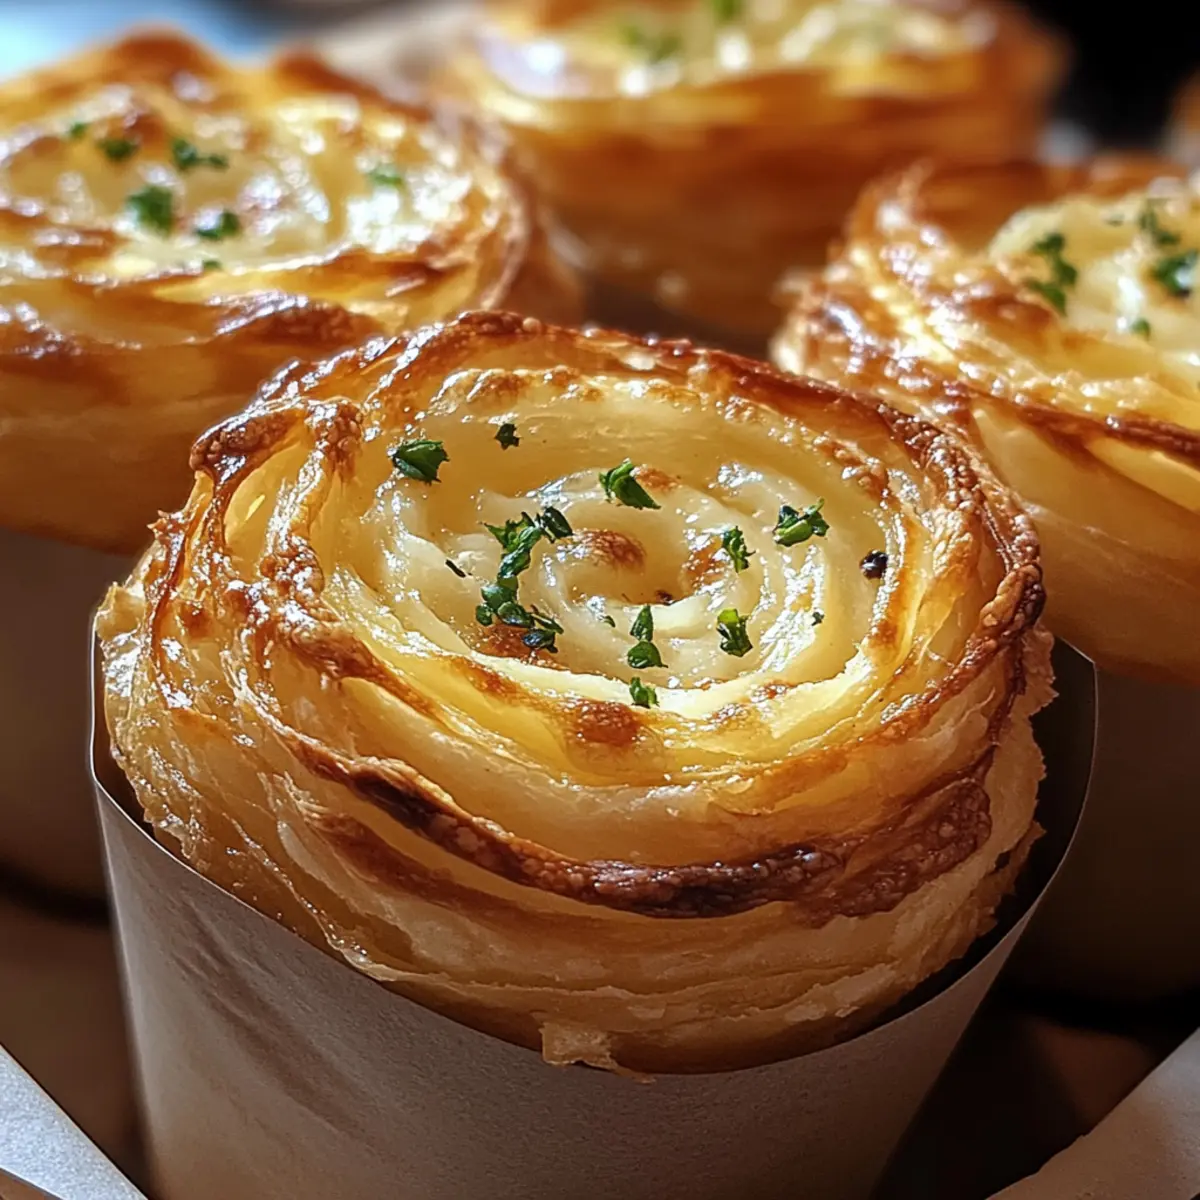
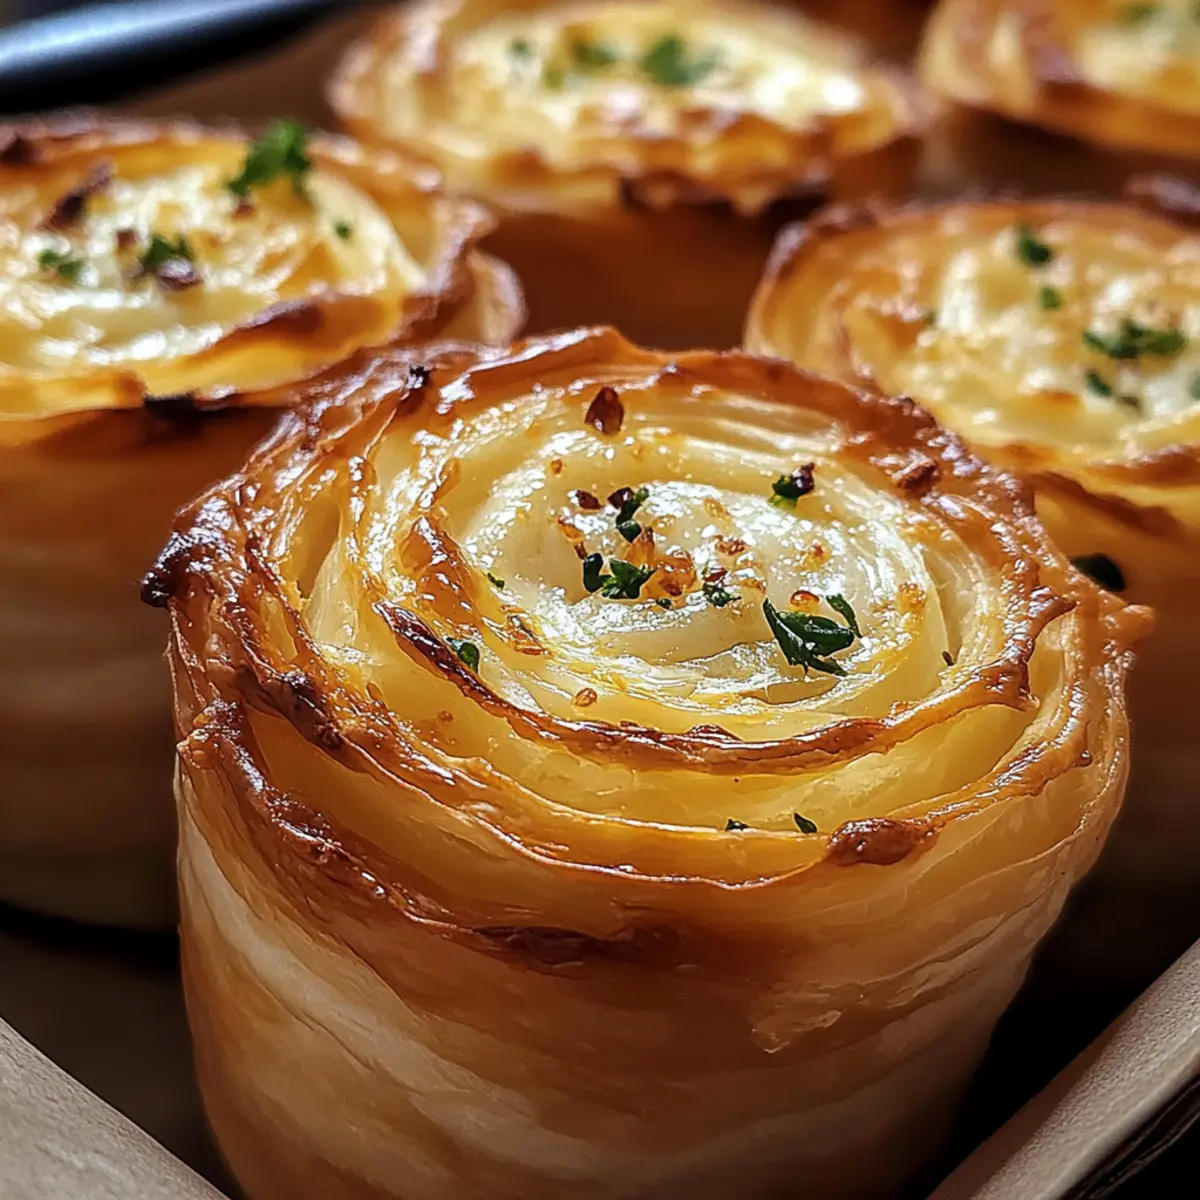
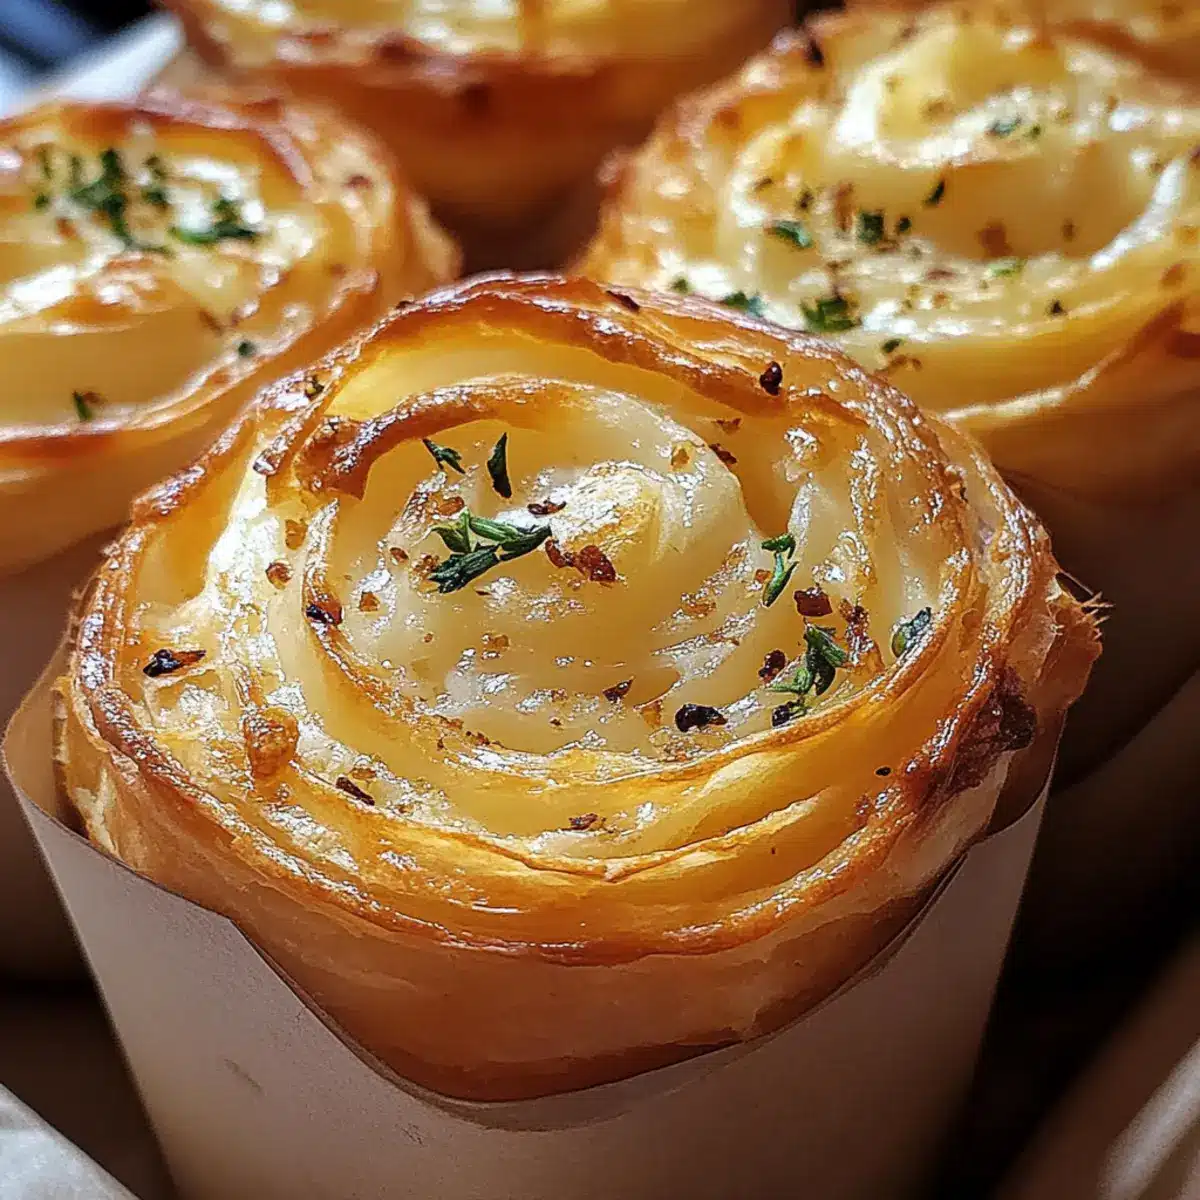
As I pulled the warm batch of Cheesy Garlic Cruffins from the oven, a wave of nostalgia hit me, taking me back to cozy kitchens filled with the aroma of butter and garlic. This versatile pastry, with its flaky layers and gooey cheese, serves as the perfect way to elevate breakfast, brunch, or even snack time. Not only are these cruffins a show-stopper at any gathering, but they are also incredibly easy to customize, allowing you to experiment with various fillings—from sun-dried tomatoes to spicy jalapeños. Plus, if you’re looking for a gluten-free option, this recipe has you covered! Curious to see how a simple dough can bring such joy and flavor? Let’s dive into the magic of making your own Cheesy Garlic Cruffins!
Why are Cheesy Garlic Cruffins so delightful?
Irresistible Flavor: The rich combination of gooey cheese, aromatic garlic, and flaky pastry creates an explosion of taste that will have everyone coming back for more.
Customizable: Feel free to get creative! Swap in ingredients like sun-dried tomatoes or sharp cheddar for a personal twist.
Quick & Easy: This recipe streamlines the process, making it accessible even for beginners. Just roll, bake, and indulge!
Versatile Treat: Perfect for breakfast, brunch, or a savory snack, these cruffins fit into any occasion seamlessly.
Gluten-Free Option: With simple substitutions, you can easily make these cruffins gluten-free without sacrificing flavor.
Experience the joy of homemade goodness with these Cheesy Garlic Cruffins, perfect for sharing over a leisurely weekend brunch or as a delightful addition to your dinner table!
Cheesy Garlic Cruffins Ingredients
For the Dough
• All-Purpose Flour – Forms the base for the dough; can be substituted with a gluten-free flour blend for a gluten-free version.
• Active Dry Yeast – Helps the dough rise for that light and fluffy texture; ensure it’s fresh for the best results.
• Granulated Sugar – Activates the yeast and enhances color; honey can be used as a substitute.
• Salt – Key for enhancing flavor; it shouldn’t be omitted.
• Warm Water and Warm Milk – Hydrates ingredients for proper yeast activation; temperatures should be around 110°F (43°C).
• Large Egg – Adds richness and helps bind the dough; a flaxseed egg works well as a vegan alternative.
• Unsalted Butter (for dough) – Infuses flavor and flakiness; margarine can also be utilized.
For the Filling
• Unsalted Butter (for filling) – Enriches the savory filling; consider garlic-infused oil for a lighter alternative.
• Minced Garlic – Essential for that mouthwatering flavor; adjust the amount to suit your taste.
• Shredded Mozzarella Cheese – Provides gooey texture; swapping with cheddar lends a sharper bite.
• Grated Parmesan Cheese – Brings in a boost of umami; nutritional yeast is a great vegan substitute.
• Chopped Fresh Parsley (optional) – Adds a fresh garnish; basil can be a fantastic substitute if desired.
• Italian Seasoning – Infuses herby notes that elevate the overall taste; fresh herbs can also be used.
Get ready to indulge in these delightful Cheesy Garlic Cruffins that are sure to impress family and friends alike!
Step‑by‑Step Instructions for Cheesy Garlic Cruffins
Step 1: Activate the Yeast
In a small bowl, combine 1/4 cup of warm water, 1/4 cup of warm milk (both at about 110°F/43°C), and 1 tablespoon of granulated sugar. Stir gently and let it sit for 5-10 minutes until a thick foam forms on the surface. This indicates that your active dry yeast is alive and ready for the dough, ensuring that your Cheesy Garlic Cruffins rise beautifully.
Step 2: Prepare the Dough
In a large mixing bowl, whisk together 3 cups of all-purpose flour with 1 teaspoon of salt. Gradually pour in the activated yeast mixture, along with 1/4 cup of melted unsalted butter and 1 large egg. Mix until a shaggy dough forms, then turn it out onto a floured surface. Begin kneading for about 5-7 minutes until the dough becomes smooth and elastic.
Step 3: Let the Dough Rise
Place the kneaded dough into a greased bowl, turning it to coat lightly. Cover with a damp cloth and let it rise in a warm spot for 1 to 1.5 hours, or until it has doubled in size. This step creates the airy texture that makes the Cheesy Garlic Cruffins so delightful. Keep an eye on it; the rising dough should look puffy and full of life!
Step 4: Prepare the Butter for Lamination
While the dough is rising, take 1 cup of unsalted butter and sandwich it between two sheets of parchment paper. Using a rolling pin, gently pound and roll the butter to form a flat square about 6 inches across. Chill the butter in the refrigerator for about 30 minutes while the dough continues to rise. Cold butter is crucial for achieving those flaky layers in your cruffins.
Step 5: Laminate the Dough
Once the dough has risen, punch it down and turn it onto a floured surface. Roll the dough into a rectangle of about 12×18 inches. Place the chilled butter slab in the center and fold the dough over the butter, sealing the edges. Roll out the dough again to the same size, then fold it into thirds like a letter. Repeat this rolling and folding process 2-3 times for perfect layering.
Step 6: Prepare the Filling
In a small bowl, mix together 1/2 cup of shredded mozzarella cheese, 1/4 cup of grated Parmesan cheese, and 2-3 cloves of minced garlic. Mix well to combine the flavors, creating a savory filling for your Cheesy Garlic Cruffins. You’ll want to have this ready to go as you finish lamination and roll out your dough for assembly.
Step 7: Final Rolling and Filling
Roll out the laminated dough into a larger rectangle, about 12×24 inches, on a floured surface. Brush the surface generously with melted butter. Evenly sprinkle the cheese and garlic mixture over the dough, ensuring complete coverage. Carefully roll the dough tightly, starting from one long side, to form a log shape. Slice the rolled dough into 12 even pieces – these will become your cruffins.
Step 8: Proofing the Cruffins
Grease a muffin tin with butter or cooking spray and place each dough piece, cut side up, into the muffin cups. Cover lightly with a cloth and let them proof for 20-30 minutes at room temperature, allowing the dough to expand. Preheat your oven to 375°F (190°C) during this time so it’s hot and ready when the cruffins are set to bake.
Step 9: Bake to Perfection
Once proofed, place the muffin tin in the preheated oven and bake the Cheesy Garlic Cruffins for 20-25 minutes, or until they are golden brown and puffed up beautifully. Keep an eye on them, and they will turn a delightful shade of golden with a crispy outer layer, while remaining soft inside.
Step 10: Add a Garlic Butter Glaze
As soon as your cruffins come out of the oven, melt another 2 tablespoons of butter and brush it over the top of each cruffin. This final touch provides an extra layer of flavor and a glossy finish to your Cheesy Garlic Cruffins. Allow them to cool for a few minutes before serving!
Cheesy Garlic Cruffins Variations
Ready to unleash your culinary creativity? These delightful Cheesy Garlic Cruffins can be customized to fit any flavor profile or dietary preference!
- Gluten-Free: Substitute all-purpose flour with a gluten-free flour blend to make these cruffins accessible for everyone.
- Herbed Pesto: Replace the garlic butter with pesto for a vibrant, herby flavor that will surprise your taste buds.
- Cheddar & Chives: Swap mozzarella for sharp cheddar and sprinkle in fresh chives for an extra burst of flavor.
- Spicy Kick: Toss in diced jalapeños or crushed red pepper flakes for a deliciously spicy twist! Your family will love the added heat.
- Creamy Sun-Dried Tomatoes: Mix in chopped sun-dried tomatoes or cream cheese into the filling for a rich, savory delight that’s beyond delicious.
- Nutritional Yeast: For a dairy-free option, replace parmesan with nutritional yeast to maintain that savory umami flavor without the cheese.
- Mediterranean Fusion: Add feta cheese and black olives to the filling, creating a Mediterranean-inspired version that is truly irresistible.
- Sweet Twist: For a dessert-style cruffin, swap out the savory ingredients for a cinnamon sugar mix and cream cheese filling. Pair with a warm drink for a delightful treat.
Don’t forget to pair these cruffins with something like Garlic Butter Salmon or enjoy them alongside a fresh salad for a complete meal!
What to Serve with Cheesy Garlic Cruffins
Imagine enjoying warm, flaky cruffins alongside delightful accompaniments that elevate your meal experience even further.
- Fresh Garden Salad: Crisp and vibrant, a salad with mixed greens and a light vinaigrette refreshes your palate, balancing the richness of the cruffins.
- Creamy Tomato Soup: The tangy, smooth soup provides a comforting dip for your cruffins, enhancing the garlicky flavor with its acidity.
- Savory Frittata: Packed with vegetables and cheese, a frittata offers a hearty option that complements the flaky texture of the cruffins while keeping breakfast exciting.
- Sautéed Spinach and Garlic: Fast and flavorful, this side dish adds nutritious greenery and echoes the garlic theme, enhancing every bite.
- Charcuterie Board: A selection of cured meats, cheeses, and olives pairs perfectly with cruffins, encouraging a fun, shareable meal experience.
- Crisp White Wine: A glass of chilled Sauvignon Blanc brightens the meal, providing a refreshing contrast to the richness of the cheese and butter.
- Fruit Compote: Sweet and tangy compote can be a lovely contrast to the savory cruffins, creating a delightful sweet-savory harmony.
- Herbed Yogurt Dip: A cool, creamy dip with herbs brings a zesty touch that harmonizes beautifully with the cheesy, garlicky goodness of cruffins.
- Balsamic Glaze: Drizzle over salads or cruffins for a burst of sweetness, tying together the meal with a touch of refined elegance.
- Decadent Chocolate Mousse: For dessert, this sweet finish can pleasantly surprise your guests, making the meal truly memorable.
Make Ahead Options
These Cheesy Garlic Cruffins are perfect for meal prep enthusiasts! You can prepare the dough and fillings up to 24 hours in advance by following the steps through the final rolling and filling process, then wrap tightly in plastic wrap and refrigerate. If you want to take it a step further, shape the cruffins and store them in the muffin tin, covered with plastic, for up to 3 days in the fridge. When you’re ready to bake, simply let them proof for 20-30 minutes at room temperature and preheat your oven. For the best results, brush with garlic butter immediately after baking to maintain that flavorful finish—delicious and stress-free for busy weeknights!
Expert Tips for Cheesy Garlic Cruffins
Cold Butter is Key: Ensure your butter stays cold during lamination; this helps form the flaky layers that make your Cheesy Garlic Cruffins irresistible.
Don’t Overhandle: Be gentle when kneading the dough. Overworking can lead to tough cruffins, so keep it smooth but not overly compact.
Correct Proofing: Allowing the dough to rise properly is essential; patience pays off with fluffy, airy cruffins. Always cover it to retain moisture.
Watch Baking Time: Every oven is different! Check your cruffins at the 20-minute mark to avoid overbaking and ensure they’re golden and crisped to perfection.
Flavor Adjustment: Feel free to experiment with the cheese and garlic amounts based on your taste; this recipe is versatile and open to your culinary twist!
How to Store and Freeze Cheesy Garlic Cruffins
Room Temperature: Store Cheesy Garlic Cruffins in an airtight container at room temperature for up to 2 days to keep them fresh and delicious.
Fridge: For longer storage, these cruffins can be kept in the fridge for up to 5 days. Make sure they are in a sealed container to prevent drying out.
Freezer: Freeze either baked or unbaked Cheesy Garlic Cruffins for up to 3 months. Wrap them tightly in plastic wrap followed by foil to maintain their texture.
Reheating: To reheat, bake frozen cruffins at 375°F (190°C) for about 15-20 minutes, or until warmed through. This will help restore their flaky texture.
Cheesy Garlic Cruffins Recipe FAQs
What’s the best way to select ingredients for Cheesy Garlic Cruffins?
Absolutely! When choosing your ingredients, look for all-purpose flour that feels fine and free from lumps. Your yeast should be fresh and active—if it doesn’t foam after combining with warm water and sugar, it’s best to get a new batch. For cheese, opt for a good quality mozzarella for that delicious melt, and if you’re using garlic, choose firm cloves with no dark spots or sprouting for the best flavor.
How should I store leftover Cheesy Garlic Cruffins?
You can store Cheesy Garlic Cruffins in an airtight container at room temperature for up to 2 days. If you need to keep them longer, I recommend wrapping them tightly and placing them in the fridge where they can last up to 5 days. Just ensure they are sealed well to prevent them from drying out!
Can I freeze Cheesy Garlic Cruffins, and how?
Absolutely, freezing your cruffins is a great way to enjoy them later! You can freeze both baked and unbaked cruffins. If freezing baked cruffins, let them cool completely, then wrap them tightly in plastic wrap followed by aluminum foil to maintain their texture—up to 3 months. For unbaked, slice them as per instructions, freeze directly in muffin tins, then transfer them to a freezer-safe bag. When ready, bake straight from the freezer at 375°F (190°C) for about 25-30 minutes!
What if my cruffins aren’t rising properly?
If you find your cruffins aren’t rising, it could be due to inactive yeast. Always check your yeast before starting; if the mixture doesn’t foam, discard it and use fresh yeast. Also, ensure your dough is rising in a warm spot—if it’s too cold, it can stall. If you have already baked your cruffins and they’re dense, they might have been overworked; next time, handle the dough gently!
Are Cheesy Garlic Cruffins safe for everyone to eat?
Great question! Since Cheesy Garlic Cruffins contain dairy and gluten from the flour, they’re not suitable for those with gluten intolerance or dairy allergies. However, this recipe is easily adaptable; just use a gluten-free flour blend and almond or cashew cheese for a dairy-free version. Always double-check ingredient labels, especially for allergies!
Cheesy Garlic Cruffins: Flaky Savory Delights You’ll Love
Ingredients
Equipment
Method
- Activate the yeast by combining warm water, warm milk, and granulated sugar. Let it sit for 5-10 minutes until frothy.
- Prepare the dough by whisking together flour and salt, then adding yeasted mixture, melted butter, and egg. Knead until smooth.
- Let the dough rise in a greased bowl covered with a cloth for 1 to 1.5 hours until doubled.
- Prepare the butter for lamination by rolling it into a flat square and chilling it for 30 minutes.
- Once risen, roll out dough, place the butter slab in the center, and fold dough over it. Repeat rolling and folding 2-3 times.
- Mix the filling ingredients together in a bowl.
- Roll the laminated dough into a larger rectangle, brush with butter, and spread the filling evenly before rolling into a log.
- Proof the cruffins in a greased muffin tin for 20-30 minutes until expanded.
- Bake the cruffins at 375°F (190°C) for 20-25 minutes until golden brown.
- Brush with melted butter after baking for extra flavor.
Leave a Reply