
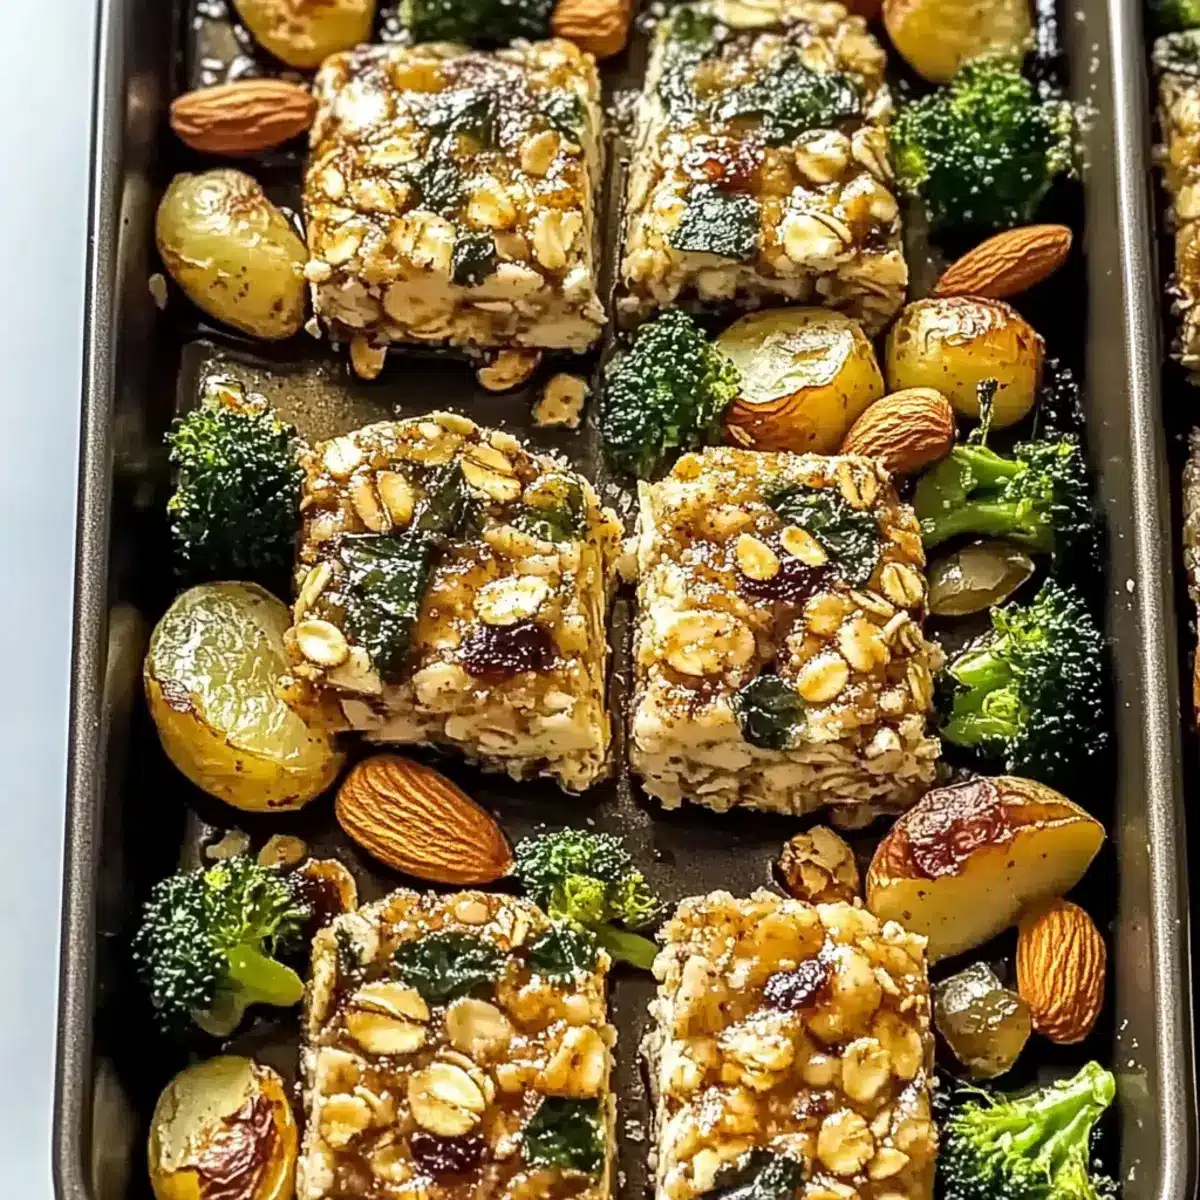
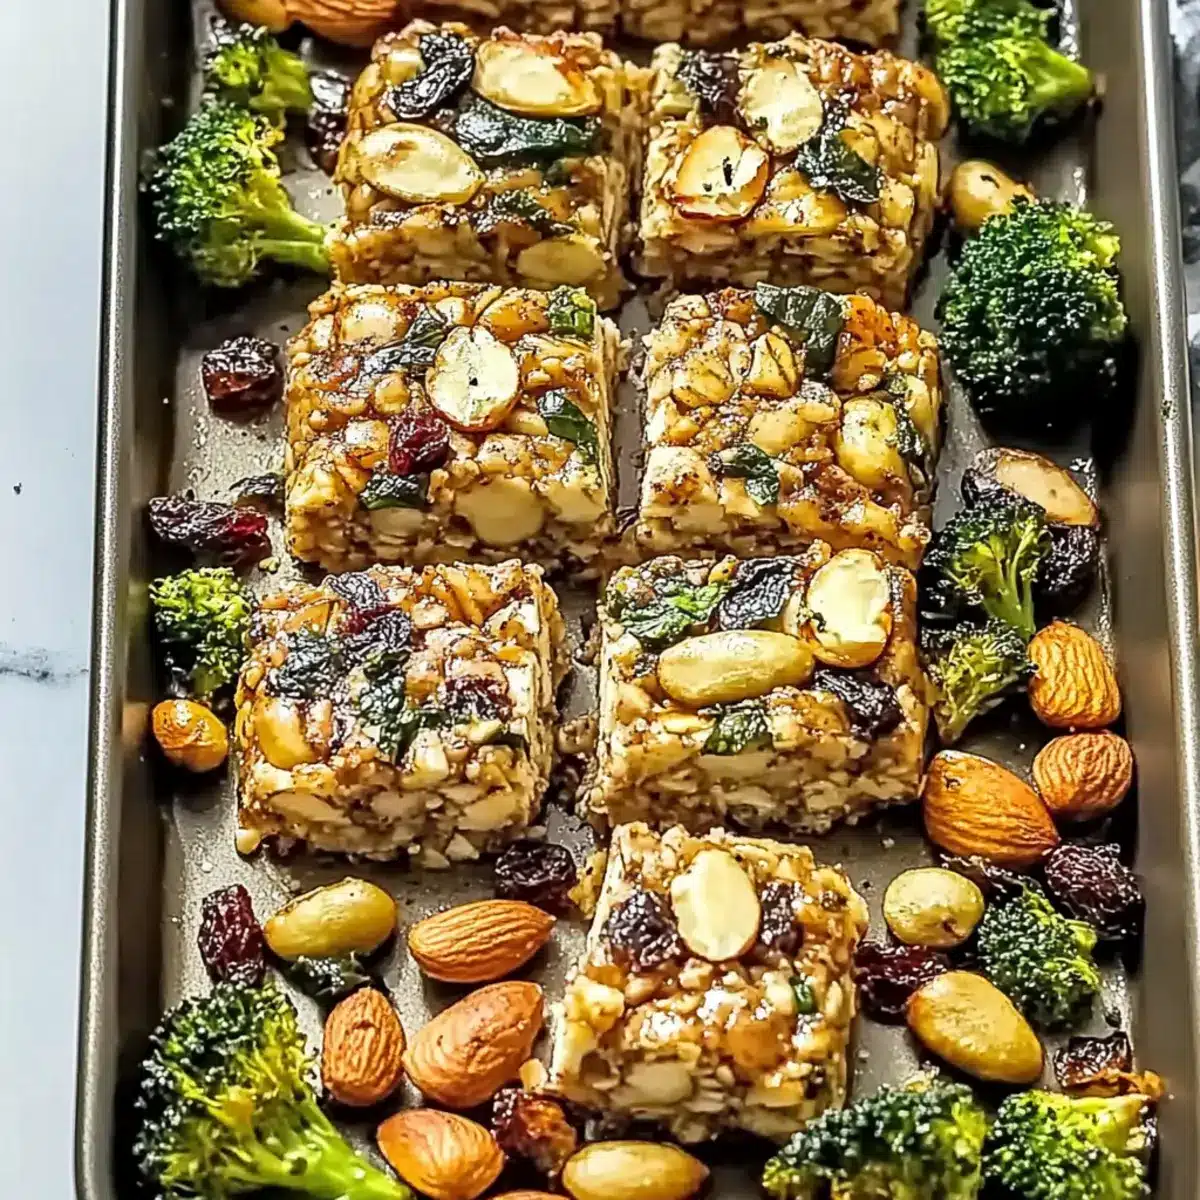
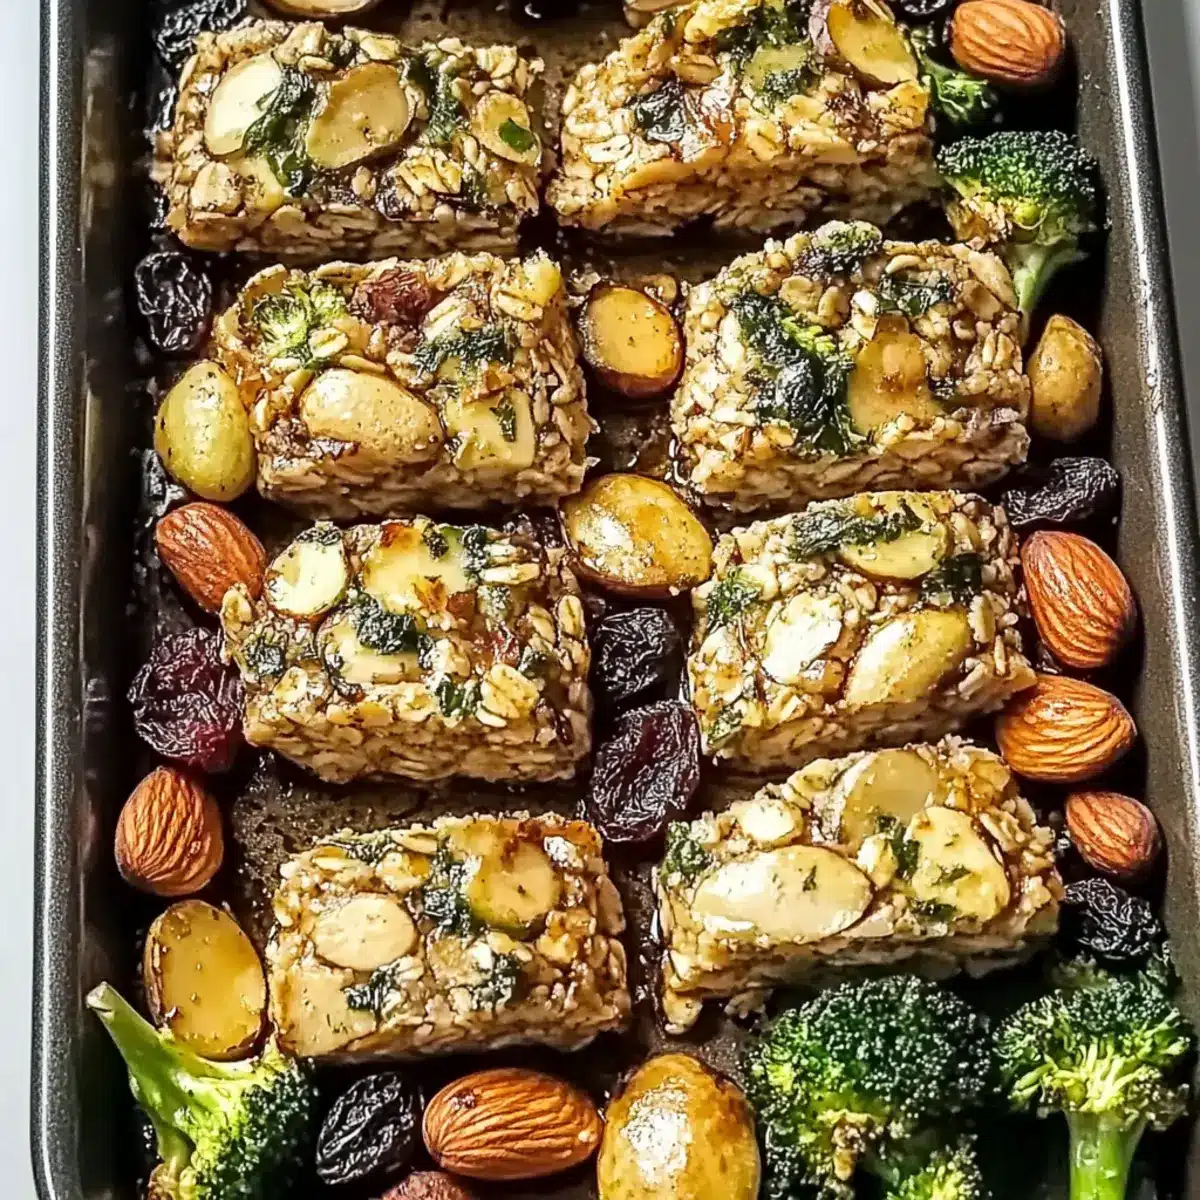
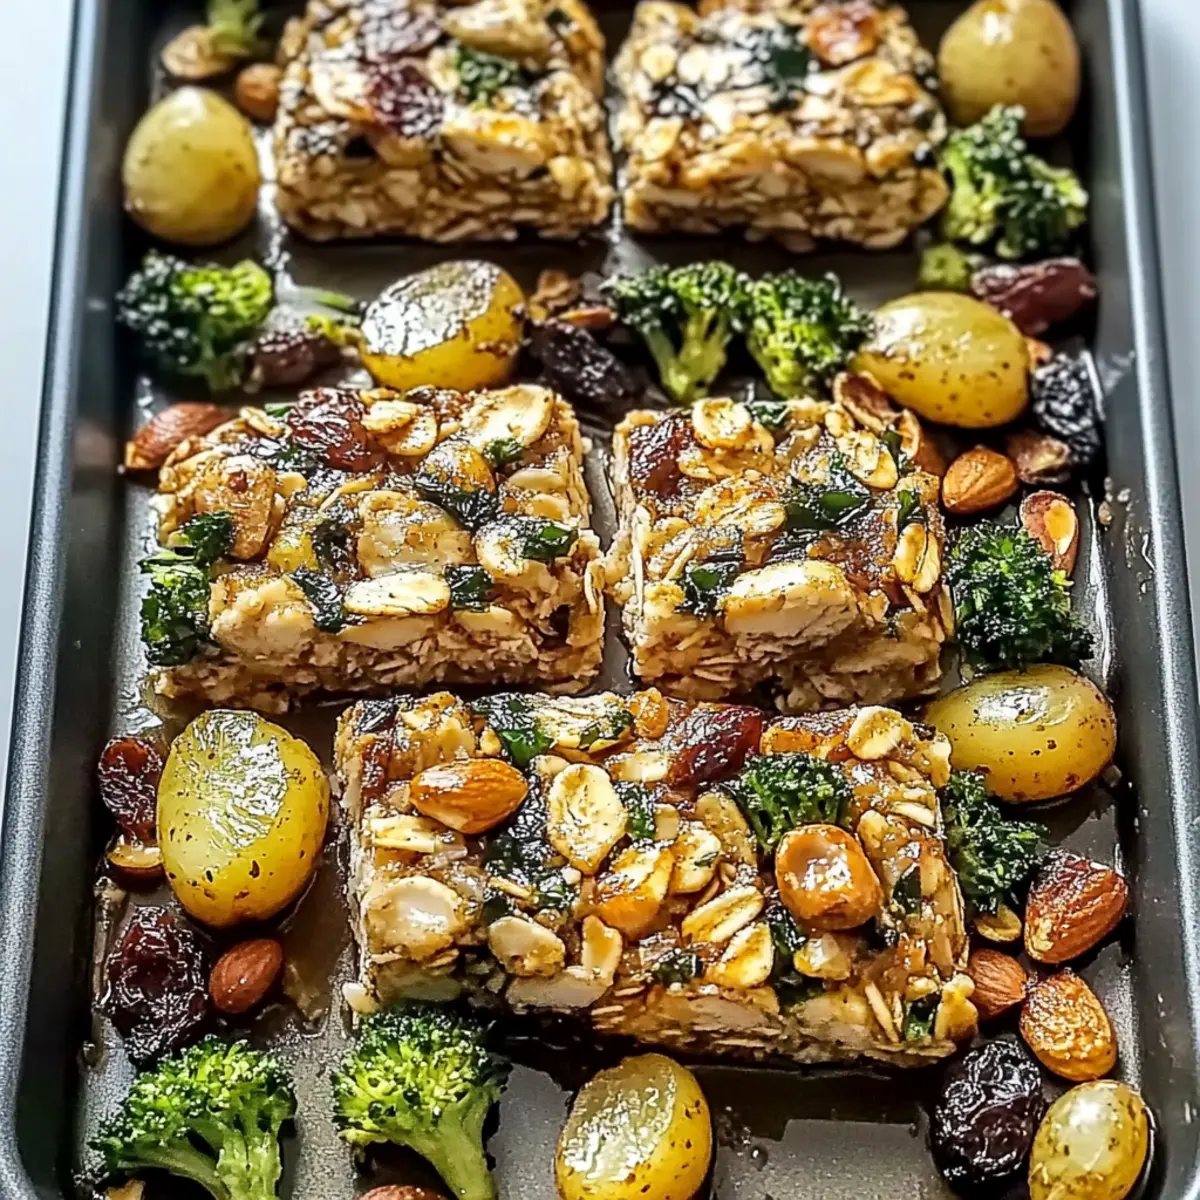
As I prepped for a busy week, I found myself on a quest for the perfect quick snack—a culinary hero to rescue me from the clutches of takeout. Enter my Customizable No-Bake Healthy Granola Bars! These bars are a delightful blend of chewiness and satisfying crunch, making them the ideal companion for those hectic days when energy is crucial. Not only are they packed with wholesome oats, nuts, and naturally sweetened goodness, but they’re also incredibly easy to tailor to your own taste—be it nutty, fruity, or even a touch of chocolate. Plus, they’re a guilt-free treat, perfect for any time of day. Ready to transform your snack game? Let’s dive into how you can whip these up in no time!
Why choose homemade granola bars?
Deliciously Customizable: You can tailor these bars with your favorite nuts, fruits, or even chocolate, creating a unique flavor each time.
Nutritious Fuel: Packed with wholesome ingredients, they provide a healthy energy boost—perfect for busy lifestyles!
Fast & Easy: With just a few simple steps, you can have a batch ready to enjoy, meaning less time in the kitchen and more time enjoying life.
Zero Food Waste: Since you control the ingredients, you can use up any leftover nuts or dried fruit you have lying around.
Family-Friendly: Kids love them, making these granola bars an easy way to provide a nutritious snack! Pair them with a side of yogurt for a satisfying treat or check out my Garlic Butter Chicken for a wholesome meal following this snack!
Granola Bar Ingredients
• Get ready to craft these delicious treats!
For the Base
- Rolled Oats – They form the foundation of your bars; substitute with quick oats for a different texture.
- Honey or Maple Syrup – Provides natural sweetness and binding; agave nectar works great for a vegan alternative.
- Nut Butter (e.g., almond, peanut) – Adds richness and holds everything together; sunflower seed butter is a perfect nut-free swap.
For the Crunch
- Nuts (e.g., almonds, walnuts) – Infuses crunch and protein; omit or substitute with seeds for a nut-free version.
- Chia Seeds or Flaxseeds – Adds extra fiber and omega-3s; ground flaxseeds enhance digestion.
For the Sweetness
- Dried Fruit (e.g., cranberries, apricots) – Provides chewiness and natural sweetness; chocolate chips offer a delightful twist.
- Cinnamon (optional) – Enhances overall flavor; consider vanilla extract for an extra hint of sweetness.
Mix-ins (Optional)
- Chocolate Chips or Coconut Flakes – Use these for an indulgent touch; perfect for customizing your version of granola bars.
With these ingredients, you’re on your way to making the ultimate Customizable No-Bake Healthy Granola Bars—an easy and enjoyable snack that’s far better than the usual fast food!
Step‑by‑Step Instructions for Customizable No-Bake Healthy Granola Bars
Step 1: Mix Dry Ingredients
In a large mixing bowl, combine 2 cups of rolled oats, 1 cup of chopped nuts, and 1/4 cup of chia or flaxseeds, along with 1 teaspoon of cinnamon if using. Stir well until everything is evenly distributed, ensuring the oats form a solid base for your Customizable No-Bake Healthy Granola Bars. Set this mixture aside while you prepare the wet ingredients.
Step 2: Create Wet Mixture
In a medium saucepan, add 1/2 cup of honey or maple syrup and 1/2 cup of nut butter. Place the saucepan over medium heat, stirring constantly for about 3-5 minutes until the nut butter melts and blends cohesively with the sweetener. If desired, add 1 teaspoon of vanilla extract for enhanced flavor. Remove from heat once the mixture is smooth and well combined.
Step 3: Combine Mixtures
Pour the warm wet mixture over the dry ingredients in the bowl. Stir using a spatula or wooden spoon for about 2-3 minutes, ensuring every oat and nut piece is completely coated. This is crucial for binding the bars together and achieving that perfect chewy texture. Once thoroughly mixed, you’ll see the oats gleaming with the sticky goodness of honey and nut butter.
Step 4: Press into Pan
Line an 8×8 inch baking pan with parchment paper, allowing some overhang for easy removal later. Transfer the granola mixture into the prepared pan, using a spatula to spread it evenly. Press down firmly, compressing the mixture to about 1 inch thick. This step ensures your Customizable No-Bake Healthy Granola Bars hold their shape when cut.
Step 5: Chill
Place the pressed granola mixture in the refrigerator for at least 2 hours. This chilling time is essential for the bars to set properly and develop their chewy texture. If you’re short on time, you can place them in the freezer for about 30 minutes, which will also do the trick.
Step 6: Cut and Store
After chilling, carefully lift the granola mixture out of the pan using the parchment overhang. Place it on a cutting board and cut into bars or squares as desired. Store your Customizable No-Bake Healthy Granola Bars in an airtight container at room temperature for up to a week, or refrigerate them for enhanced freshness.
Storage Tips for Customizable No-Bake Healthy Granola Bars
Room Temperature: Store in an airtight container at room temperature for up to 1 week to keep them fresh, avoiding warm areas to prevent melting.
Fridge: For extended freshness, refrigerate your granola bars. They can last up to 2 weeks, staying deliciously chewy and ready for snacking.
Freezer: Freeze the granola bars for up to 3 months. Wrap each bar individually in plastic wrap before placing them in a freezer-safe bag for easy grabbing later.
Reheating: No need to reheat these bars! Enjoy them straight from the fridge or freezer for a quick, wholesome snack anytime.
What to Serve with Customizable No-Bake Healthy Granola Bars
These delightful granola bars can be enjoyed beyond a solo snack, complementing a variety of dishes and drinks for a fulfilling meal experience.
- Greek Yogurt: A creamy, protein-packed pairing that adds a tangy twist, balancing the sweetness of the bars perfectly.
- Fresh Fruit Salad: Vibrant and refreshing, a mix of seasonal fruits provides a contrasting texture and boosts fiber intake alongside your bars.
- Nut Milk Smoothie: Blend your favorite fruits with nut milk for a nutritious drink that harmonizes with the flavors of your granola bars.
- Nutty Trail Mix: Elevate your snack game with crunchy trail mix, amplifying the textures and flavors while keeping energy levels high.
- Coffee or Herbal Tea: Pair your bars with a warm cup of coffee or herbal tea; the warmth beautifully enhances the granola’s chewiness.
- Cheese Plate: A platter of mild cheese offers a savory contrast, marrying well with the sweet and nutty profiles of the bars. Enjoy it as a unique snack experience!
- Chocolate Dipped Strawberries: These indulgent bites bring a rich sweetness that complements any version of your granola bars—great for sharing at gatherings.
- Coconut Chia Pudding: Creamy and decadent, chia pudding with coconut milk provides an enjoyable texture that pairs wonderfully with the chewiness of the bars.
- Berry Smoothie Bowl: Top a berry smoothie bowl with crushed granola bars for an added crunch and sweetness, making breakfast or a light snack extraordinary.
Make Ahead Options
These Customizable No-Bake Healthy Granola Bars are perfect for meal prep enthusiasts looking to save time! You can prepare the dry ingredients (rolled oats, nuts, and seeds) up to 3 days in advance by combining them and storing them in an airtight container at room temperature. In addition, you can make the wet mixture (honey and nut butter) and refrigerate it for up to 24 hours; just reheat it briefly before mixing with the dry ingredients. When you’re ready to enjoy, simply combine the mixtures, press into the pan, and chill as instructed. This way, you’ll have delicious, homemade granola bars ready to fuel your busy week while retaining their delightful taste and texture!
Variations & Substitutions for Granola Bars
Feel free to explore and customize your granola bars for a delightful twist, making them uniquely yours!
- Vegan: Substitute honey with agave nectar for a completely plant-based option. Enjoy the same sweetness without compromising your diet!
- Nut-Free: Use seeds like sunflower or pumpkin instead of nuts. This swap not only keeps them safe for allergies but adds a delicious crunch!
- Fruity: Add fresh fruits like mashed bananas or pureed apples instead of dried fruits for moisture and natural sweetness. Just remember to balance the wet ingredients!
- Chocolate-Infused: Stir in some dark chocolate chips or cocoa powder for a decadent touch. It’s the perfect way to satisfy your sweet tooth while keeping it healthy!
- Crunchy Texture: Mix in puffed rice or quinoa to lighten up the bars. This curiosity will add a delightful crunch without overwhelming the flavor. If you want a comforting dish afterward, pair these bars with my Garlic Butter Chicken for a satisfying meal!
- Flavor Boost: Introduce spices like ginger or nutmeg for a cozy twist. They will elevate the flavor profile, making each bite more exciting!
- Coconut Delight: Add shredded coconut for an exotic touch. It adds chewiness and a subtle sweetness, offering a taste of the tropics.
- Protein-Packed: Incorporate protein powder or Greek yogurt into the mix for an energy boost. Perfect for pre-or post-workout snacking! For a complete meal, consider pairing these bars with something hearty like Garlic Butter Baked Cod.
Experimenting with these variations can ignite your creativity in the kitchen, leading to endless delicious possibilities!
Expert Tips for Customizable No-Bake Healthy Granola Bars
-
Press Firmly: Make sure to press the mixture evenly and firmly in the pan to prevent crumbling when you cut the bars.
-
Chill Time Matters: Allow the bars to chill thoroughly for at least 2 hours to set properly. This ensures the Customizable No-Bake Healthy Granola Bars hold their shape.
-
Creative Add-Ins: Feel free to experiment with different mix-ins such as coconut flakes, dried fruits, or seeds. Just remember to adjust the quantities of wet ingredients accordingly!
-
Storage Savvy: Store in an airtight container at room temperature for up to a week, or refrigerate for longer freshness. Avoid leaving them out in warm areas to prevent melting.
-
Clean Cuts: For clean edges, use a sharp knife to cut the bars after chilling, rather than forcing them apart. This will help maintain their shape!
Customizable No-Bake Healthy Granola Bars Recipe FAQs
How do I select ripe ingredients for my granola bars?
Absolutely! When choosing nuts and dried fruits, look for those that are fresh and unblemished. For dried fruits, avoid those with dark spots, which may indicate spoilage. Fresh nuts should have a pleasant aroma and no bitterness, while oats should be stored in a cool, dry place to maintain freshness. If you’re opting for fresh fruit mix-ins, ensure they’re ripe, vibrant, and free from bruises.
What’s the best way to store homemade granola bars?
Very! You can store your Customizable No-Bake Healthy Granola Bars in an airtight container at room temperature for up to a week. If you’re looking for longer storage, I recommend refrigerating them; they’ll stay fresh for about 2 weeks. Just make sure they are fully chilled before sealing the container to avoid condensation!
Can I freeze my granola bars, and if so, how?
Absolutely! For freezing, first wrap each bar individually in plastic wrap or parchment paper, then place them in a freezer-safe bag. This prevents them from sticking together and helps them retain quality. They can last up to 3 months in the freezer. When you’re ready to enjoy, simply grab a bar and let it thaw for a few minutes—there’s no need to reheat them!
What if my granola bars crumble when I cut them?
Oh no! If your bars are crumbling, it may be due to not pressing the mixture firmly enough into the pan or not allowing enough chilling time. To fix this, return any crumbled bars to the pan, pack them down tightly once more, and chill again for an hour. For future batches, ensure you’re pressing down evenly—it helps the bars hold their shape beautifully.
Are there any dietary considerations I should keep in mind?
Yes, indeed! If you’re making these granola bars for kids or those with allergies, make sure to check for nut allergies before including specific nuts or nut butters. You can swap in sunflower seed butter or oats for a nut-free version. Also, be cautious with dried fruits; some contain added sugars or preservatives, so opt for organic or natural choices when possible.
Savory Sheet Pan Garlic Butter Chicken and Veggies Delight
Ingredients
Equipment
Method
- In a large mixing bowl, combine the rolled oats, chopped nuts, chia or flaxseeds, along with cinnamon if using. Stir well until everything is evenly distributed. Set aside.
- In a medium saucepan, add honey or maple syrup and nut butter. Place over medium heat, stirring for about 3-5 minutes until the nut butter melts and blends with the sweetener. Add vanilla extract if desired, then remove from heat once smooth.
- Pour the warm wet mixture over the dry ingredients. Stir to ensure every oat and nut is coated, binding the bars together.
- Line an 8x8 inch baking pan with parchment paper. Transfer the granola mixture into the pan, spread evenly, and press down firmly to compress.
- Chill in the refrigerator for at least 2 hours or in the freezer for 30 minutes to set properly.
- After chilling, lift the mixture out of the pan and cut into bars or squares. Store in an airtight container at room temperature for a week or refrigerate for freshness.
Leave a Reply