
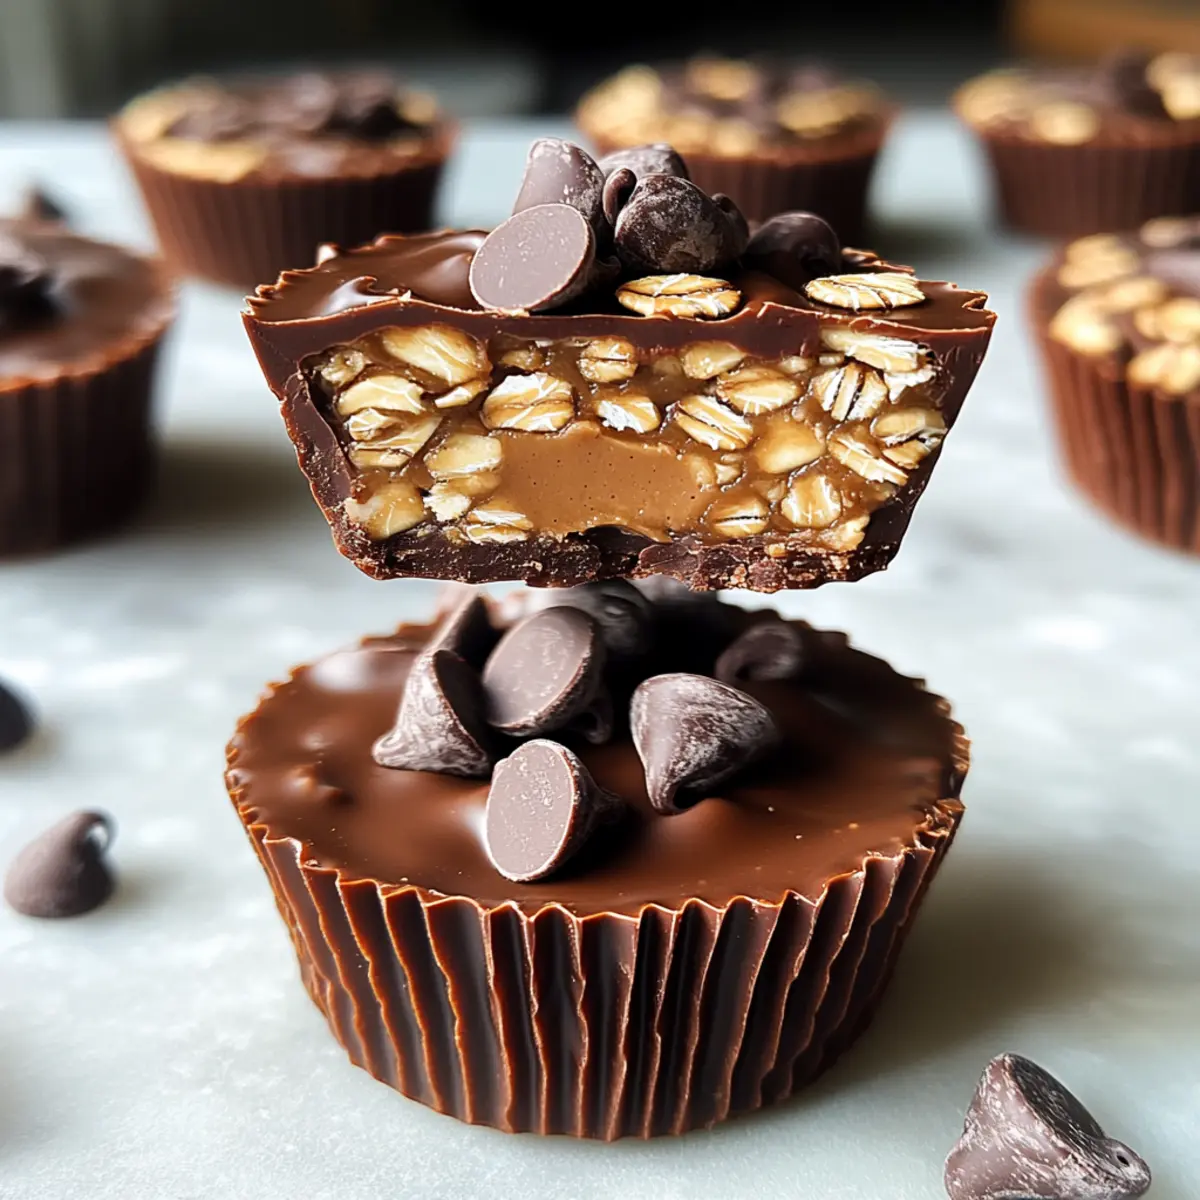
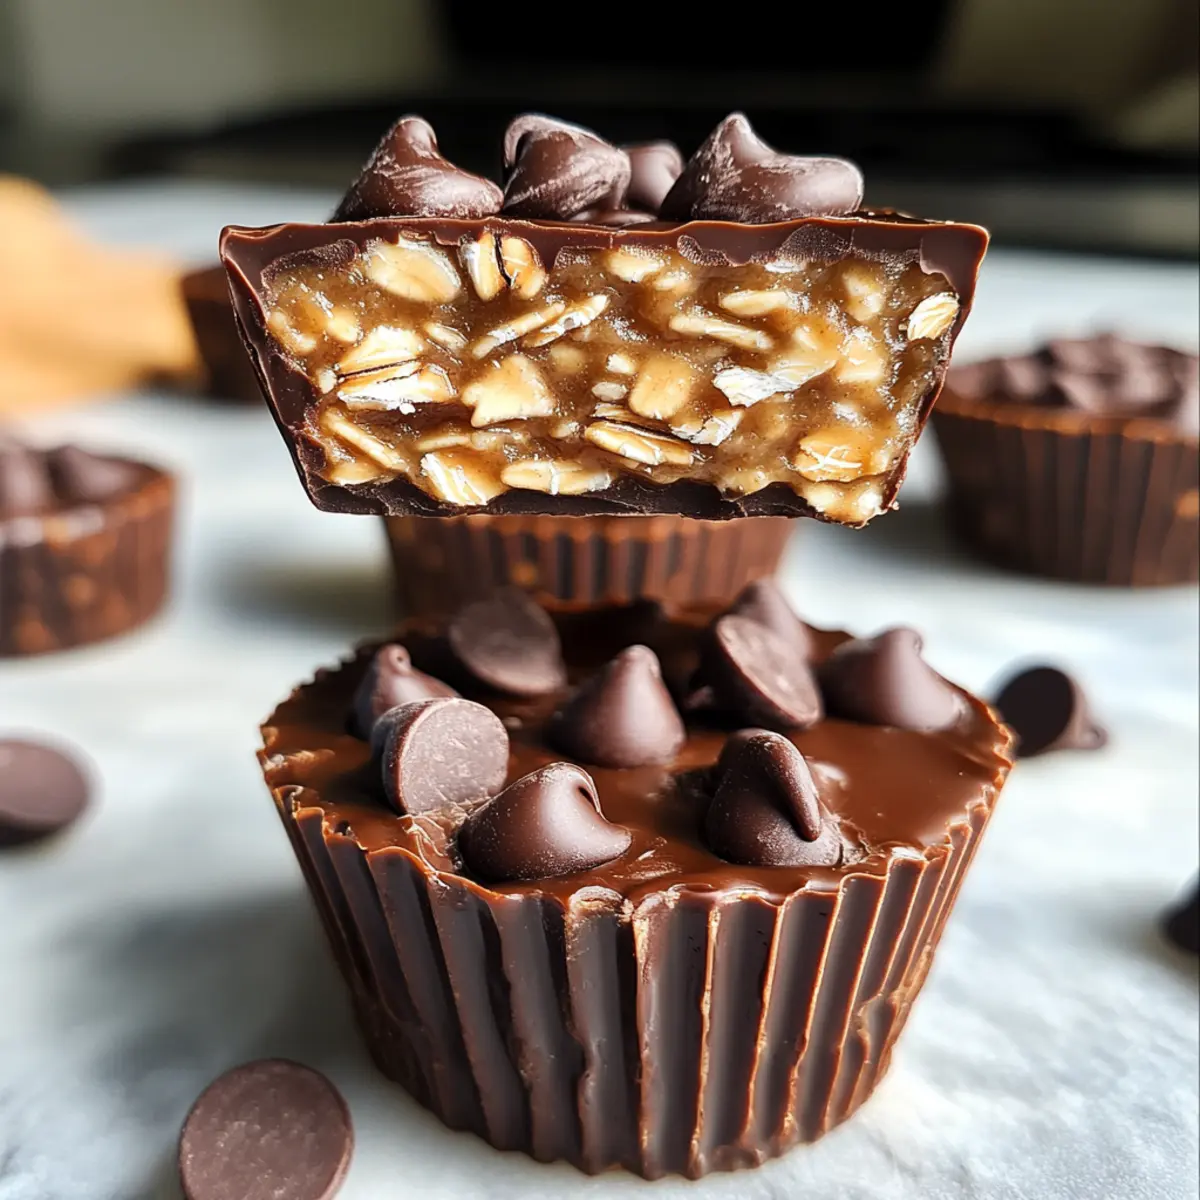
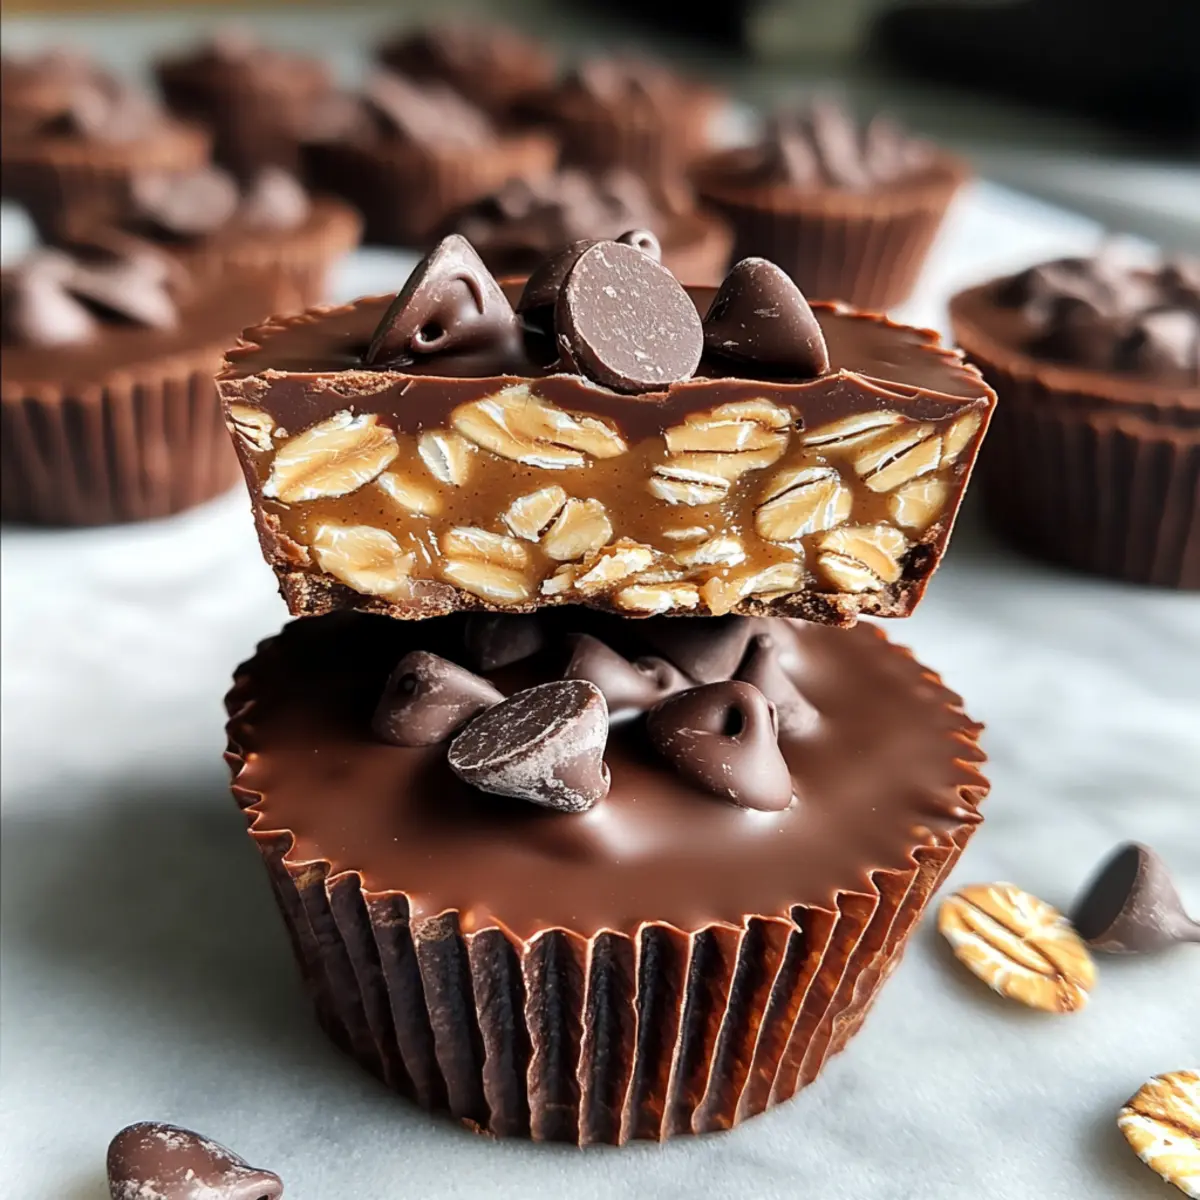
As I stood in my kitchen, craving something sweet yet nutritious, inspiration struck with the simplest of ideas: No-Bake Peanut Butter Oat Cups. These delightful little treats effortlessly marry creamy peanut butter with the wholesome goodness of oats, offering a satisfying solution to those busy days when time is tight. Not only are they quick to prepare, but they also accommodate various dietary needs, making them an enticing option for anyone seeking a healthy dessert. With no baking required and the potential for endless flavor twists—think chocolate chips or even a sprinkle of coconut—these oat cups are bound to become a go-to snack in your home. Have you ever made a treat that is both healthy and oh-so-easy to whip up?
Why are No-Bake Oat Cups a game changer?
Simplicity: These No-Bake Peanut Butter Oat Cups require minimal effort—perfect for busy lives! Healthy Indulgence: Packed with protein and fiber, they satisfy sweet cravings without guilt. Versatile Delight: Add your favorite mix-ins like chocolate or nuts for a personal touch, as explored in my Oatmeal Peanut Butter Energy Bites. Quick Prep: With just a few steps, you can have these ready in no time. Crowd-Pleaser: Everyone will love them at gatherings or as a snack—treat yourself without the fuss!
No-Bake Peanut Butter Oat Cups Ingredients
• Dive into these delectable No-Bake Peanut Butter Oat Cups with ease!
For the Base
- Rolled Oats – Provide structure and heartiness; substitute with gluten-free oats for a gluten-free version.
- Natural Peanut Butter – Adds creaminess and flavor; use almond butter or sunflower seed butter for a nut-free alternative.
- Honey or Maple Syrup – Serves as a natural sweetener; agave syrup or a sugar substitute can be used as alternatives.
- Vanilla Extract – Enhances flavor; you can omit if you prefer a simpler taste.
- Salt – Balances sweetness; if using unsalted peanut butter, it’s advisable to add a pinch.
For the Topping
- Dark Chocolate Chips – Optional topping for added sweetness and visual appeal; can substitute with chopped nuts or omit entirely for a lower-calorie option.
Step‑by‑Step Instructions for No-Bake Peanut Butter Oat Cups
Step 1: Combine Ingredients
In a large mixing bowl, measure out rolled oats, natural peanut butter, honey or maple syrup, vanilla extract, and a pinch of salt. Using a sturdy spatula or a wooden spoon, mix all the ingredients together until everything is fully combined and sticky. This should take about 2-3 minutes, and you’ll know it’s ready when the mixture holds together without crumbling.
Step 2: Prepare Baking Dish
Now, take an 8×8 inch baking pan and line the bottom and sides with parchment paper. This will help ensure easy removal of your No-Bake Peanut Butter Oat Cups later. Make sure the parchment paper overhangs slightly on the sides, so you can lift the mixture out easily after it’s chilled.
Step 3: Press Mixture
Pour the oat mixture into the lined baking pan, spreading it evenly with a spatula or your hands. Press down firmly to create a compact and even layer, ensuring there are no air pockets. The firmer you press, the better your oat cups will hold their shape once set—this should take around 2 minutes.
Step 4: Top with Chocolate
If you’re choosing to add chocolate, sprinkle dark chocolate chips evenly over the surface of the pressed mixture. Gently press the chocolate chips into the mixture with your fingers or spatula to ensure they stick and melt slightly. This step adds a luscious finish to your No-Bake Peanut Butter Oat Cups.
Step 5: Chill
Place the baking pan in the refrigerator and chill for at least 30 minutes. This allows the mixture to firm up and set properly. You’ll know it’s ready when the edges feel solid to the touch and the center has a slight bounce, making it perfect for slicing into squares.
Step 6: Cut into Squares
Once chilled and set, carefully remove the oat mixture from the baking pan by lifting the parchment paper. Transfer it to a cutting board and use a sharp knife to slice into squares, your delicious No-Bake Peanut Butter Oat Cups are now ready to serve or store. Enjoy them fresh or take them with you for a quick snack!
Storage Tips for No-Bake Peanut Butter Oat Cups
Fridge: Store your No-Bake Peanut Butter Oat Cups in an airtight container in the refrigerator for up to one week to maintain their freshness.
Freezer: For longer storage, freeze these oat cups in a single layer on a baking sheet, then transfer them to a freezer-safe bag. They can last up to three months!
Thawing: When ready to enjoy, simply thaw in the fridge overnight or let sit at room temperature for 30 minutes.
Reheating: While typically enjoyed cold, you can warm these oat cups slightly in the microwave for about 10 seconds to enhance their peanut butter aroma and flavor.
Make Ahead Options
These No-Bake Peanut Butter Oat Cups are fantastic for meal prep! You can prepare the oat mixture and refrigerate it up to 24 hours in advance. Simply combine all the ingredients, press them into the lined pan, and cover with plastic wrap before chilling. To keep them fresh, store in an airtight container in the refrigerator for up to 1 week. When you’re ready to serve, just take them out, cut into squares, and optionally add more toppings like chocolate chips or nuts for a delightful finish. This way, you’ll have a quick, nutritious snack ready for busy days, just as delicious as when they were first made!
What to Serve with No-Bake Peanut Butter Oat Cups
Indulge in a delightful array of accompaniments that elevate the experience of these creamy, nutty oat cups.
-
Fresh Fruit Salad: A vibrant mix of berries and melons complements the rich peanut butter flavor and adds a refreshing bite. Savor the contrasting textures with every scoop.
-
Greek Yogurt Parfait: Creamy Greek yogurt layered with granola and honey provides a satisfying crunch while balancing the sweetness of the oat cups. This combination creates a wholesome breakfast or snack option that feels indulgent yet nutritious.
-
Chia Seed Pudding: The light and tangy notes of chia pudding paired with your oat cups offer a pleasant texture contrast and added nutritional boost. It’s a fun, textural twist that inspires creativity in serving!
-
Nutty Trail Mix: A handful of nutty trail mix adds a crunchy, savory element to your dessert, creating a delightful play of flavors and textures. It can make your snack time both nourishing and satisfying.
-
Dark Chocolate Drizzle: For an extra treat, drizzle some melted dark chocolate over your oat cups. It elevates the overall experience, providing sweet richness that will leave everyone wanting more.
-
Iced Herbal Tea: Pair these oat cups with a refreshing iced herbal tea for a cooling, slightly tangy drink that cleanses the palate. Perfect for warm days, this pairing ensures a delightful balance.
-
Smoothie Bowl: Complement the oat cups with a smoothie bowl topped with fresh fruits and nuts. Enjoy the harmonious blend of flavors, and let the creamy toppings contrast the hearty texture of the cups.
-
Nut Milk: A glass of almond or cashew nut milk pairs beautifully while enhancing the nutty notes of the oat cups. It creates a comforting, soothing experience perfect for afternoon snacking.
With these creative pairings, you’ll turn snacking into an even more enjoyable experience, making your No-Bake Peanut Butter Oat Cups the star of the show!
Tips for the Best No-Bake Peanut Butter Oat Cups
-
Press Firmly: To ensure your No-Bake Peanut Butter Oat Cups hold their shape, press the mixture firmly into the pan. This minimizes crumbling later.
-
Chill Longer: For perfectly set cups, consider chilling them for at least an hour instead of just 30 minutes. This extra time helps achieve the ideal chewy texture.
-
Mix-Ins Magic: Feel free to get creative by adding mix-ins like dried fruit, seeds, or nuts. Just remember to adjust the base ingredients to keep proportions right.
-
Sweetness Check: Taste your mixture before chilling! Depending on your preference or peanut butter brand, you might want to add a bit more honey or maple syrup for sweetness.
-
Storage Secrets: Store your oat cups in an airtight container in the refrigerator for up to a week. This keeps them fresh and ready for snacking!
No-Bake Peanut Butter Oat Cups Variations
Feel free to sprinkle your own twist on these delightful oat cups and make them uniquely yours!
-
Nut-Free: Swap peanut butter for sunflower seed butter to keep it nut-free without sacrificing flavor.
-
Protein-Packed: Stir in a scoop of your favorite protein powder for an extra boost that makes these cups post-workout ready.
-
Sweet & Fruity: Add dried cranberries or raisins into the mixture for a burst of fruitiness that complements the nutty flavor beautifully.
-
Coconut Lover: Stir in shredded coconut or sprinkle it on top for a tropical twist that adds a delightful texture.
-
Chocolate Decadence: If you’re a chocolate lover, use cocoa powder in the mixture and top with dark chocolate chips for a rich treat.
-
Low-Carb Option: Use crushed nuts instead of oats for a low-carb version that still offers a satisfying crunch.
-
Smooth & Creamy: Replace honey with coconut cream to give the cups a silky texture while keeping them naturally sweet.
-
Spiced Delight: Add a pinch of cinnamon or nutmeg to elevate the flavor profile, making each bite taste like a warm hug.
Experiment with your own combinations or check out some of my favorites like Oatmeal Peanut Butter Energy Bites and Chocolate Peanut Butter for more ideas!

No-Bake Peanut Butter Oat Cups Recipe FAQs
What are the best oats to use for No-Bake Peanut Butter Oat Cups?
Absolutely! For the best texture and taste, use rolled oats. If you’re looking for a gluten-free option, ensure you select certified gluten-free oats. Quick oats can work in a pinch, but they may result in a different texture.
How should I store No-Bake Peanut Butter Oat Cups?
Store your No-Bake Peanut Butter Oat Cups in an airtight container in the refrigerator for up to one week. This keeps them fresh and ready for snacking. If you want to make a larger batch, consider freezing them instead to extend their shelf life!
Can I freeze No-Bake Peanut Butter Oat Cups?
Absolutely! To freeze, place the oat cups in a single layer on a baking sheet and freeze for about 1-2 hours until firm. Then, transfer them to a freezer-safe bag or container. They can last up to three months in the freezer. When you’re ready to enjoy them, just thaw them in the fridge overnight or for about 30 minutes at room temperature before eating.
How do I troubleshoot if my oat cups are too crumbly?
If your No-Bake Peanut Butter Oat Cups turn out crumbly, it’s likely that the mixture wasn’t pressed firmly enough into the pan or required a bit more binding agent. Next time, try making sure to press down hard when adding the mixture into the baking dish and consider increasing the peanut butter or sweetener to help them stick together better.
Are No-Bake Peanut Butter Oat Cups safe for pets?
No, these oat cups are not suitable for pets due to the presence of ingredients like honey and chocolate which can be harmful to them. Always keep treats like these out of reach of furry friends and consider pet-friendly snacks instead!
Can I use other nut or seed butters in this recipe?
Very! If you have allergies or prefer a different flavor, feel free to swap natural peanut butter with almond butter, sunflower seed butter, or even cashew butter. Each option will bring a unique taste to your No-Bake Peanut Butter Oat Cups, so enjoy experimenting!
Delicious No-Bake Peanut Butter Oat Cups for Quick Snacking
Ingredients
Equipment
Method
- In a large mixing bowl, measure out rolled oats, natural peanut butter, honey or maple syrup, vanilla extract, and a pinch of salt. Mix all the ingredients together until combined and sticky, about 2-3 minutes.
- Line an 8x8 inch baking pan with parchment paper, ensuring it overhangs slightly for easy removal later.
- Pour the oat mixture into the lined baking pan, spreading it evenly and pressing down firmly to create a compact layer.
- If using chocolate, sprinkle dark chocolate chips evenly over the pressed mixture, gently pressing them in.
- Place the baking pan in the refrigerator and chill for at least 30 minutes.
- Once chilled, lift the mixture from the pan using the parchment paper and slice into squares.
Leave a Reply